Ever had a batch of treats that came out not...so...great? Trust me, I've been there more times than I care to admit. If you consistently make desserts that are dry, greasy, or just don't taste as good as the bakery down the street, it could be how you're measuring. Today, we'll chat about how I measure ingredients for small batch baking to make sure every recipe comes out amazing!
If I had a nickel for every recipe I've royally screwed up over the years, well, I'd probably be on a yacht and not blogging from my couch right now. Which is to say, a lot. I have ruined a lot of recipes.
Time and again, the biggest culprit to inedible brownies or too-thin cookies came down to one thing - not measuring ingredients the right way. And I know what you're thinking. "How does 1 measly tablespoon ruin an entire batch of small batch banana muffins?"
You'd be surprised. But it's all good friends! Because as a trained pastry chef, I'm here to share the knowledge. Spread the gospel. And while obviously these tips and tricks work for any recipe, I specifically want to chat about small batch recipes here. Trust me, measuring right makes all the difference.
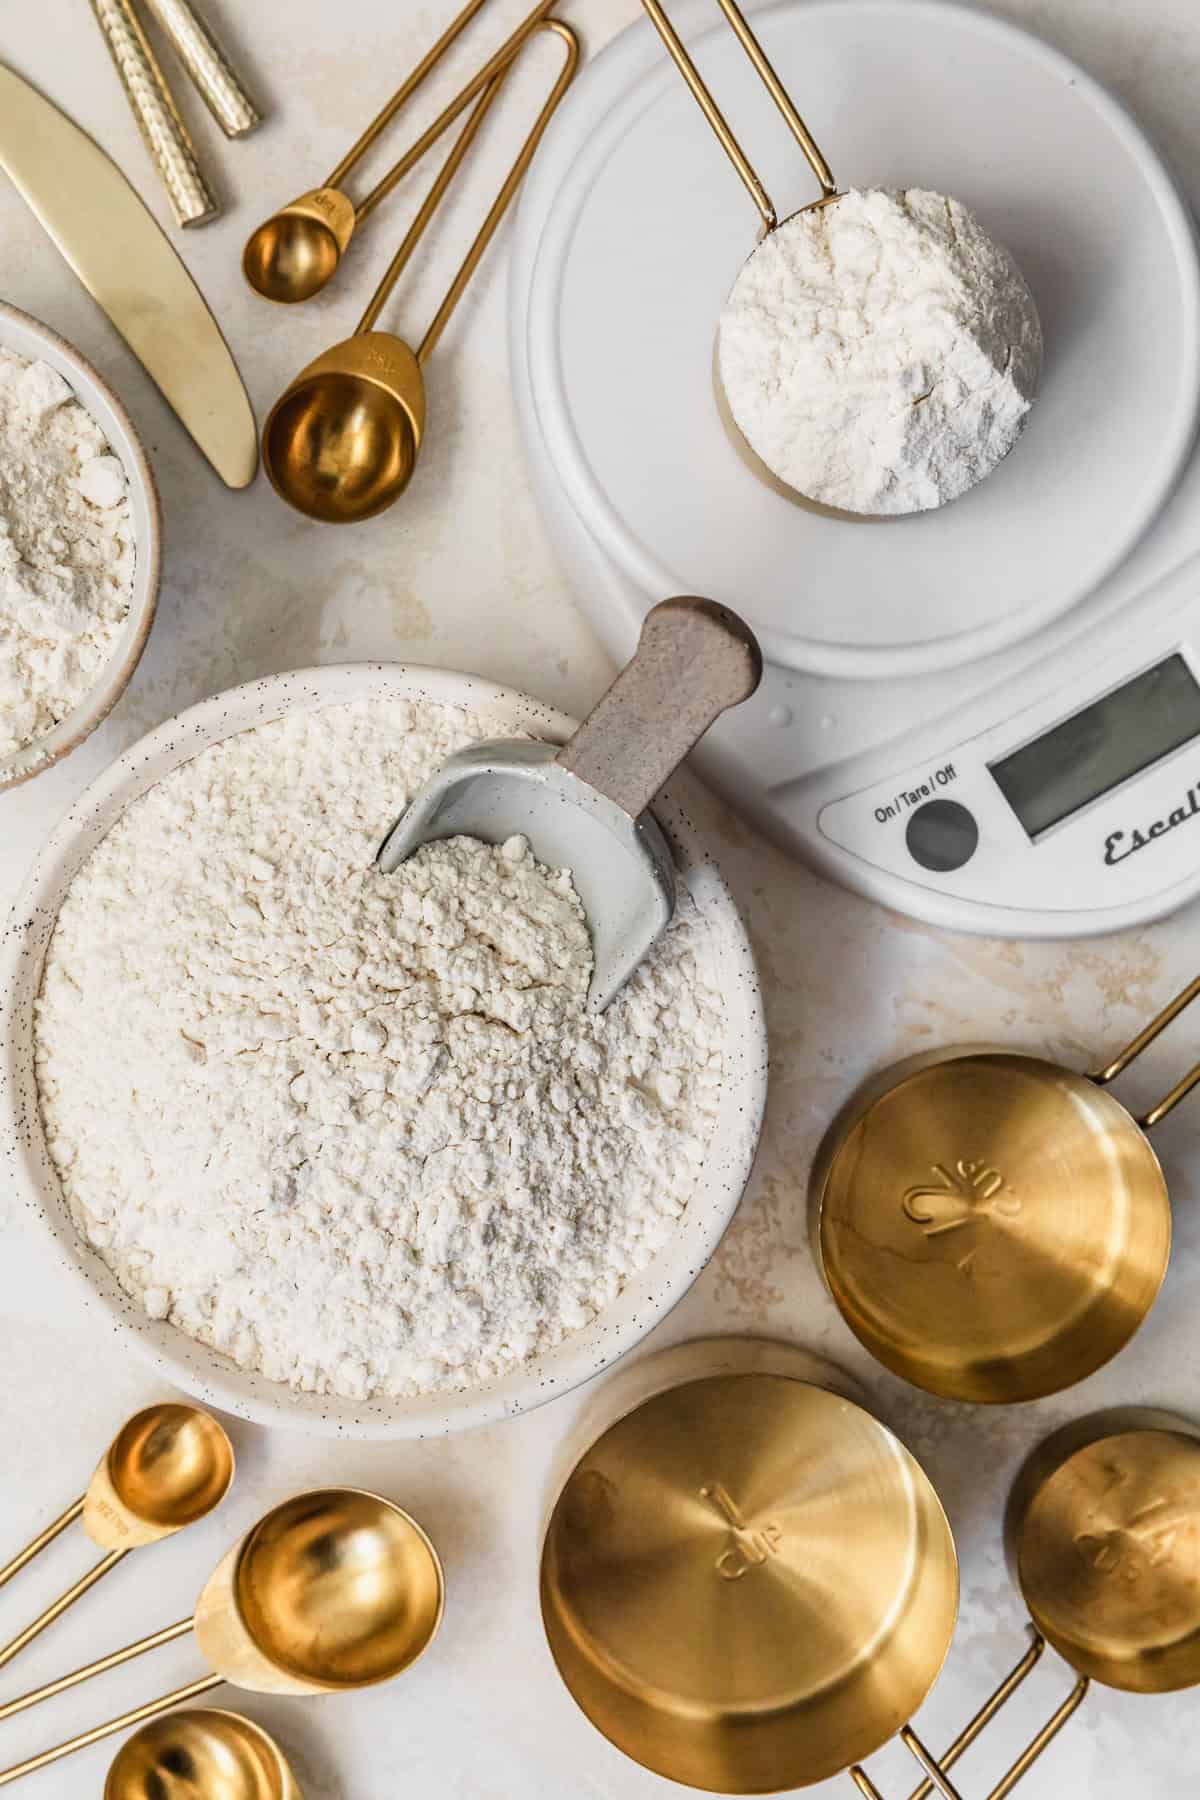
Kitchen scale vs. measuring cups
The forever debate. Should I use a kitchen scale? Are measuring cups ok? Listen, there's a lot to unpack here. Measuring cups are more often used in the U.S. where other countries typically use scales.
But what I will say is that in pastry school, we always measured with a kitchen scale. Why?
- Kitchen scales measure by weight, where measuring cups measure by volume.
- Measuring cups are rarely accurate because they can vary in size. Like, two different brands of measuring cups can be two different sizes! Wtf?
- Also, the volume of the ingredients can vary depending on how much you pack the ingredients into the measuring cup.
- Kitchen scales weigh the ingredients more accurately, so your recipes will come out right every time!
If you have a scale, I highly recommend using it. But if you don't, I'll show you how to measure with cups below.
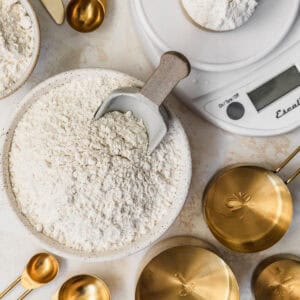
How to measure with a kitchen scale
If you have the scale, it's the way to go. And honestly, scales are easier anyways. You just spoon everything into a bowl and you're done. Plus, less dishes! This is how I test each and every recipe on MBC.
Here's a few tips on how to weigh ingredients with a scale.
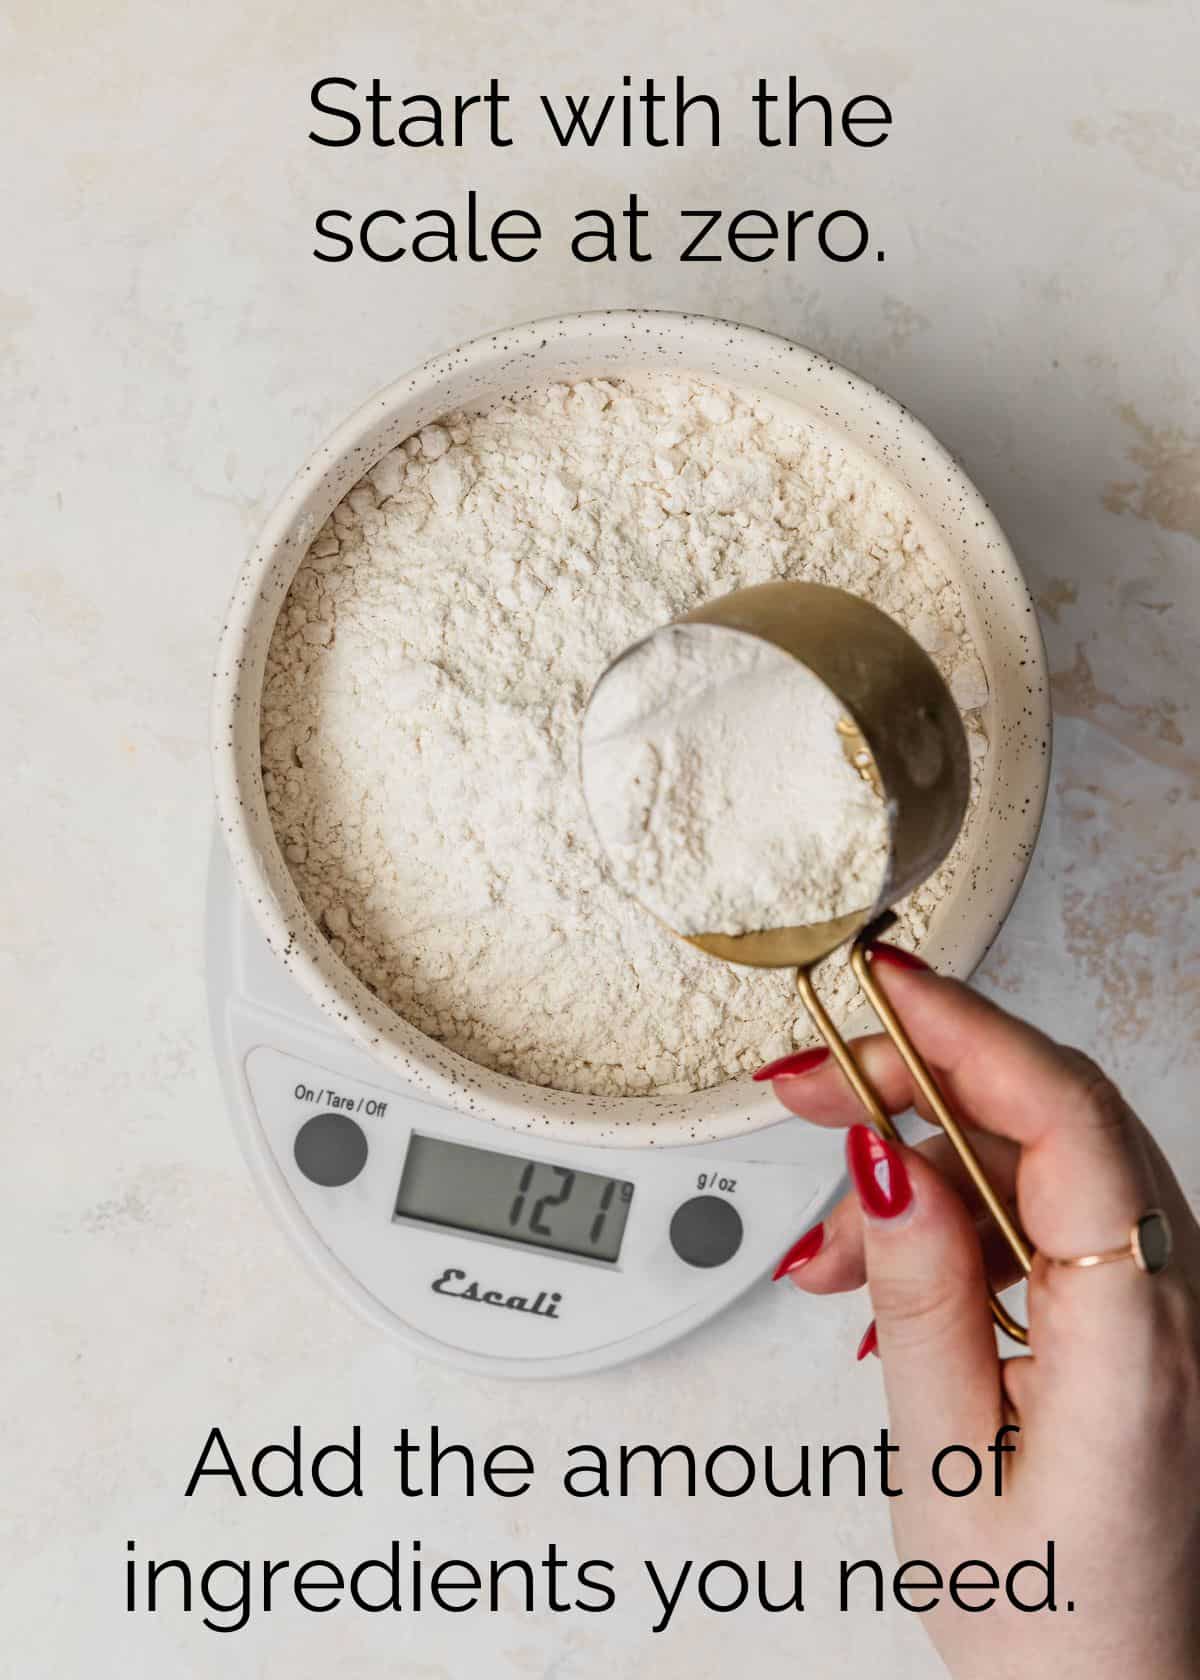
- Turn on the scale and place your mixing bowl on top.
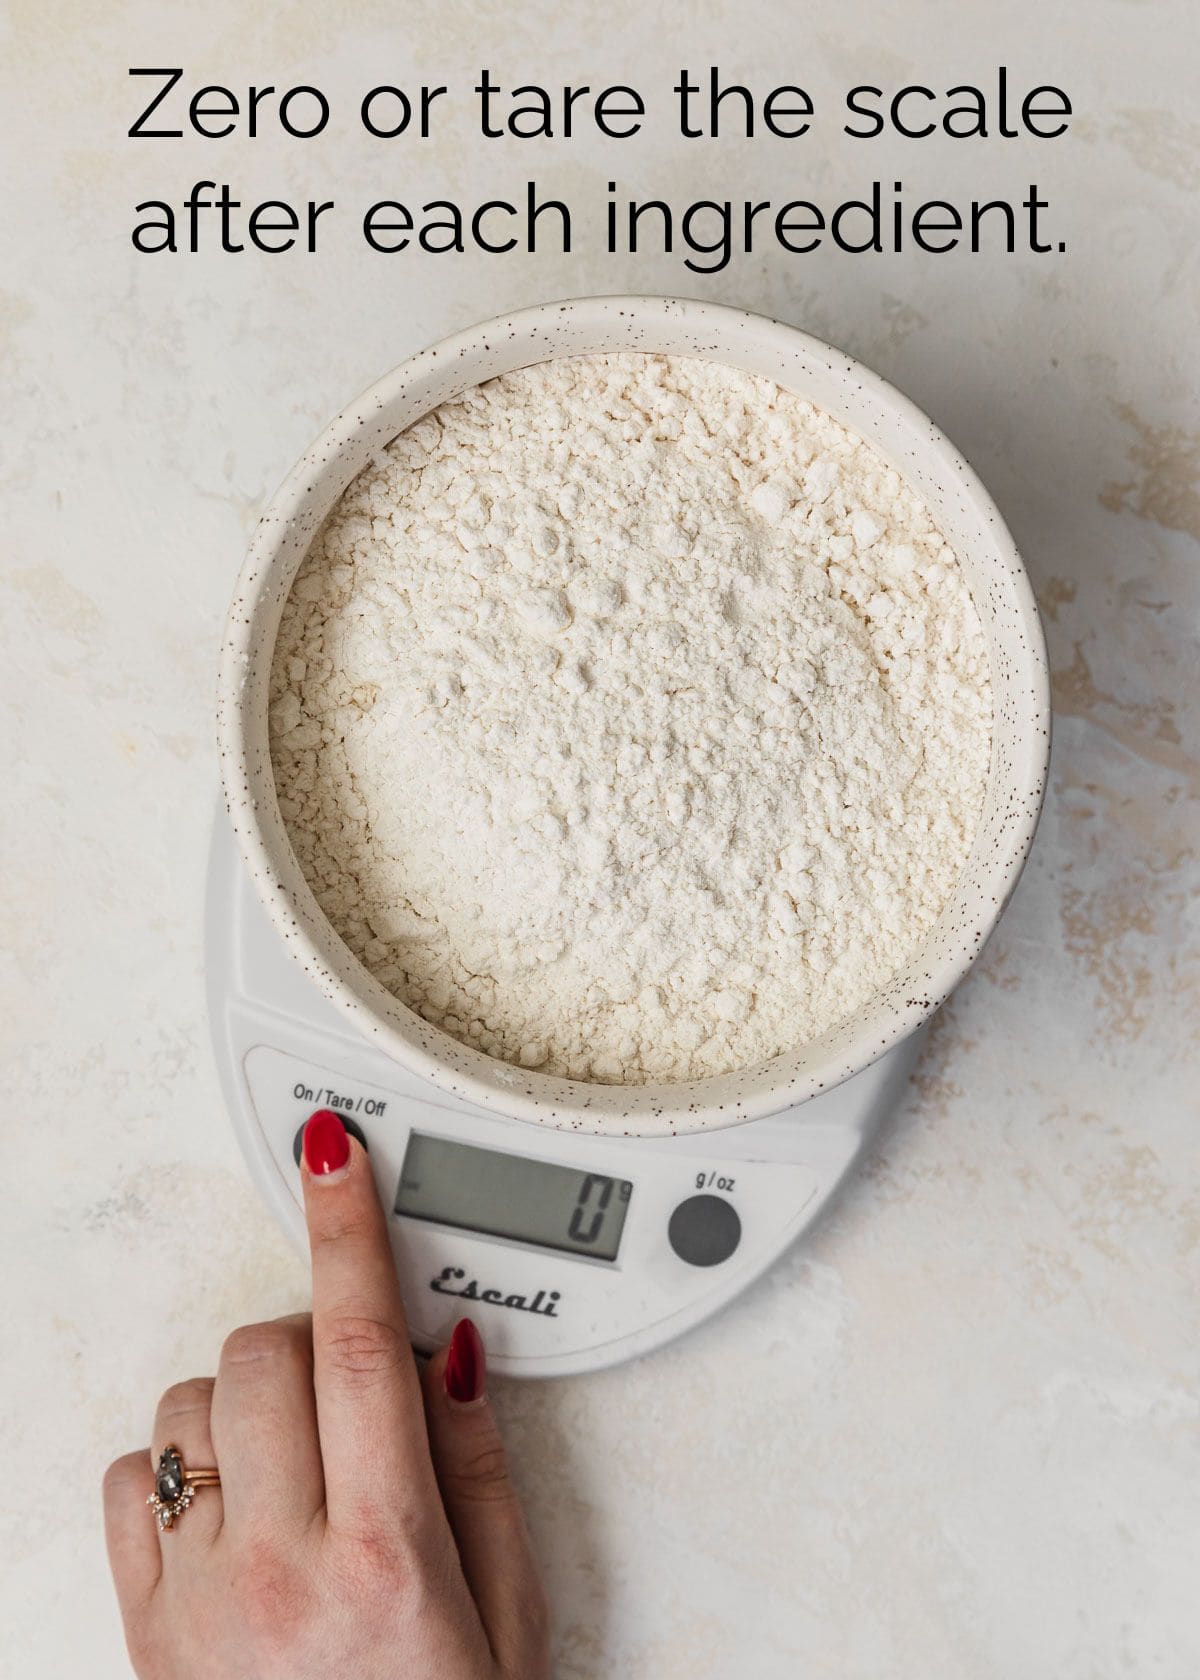
- Zero or tare the scale so you aren't weighing the bowl.
- Add the amount of ingredients the recipe calls for. You're done!
P.S. don't forget to zero or tare the scale before you add the next ingredient.
Measuring flour with cups
If (and only if!) you don't have a scale, you can use measuring cups in a pinch. Just keep in mind, this is not the most accurate way to measure, so you will likely end up with more or less ingredients than you need.
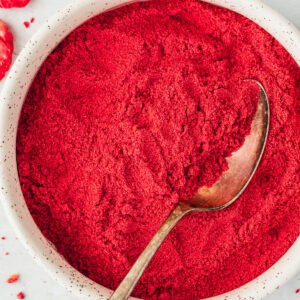
It's especially important to measure flour using the fluff-spoon-level method. The same goes for other dry ingredients like cocoa powder or cornstarch.
This is how I measure flour for MBC recipes.
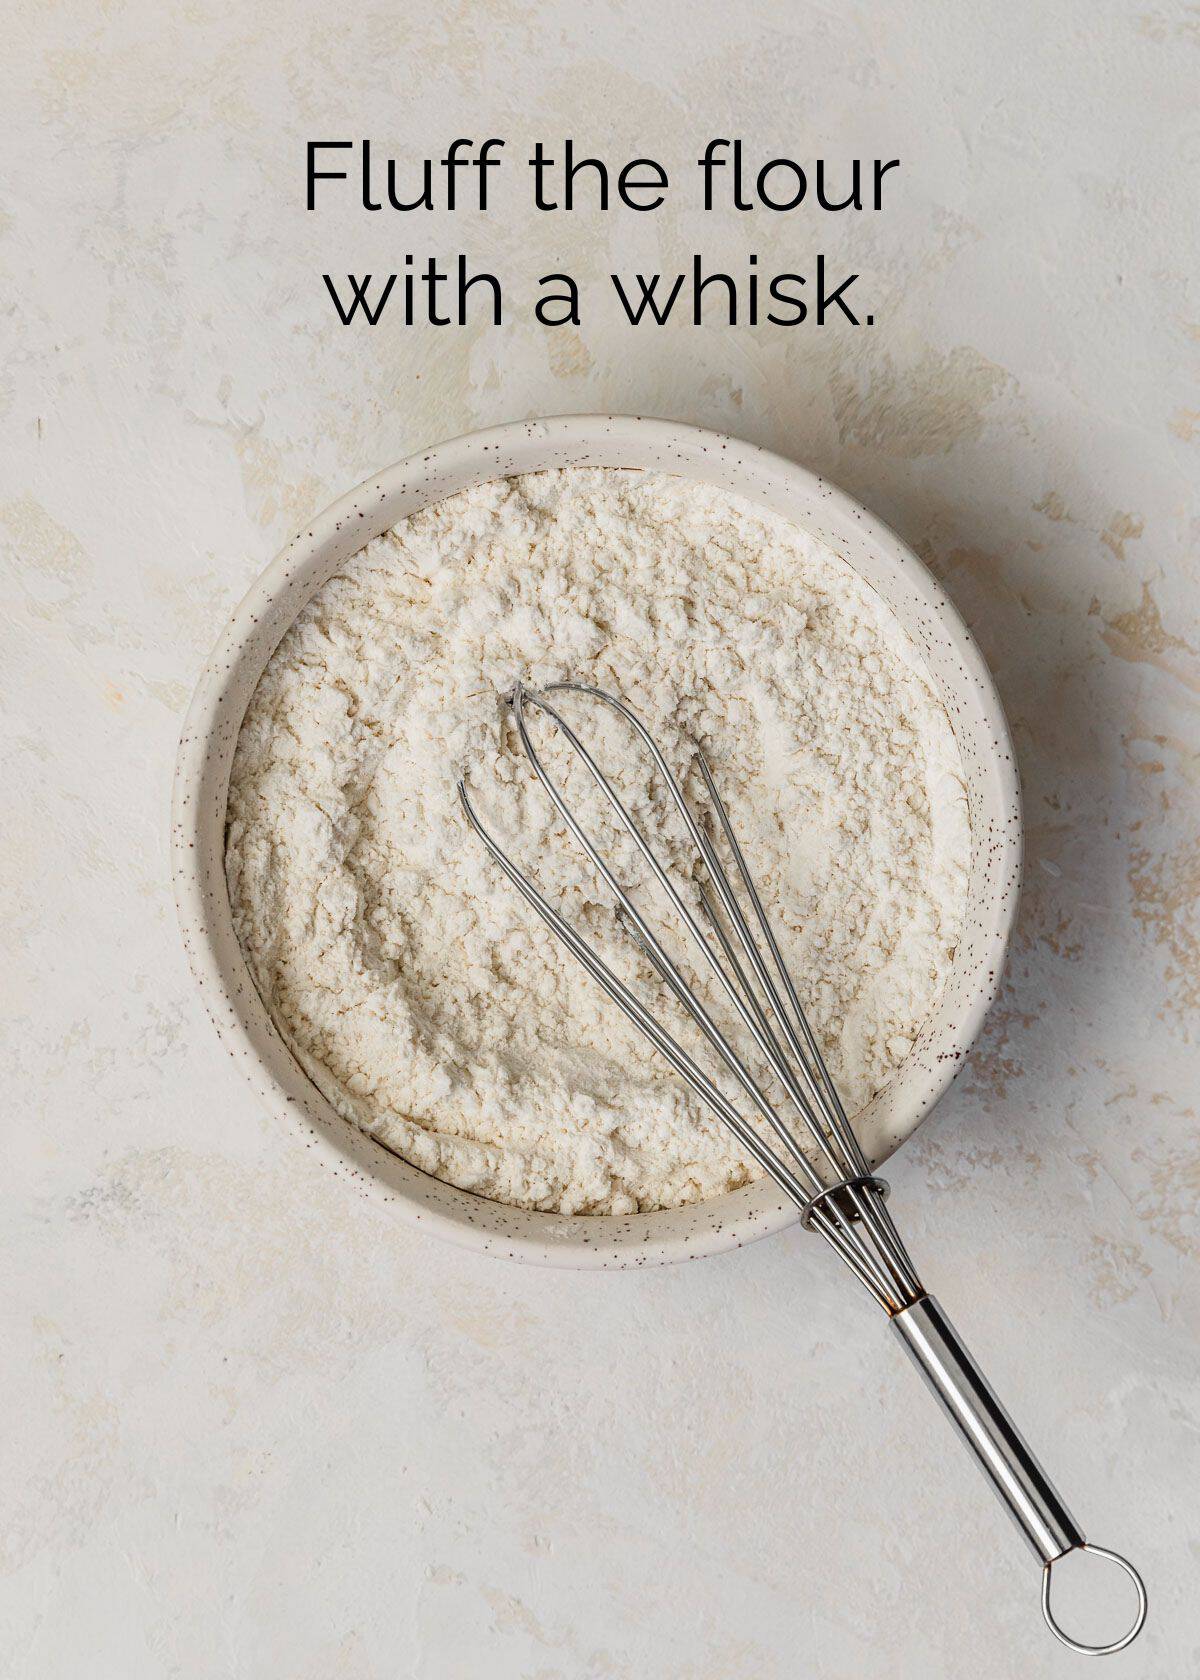
- First, whisk the flour until it's light and fluffy. There shouldn't be any big lumps.
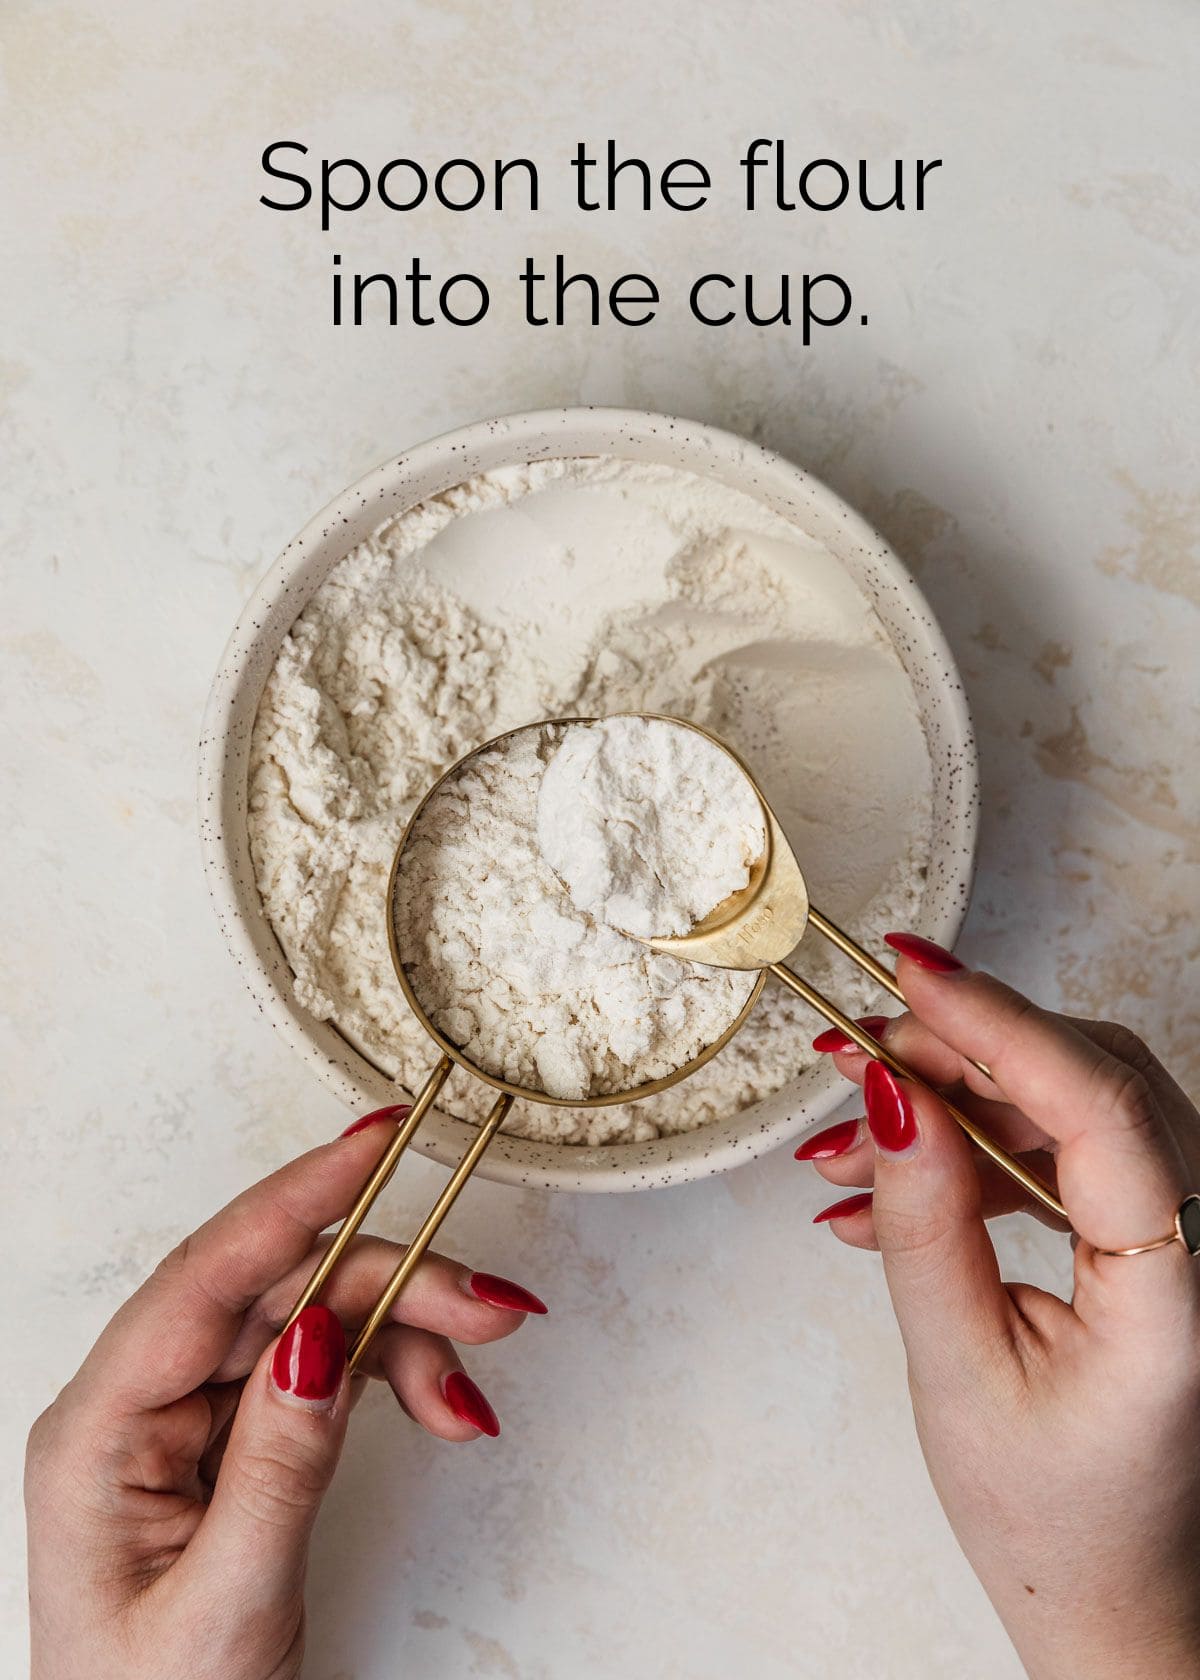
- Then, spoon the fluffed flour into the measuring cup until it's overflowing.
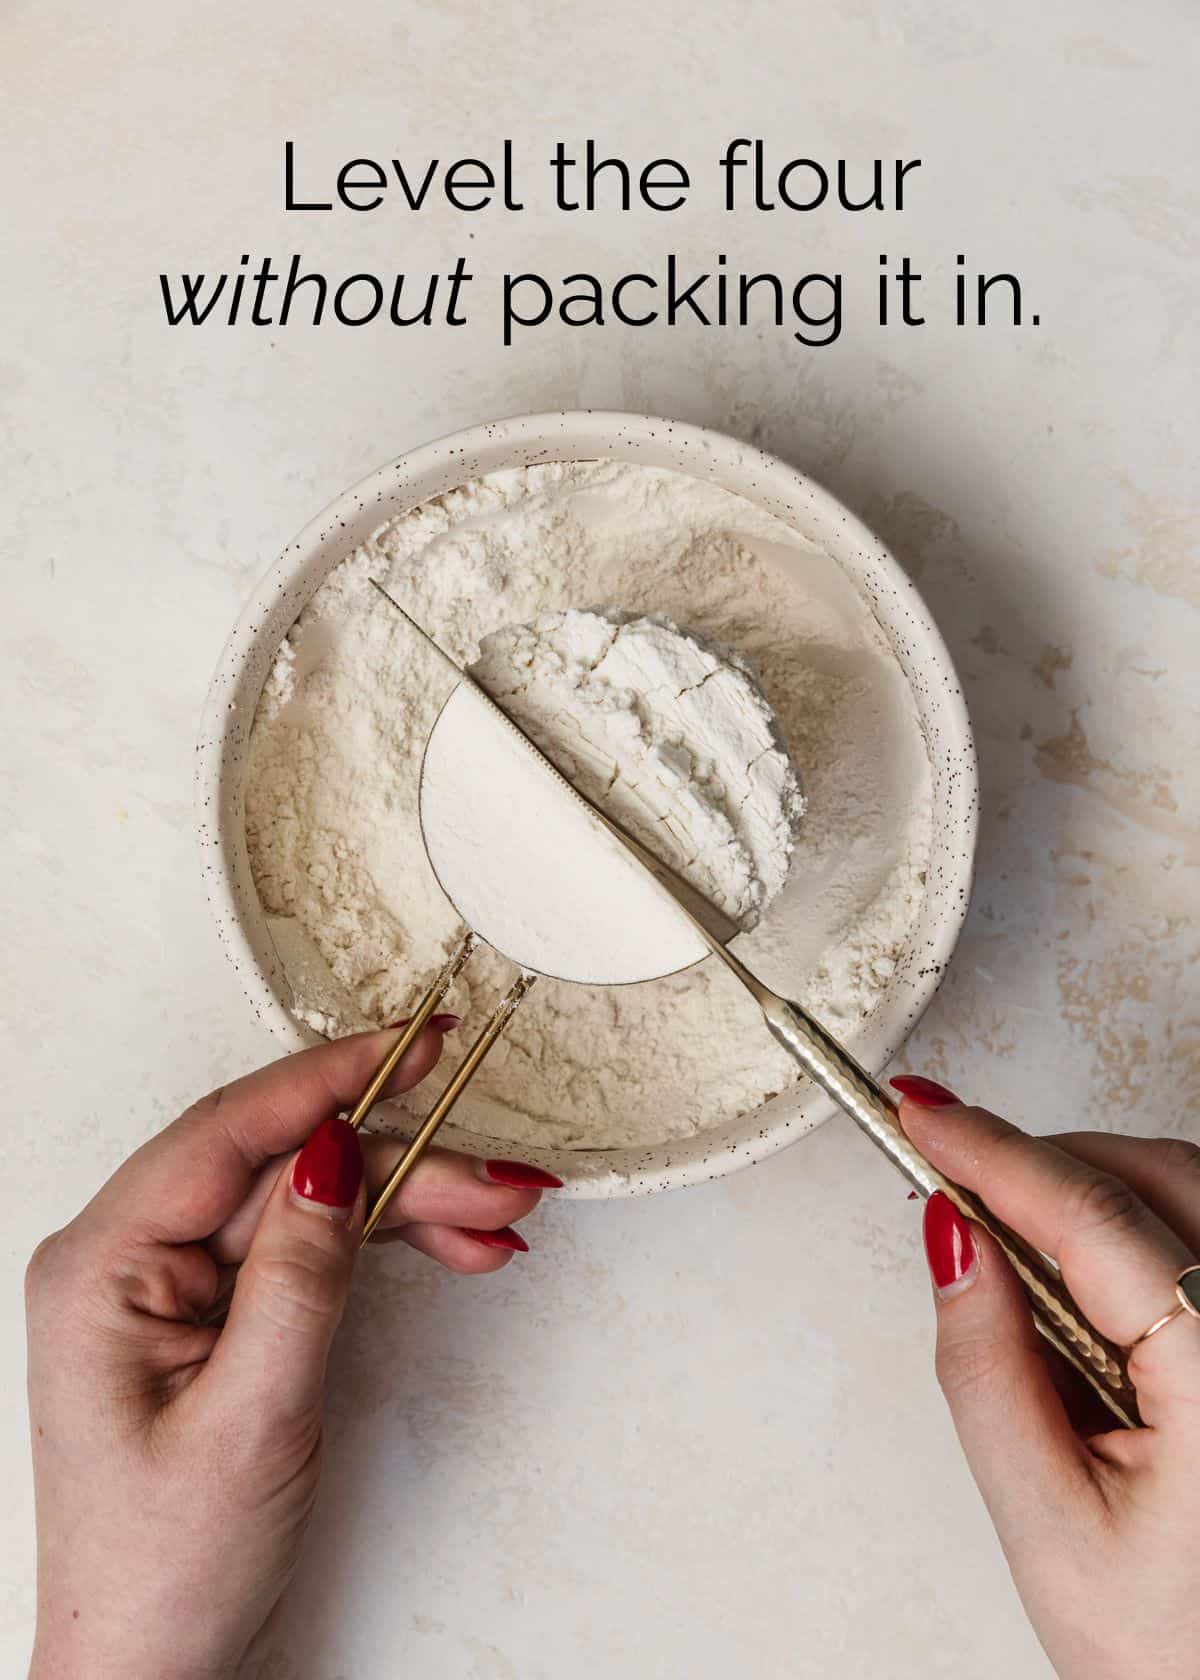
- Lastly, use a straight edge (like a butter knife) to level the flour without packing it into the cup.
What not to do
Now that we've talked about what you should do, we need to chat about what not to do. Doing any of these things will add way too much flour to your recipes and they'll come out dry and crumbly!
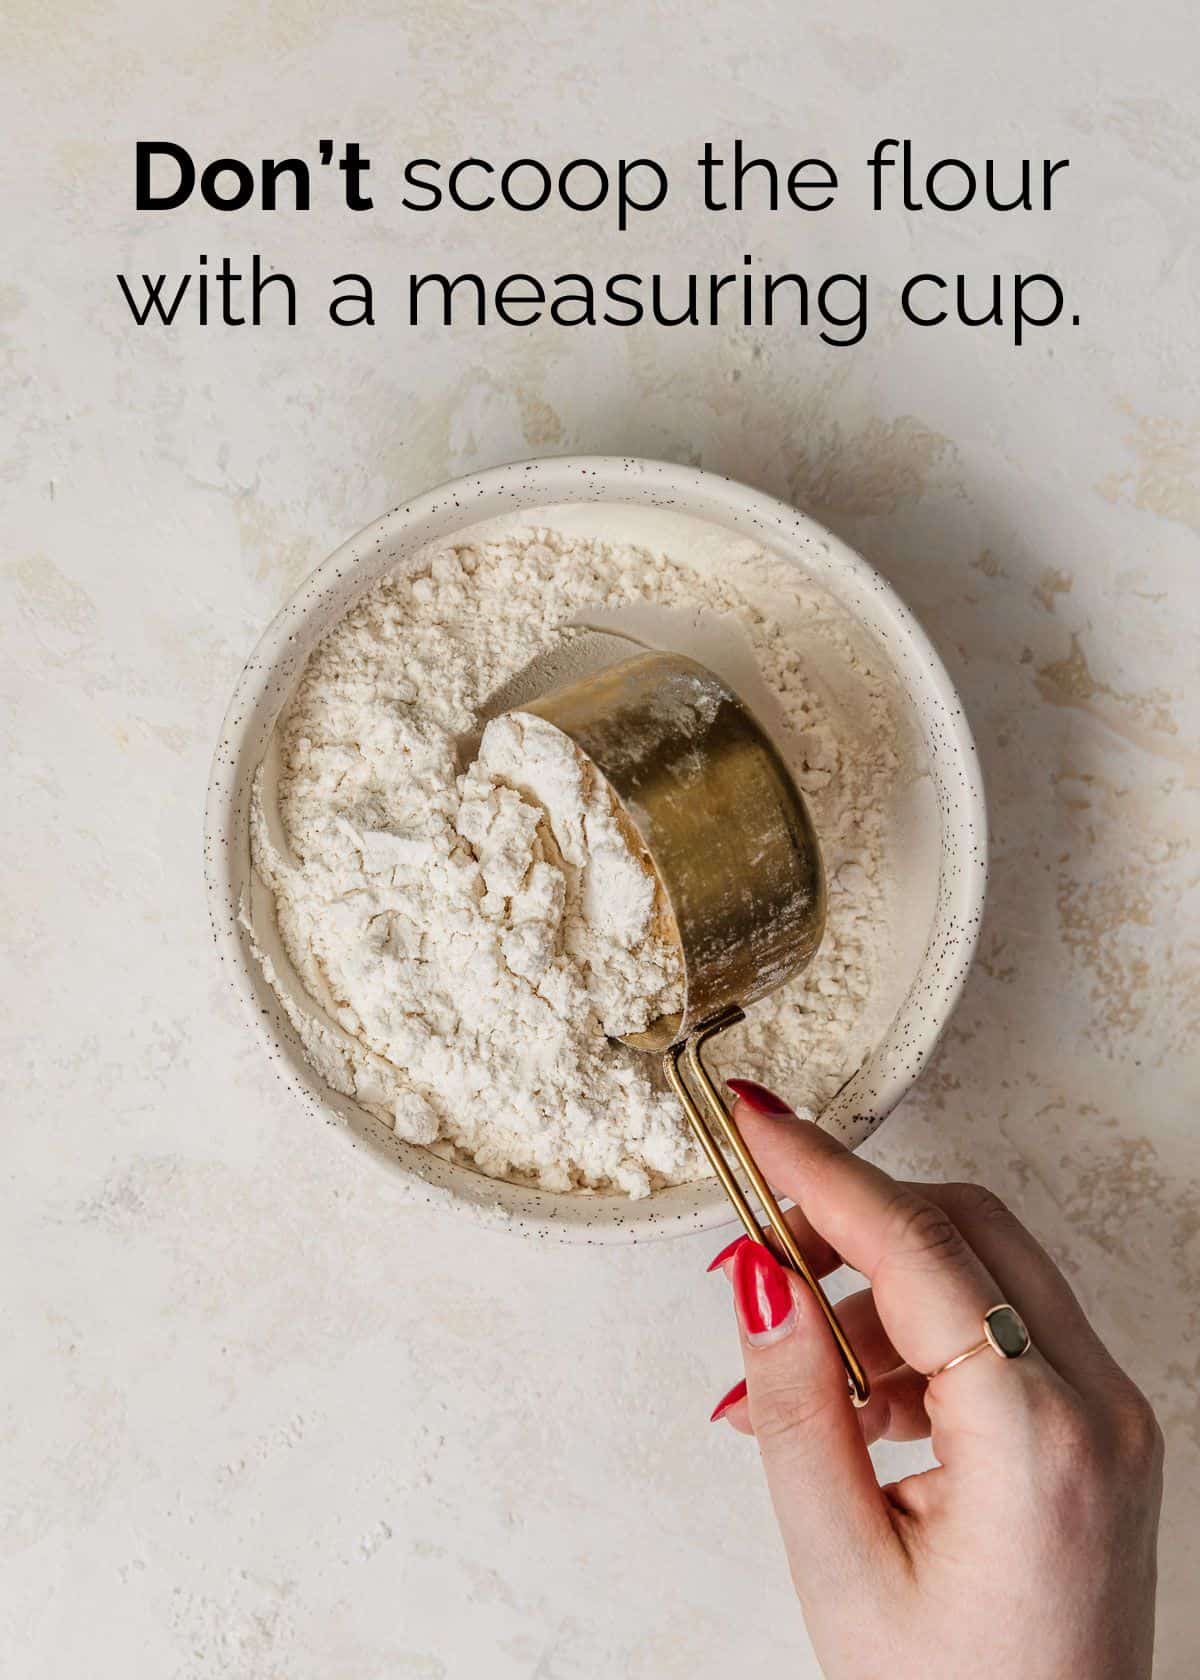
- Do not scoop the flour straight from the bag. This compacts the flour and you'll end up with way more than you need.
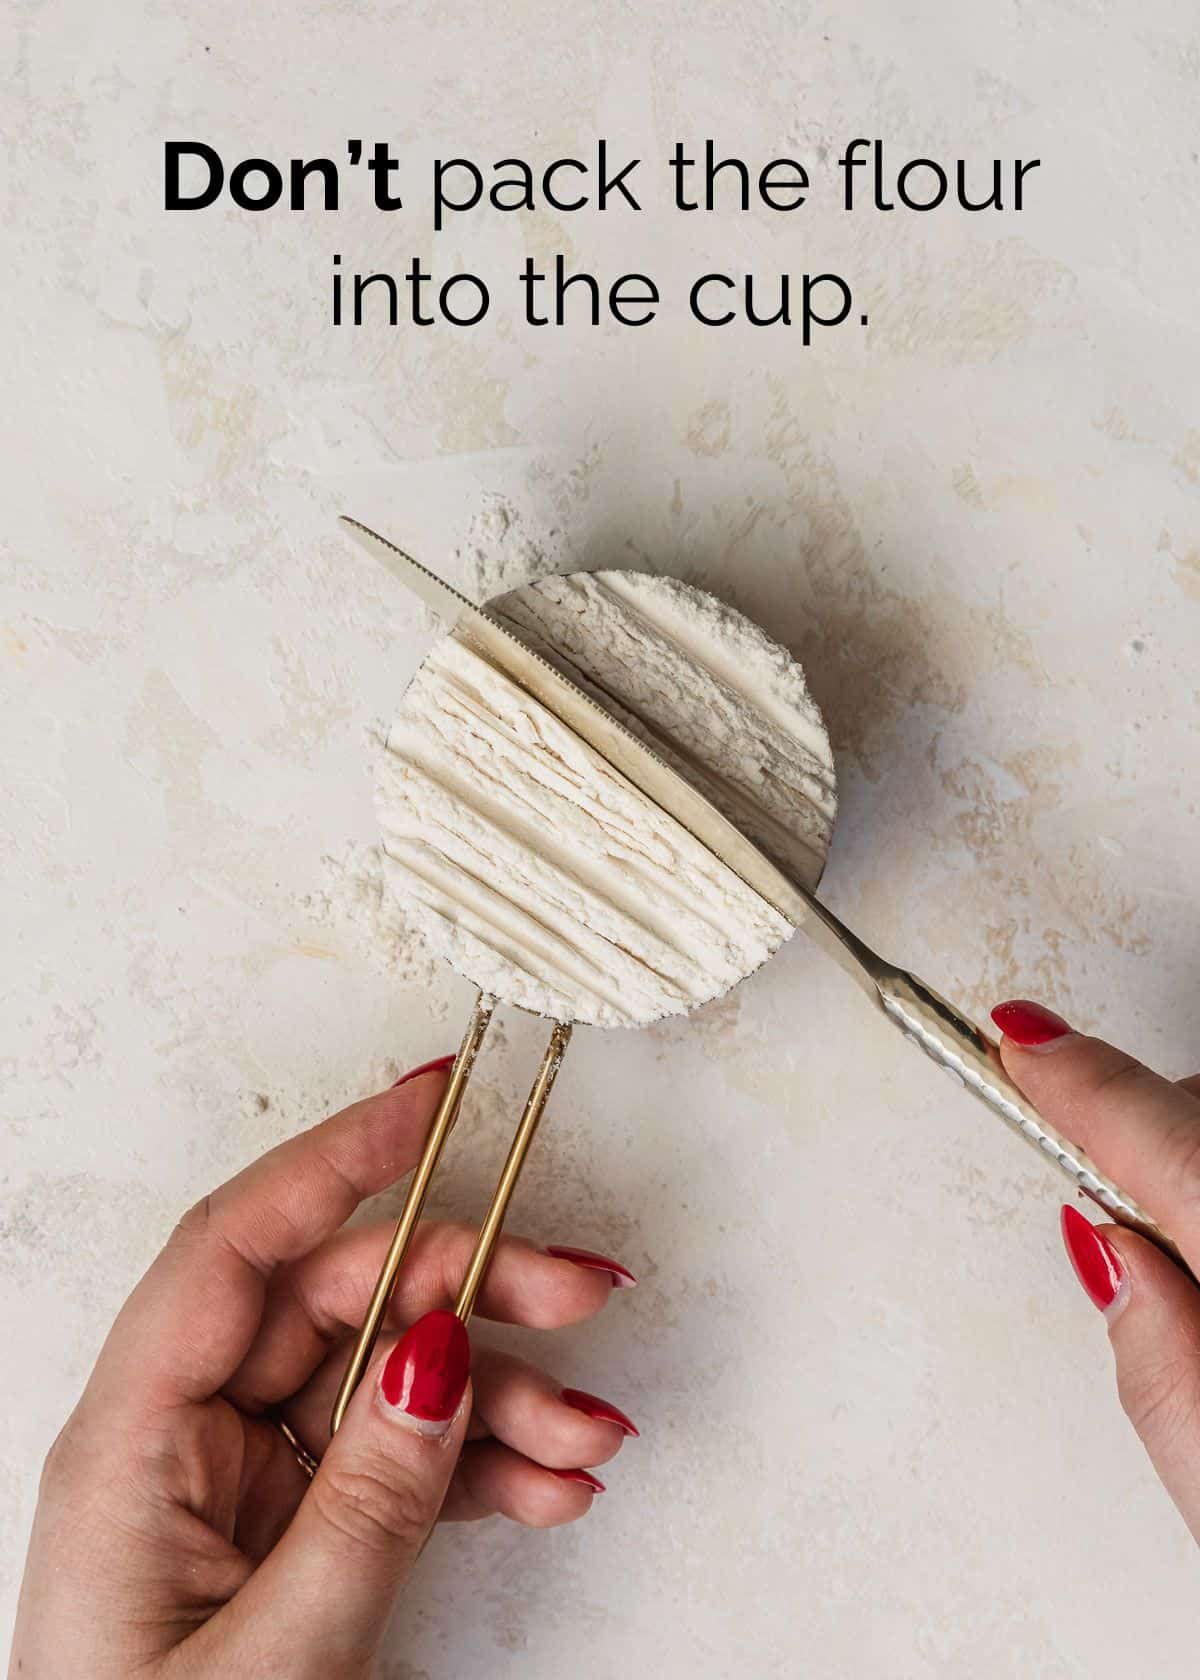
- Don't pack the flour in with a butter knife. You've likely seen cooks doing this before, but all it does is add more and more flour into the cup.
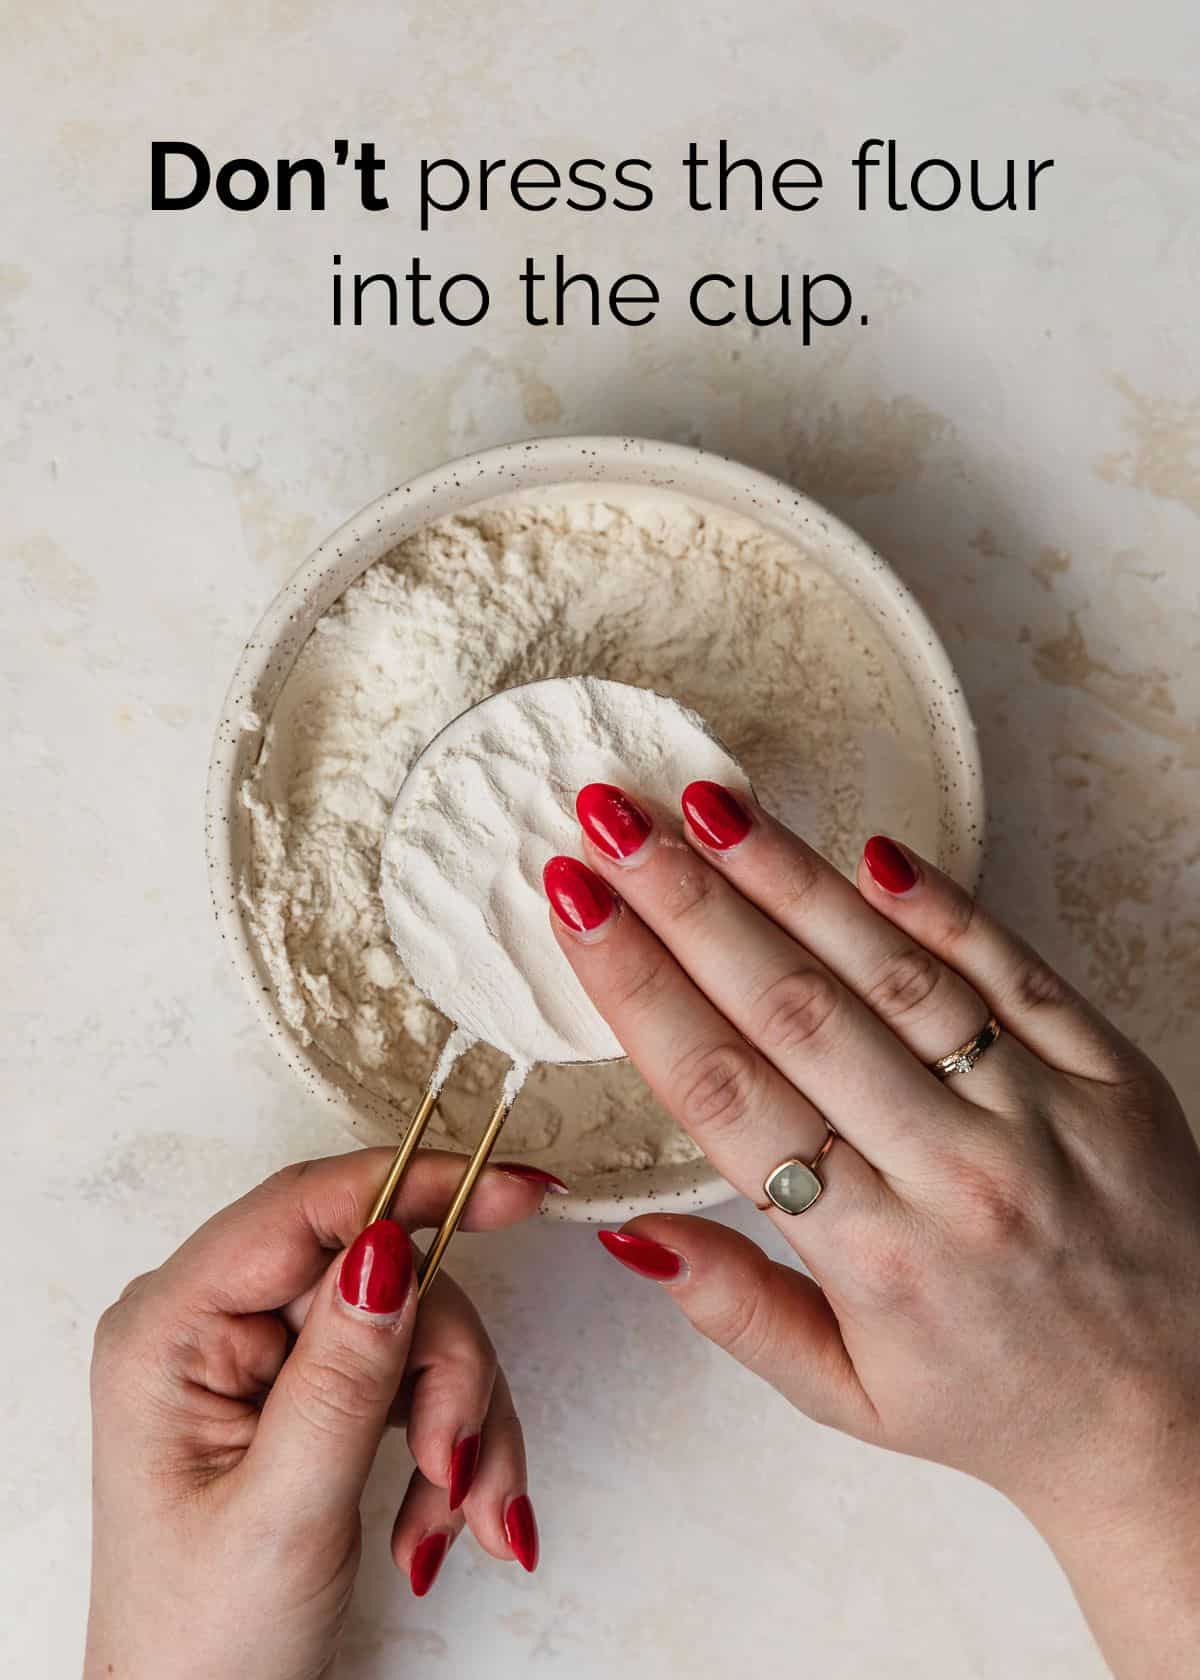
- Lastly, don't press the flour into the cup. Using your hands to level the flour just compacts it further.
How you measure makes a difference!

Ok so we've talked about what to do and what not to do. Stick with me friends! Because now I need to show you why this all matters in the first place.
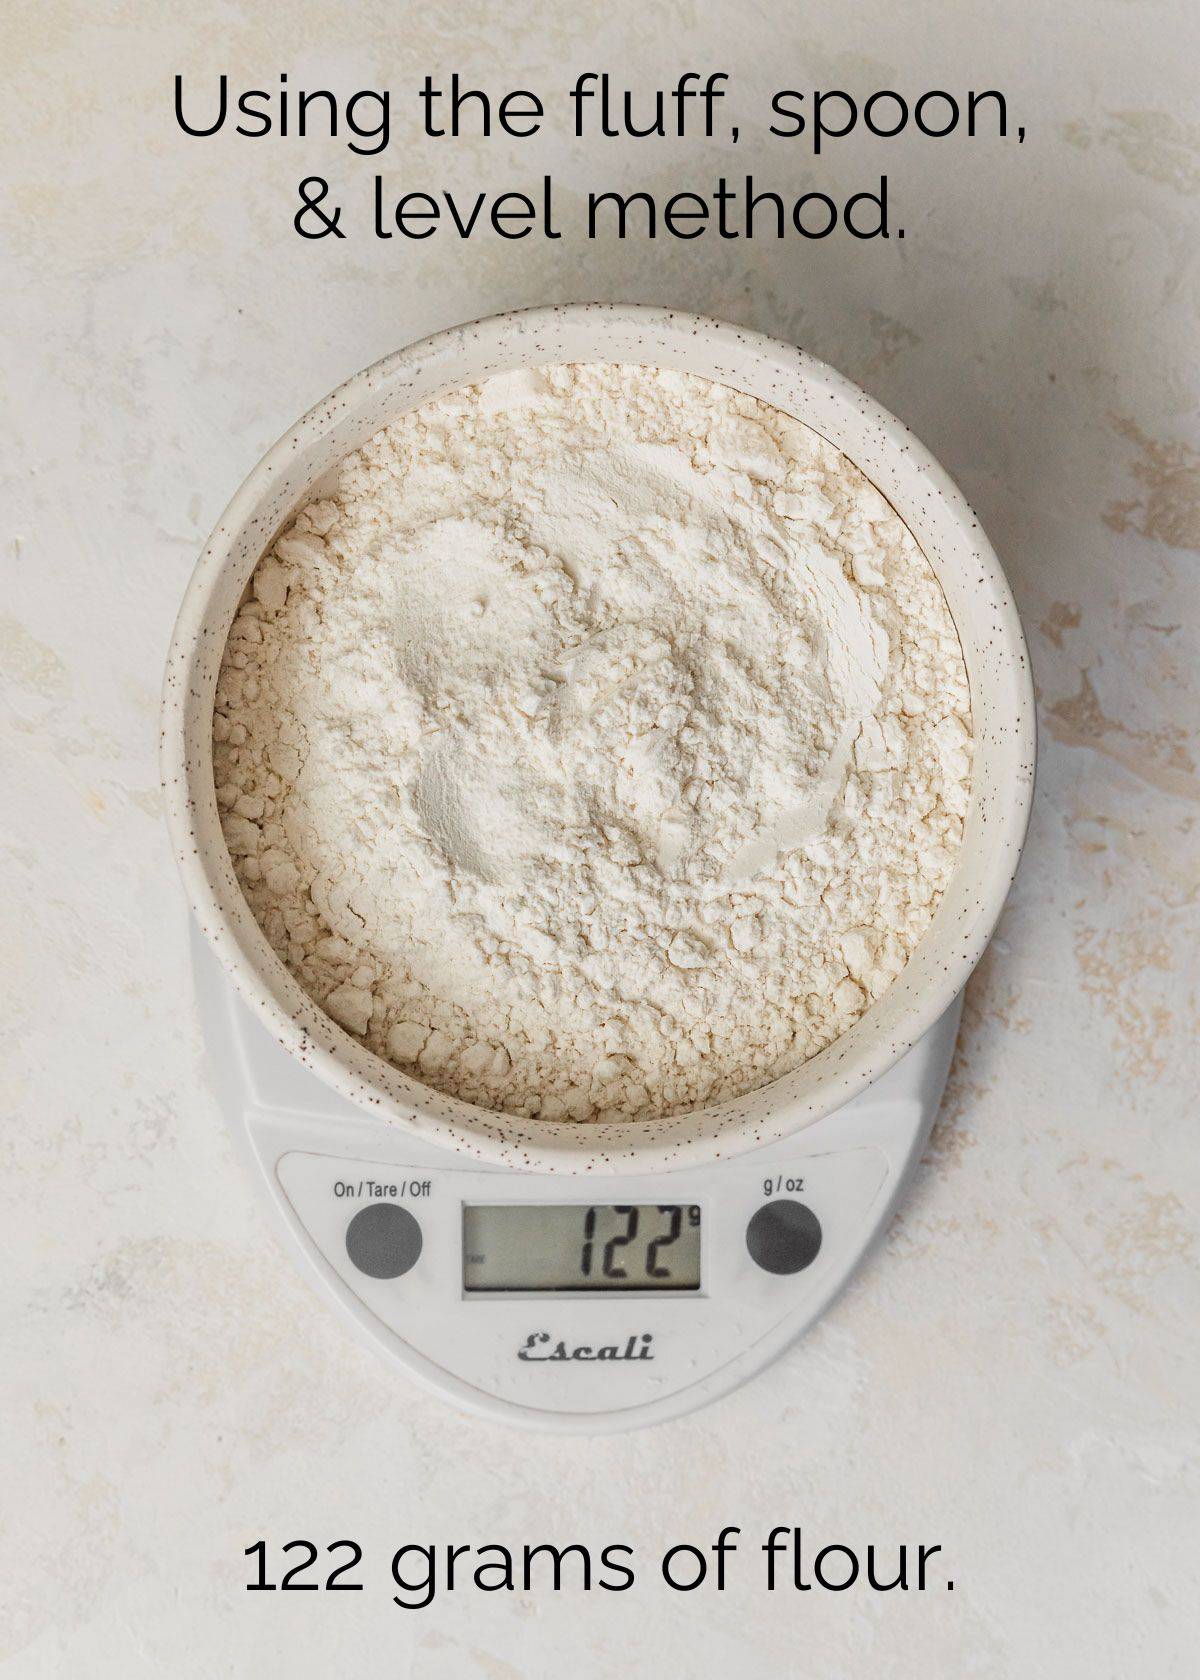
Fluff, spoon, & level - In the photo on the left, I used the fluff, spoon, and level method I showed you above. We ended up with 122 grams of flour. Not perfect, but pretty close to 120 grams (1 cup) of flour.
Scoop & level - But, in the photo on the right, I scooped the flour straight from the bag and packed it in with a knife. And I got 162 grams of flour. That is 40 extra grams. Friends, that's a whole ⅓ cup of extra flour, a.k.a. the same amount of flour I use in small batch oatmeal cookies.
One cup of flour is around 120 grams but even this varies baker-to-baker. In my kitchen, I consider one cup of flour 120 grams. But some bakers claim that one cup of flour is 125 grams or 130 grams. I've even seen one famous, not-to-be-named cooking website claim that a cup of flour is 155 grams. Just another example of how measuring cups are not accurate. 🤷♀️
Using accurate ingredients in small batch recipes
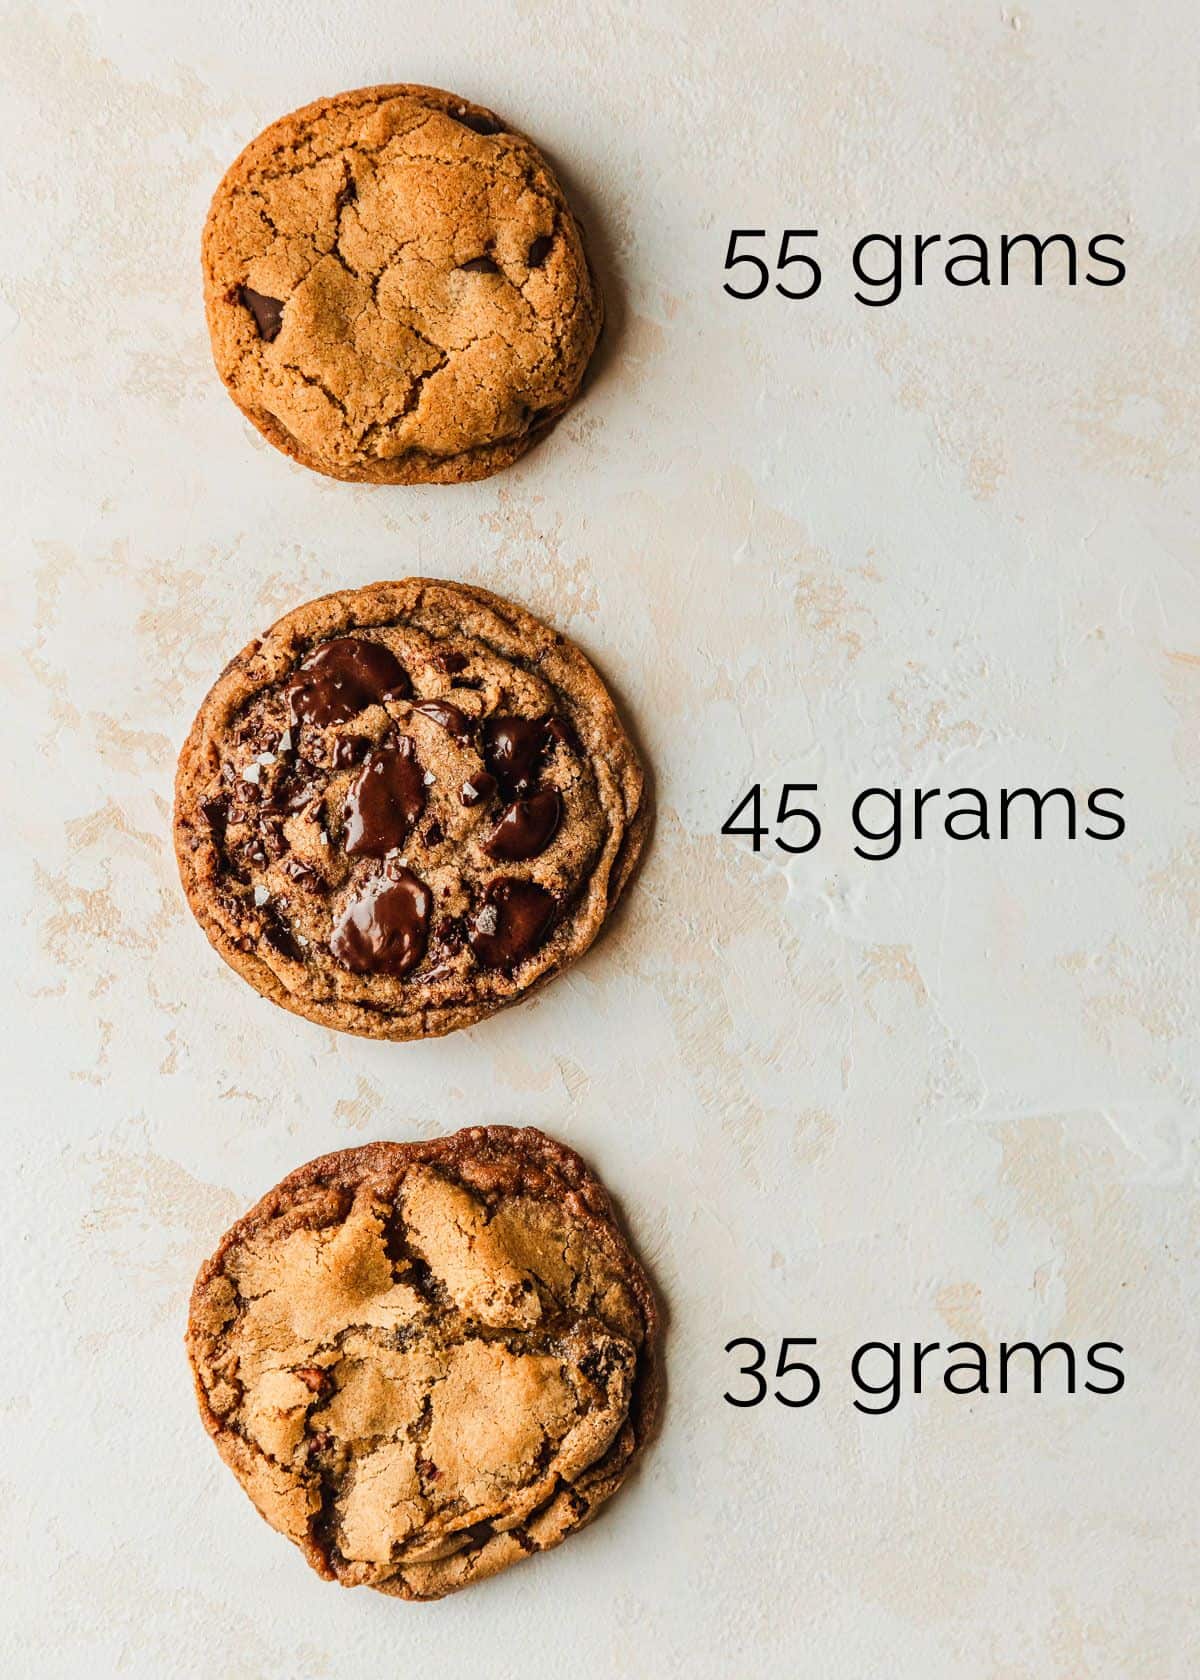
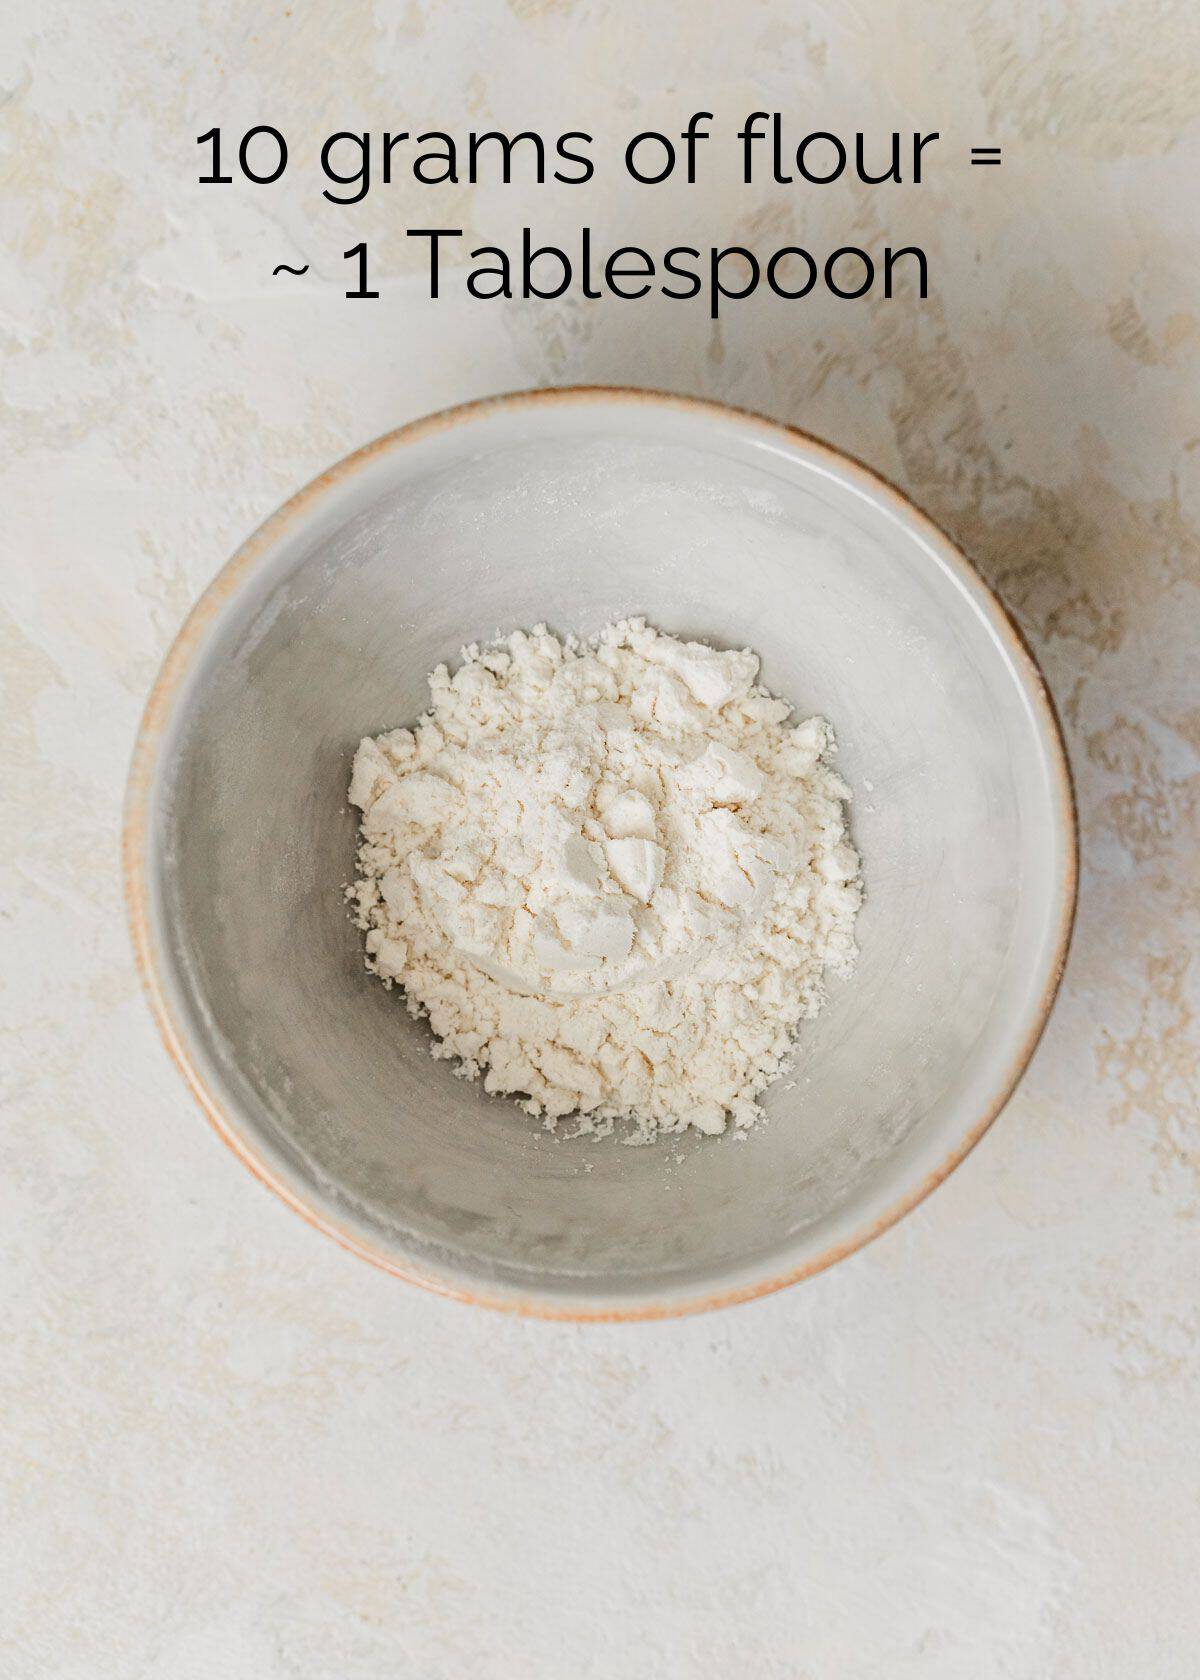
Ok, so how does a little extra flour actually affect your recipes? A lot actually! In the photo on the left, literally the only difference in these small batch chocolate chip cookies is 10 grams of flour. That's less than 1 Tablespoon!
As you can see, the recipe with 45 grams of flour came out perfectly chewy, crinkly, and totally amazing. The recipe with 35 grams is too thin and greasy on the edges. And the one with 55 grams is dry and crumbly.
While 10 grams of flour might not affect a regular recipe all that much, it can make or break a small batch dessert. That's because we're working with less ingredients so small changes make a big difference!
Using teaspoons
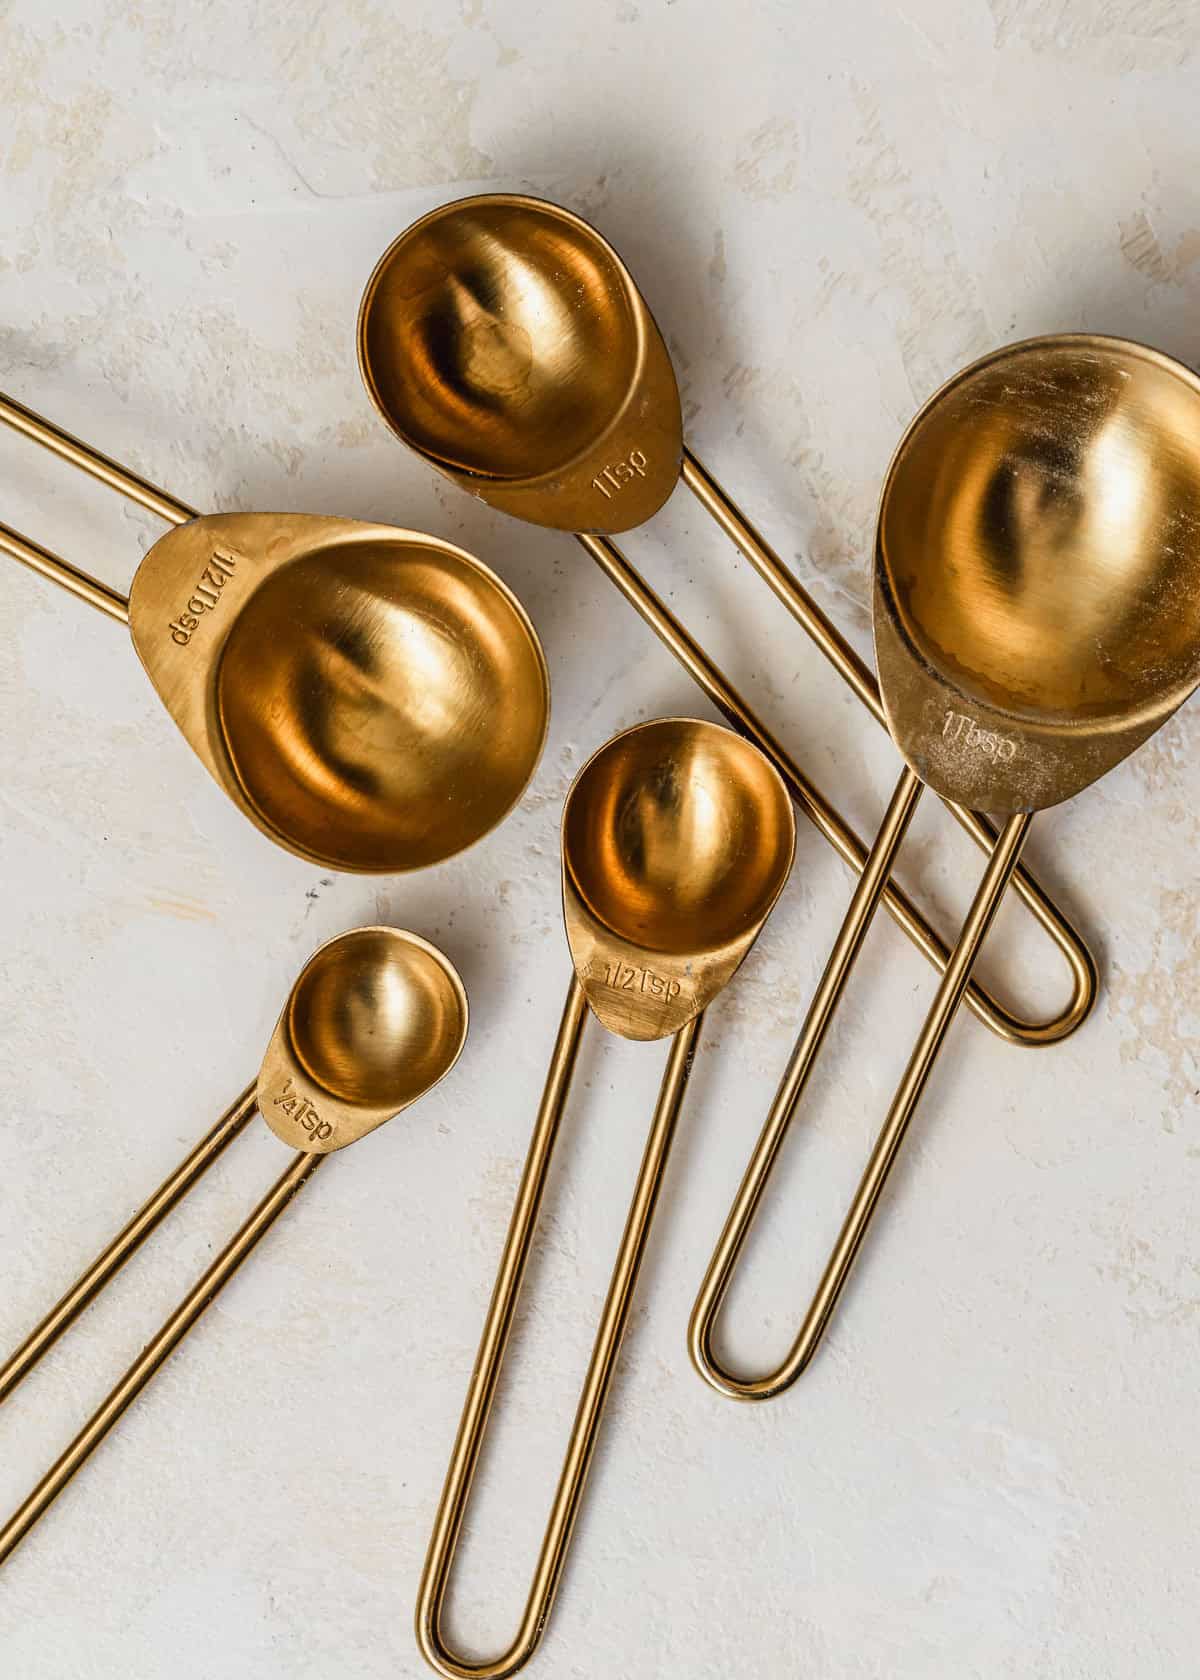
All that being said, I do use teaspoons when I'm testing and baking recipes. Teaspoons are great for measuring small amounts of ingredients like leavening agents (baking soda, baking powder, cream of tartar), spices, and vanilla extract. Since it's such small amounts, you don't need to weigh these ingredients.
Any other questions about measuring ingredients? Let me know, I'm here to help!
Measuring Ingredients for Small Batch Baking
Equipment
- Kitchen scale
- Whisk
- Measuring cups
- Straight edge (butter knife, etc.)
Ingredients
- Flour, cocoa powder, or other dry ingredients
Instructions
Kitchen Scale
- First, turn on the scale and place your mixing bowl on top. Zero or tare the scale so you aren't weighing the bowl.
- Add the amount of ingredients that the recipe calls for. Make sure to zero or tare the scale in-between each ingredient!
Measuring Cups
- Start by whisking the flour until it's light, fluffy, and there are no big chunks. Flour tends to settle in bags or jars, which can make it tightly packed. You want to break that up so you don't end up with too much flour in your recipe.
- Next, spoon the fluffed flour into the measuring cup until it's overflowing. Don't pack the flour into the cup!
- Lastly, scrape a straight edge (like a butter knife or bench scraper) across the top of the measuring cup to level the flour. Again, you want to get rid of extra flour without packing it into the cup.

Did you make this recipe? I'd love to hear what you think!