
I know you have just one banana wasting away on the counter right now. But instead of throwing it away, why not turn it into small batch banana muffins? This one-bowl, no mixer recipe makes 6 bakery-style, sugar topped muffins in just 30 minutes. And you can add nuts or chocolate chips to make them even better!
I'm convinced there are two types of people in the world. One group is people who actually eat the bananas they buy at the store every week. And the other is the kind who conveniently forget about them until it's time to make banana bread.
I tend to be the latter. And usually my cravings strike right around 10pm. Luckily, that's where these muffins come in!
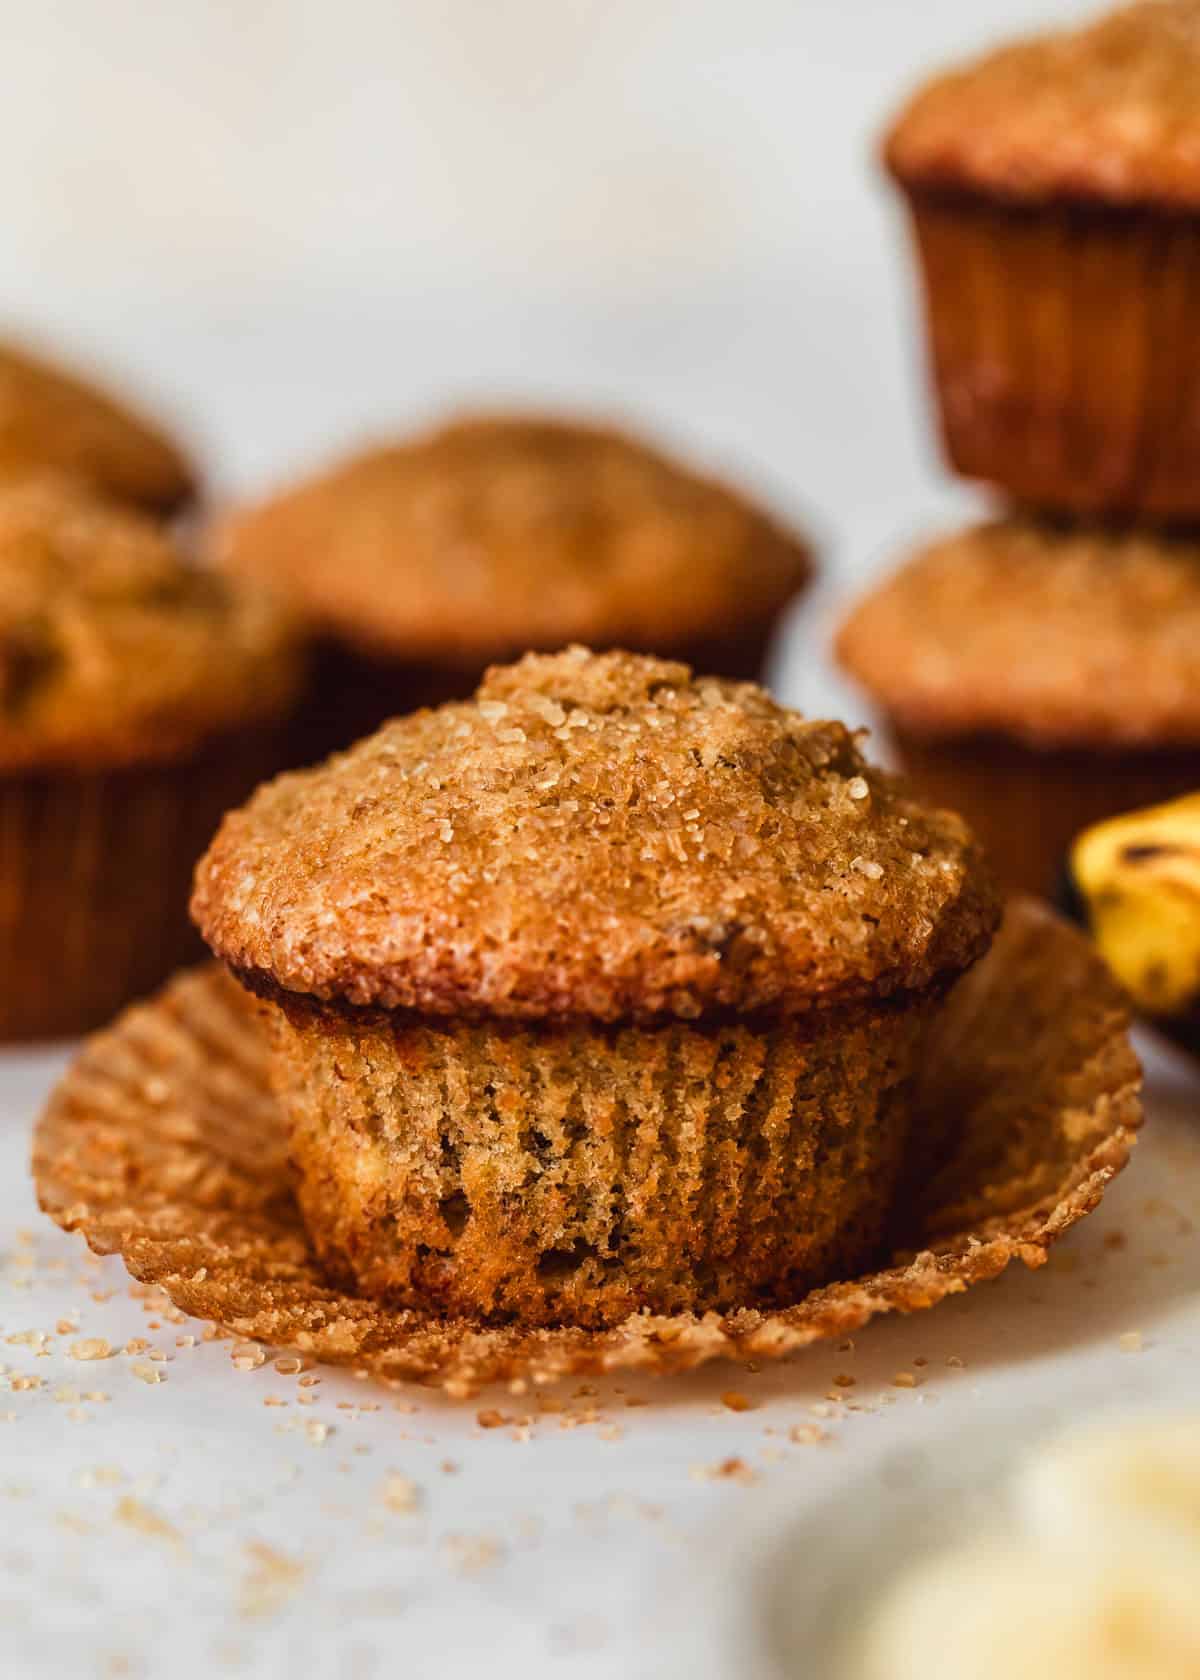
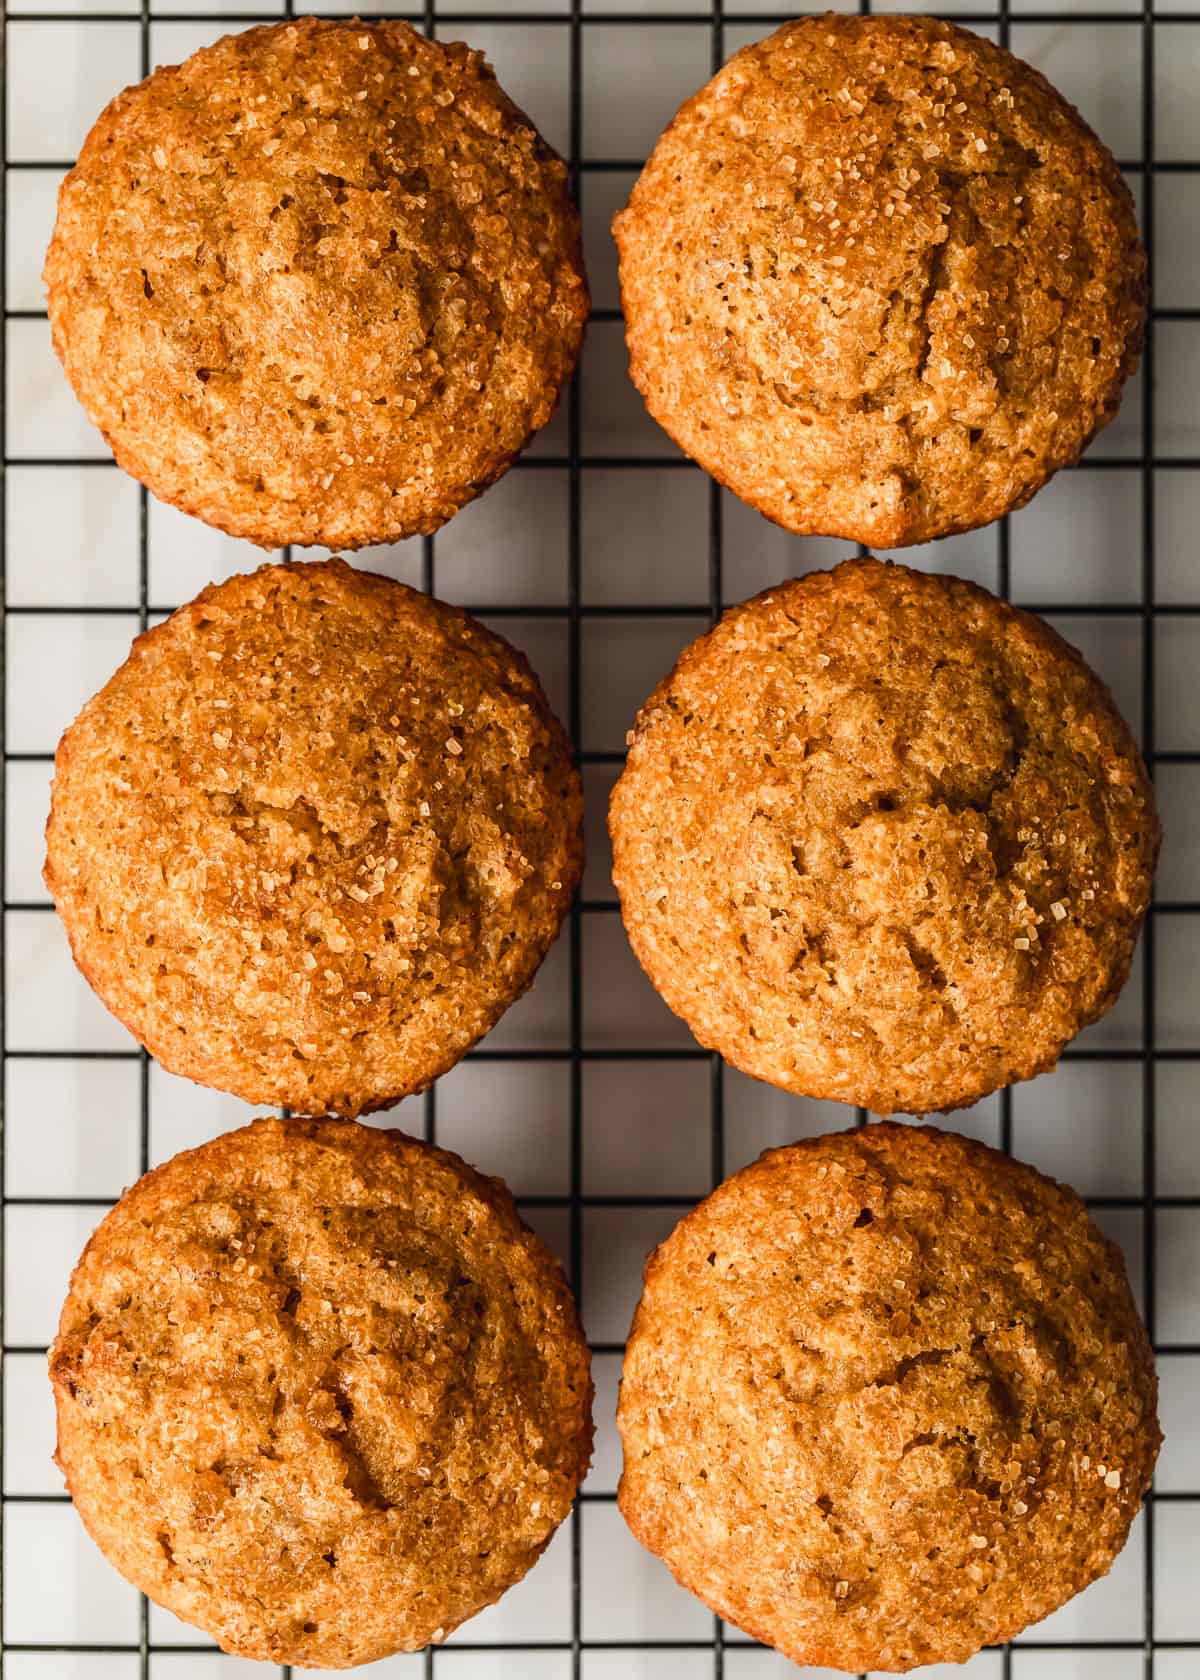
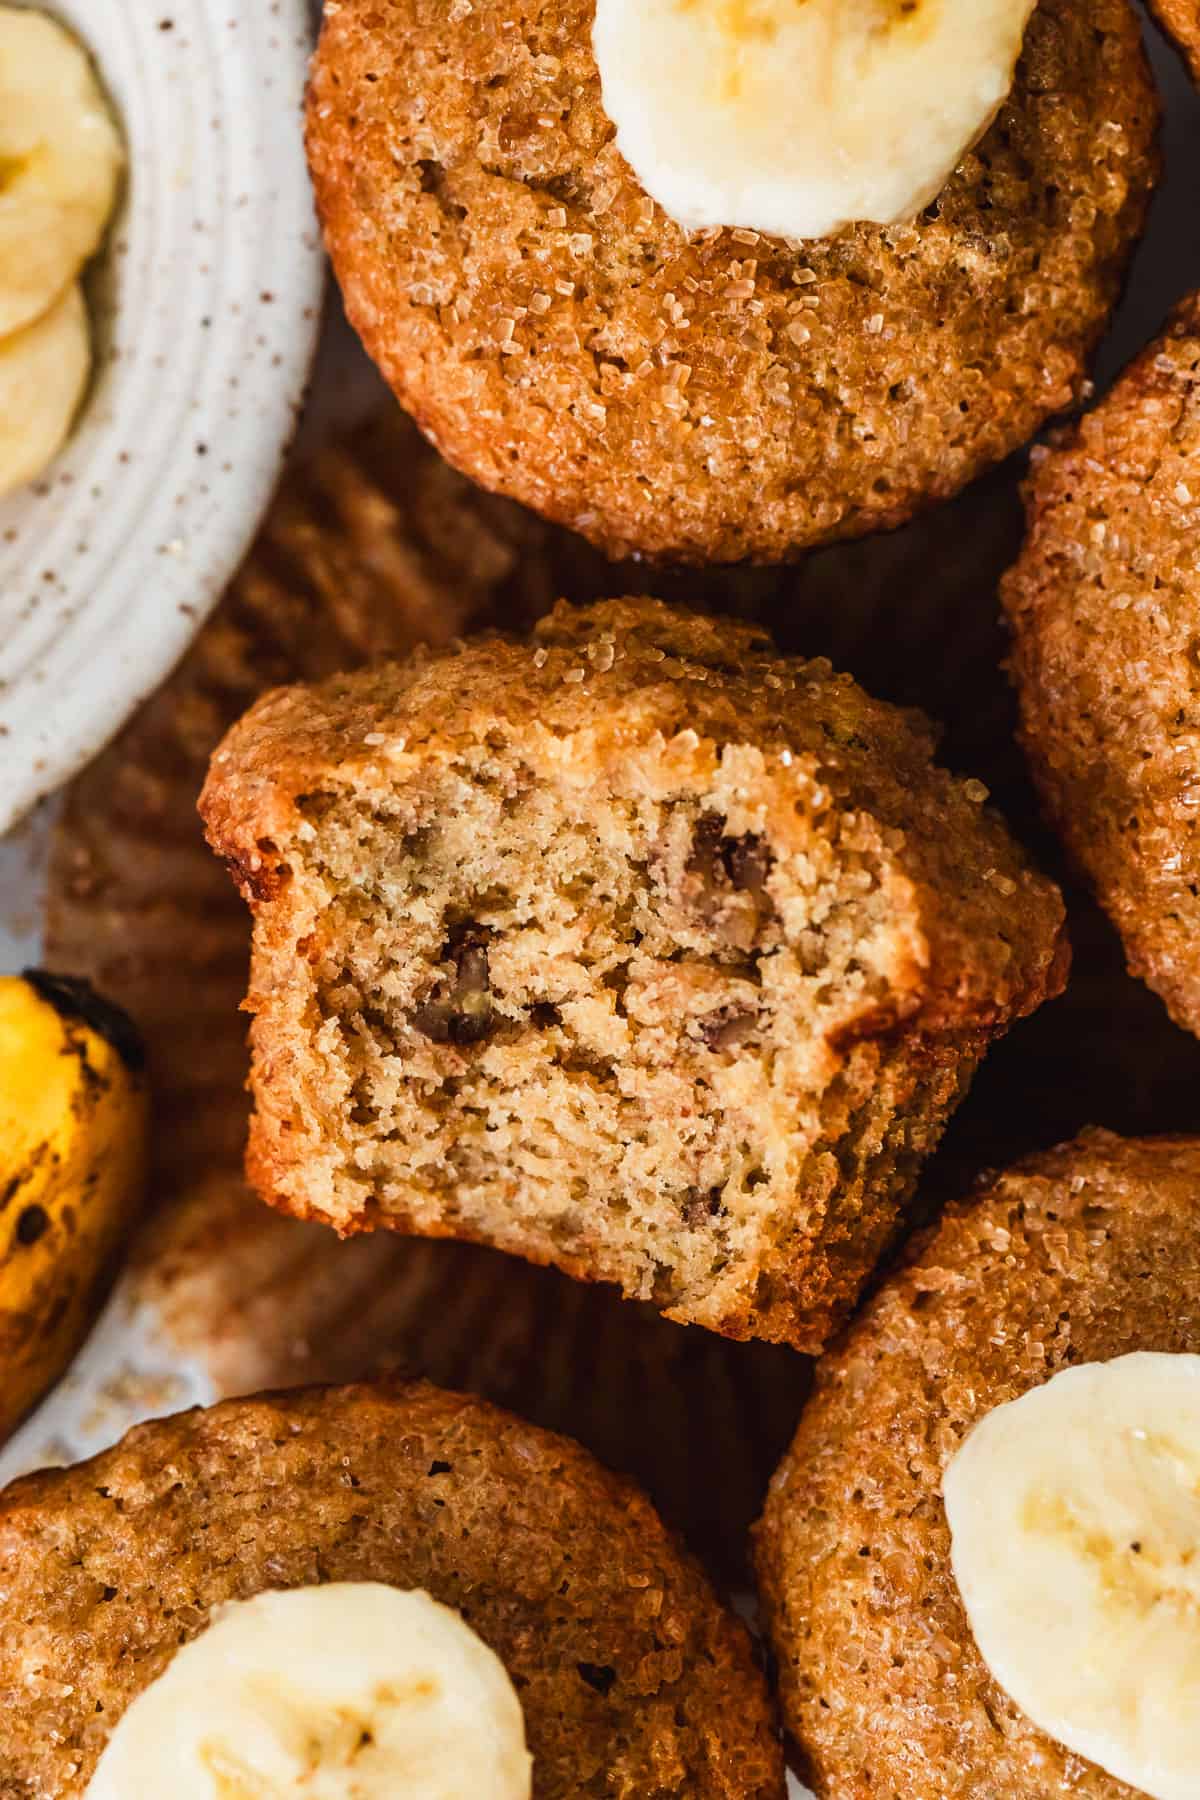
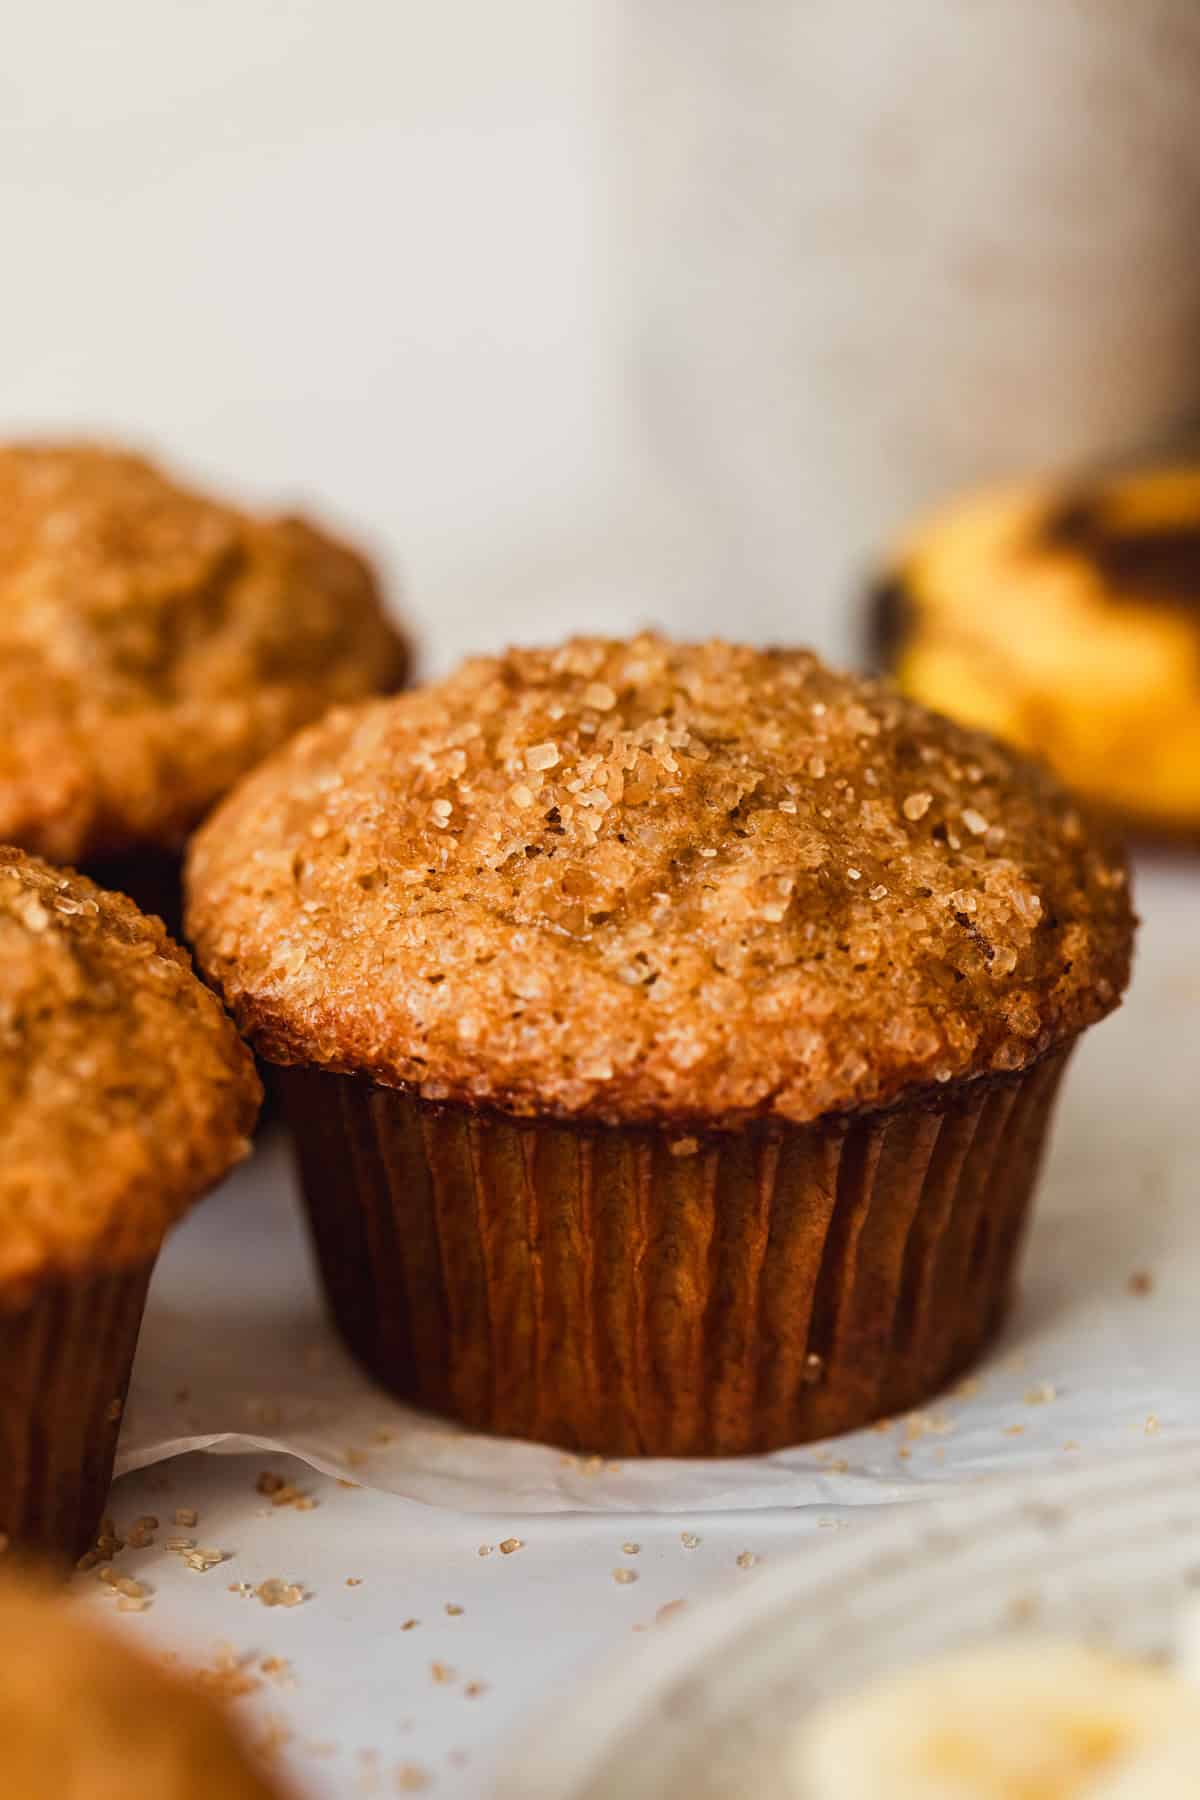
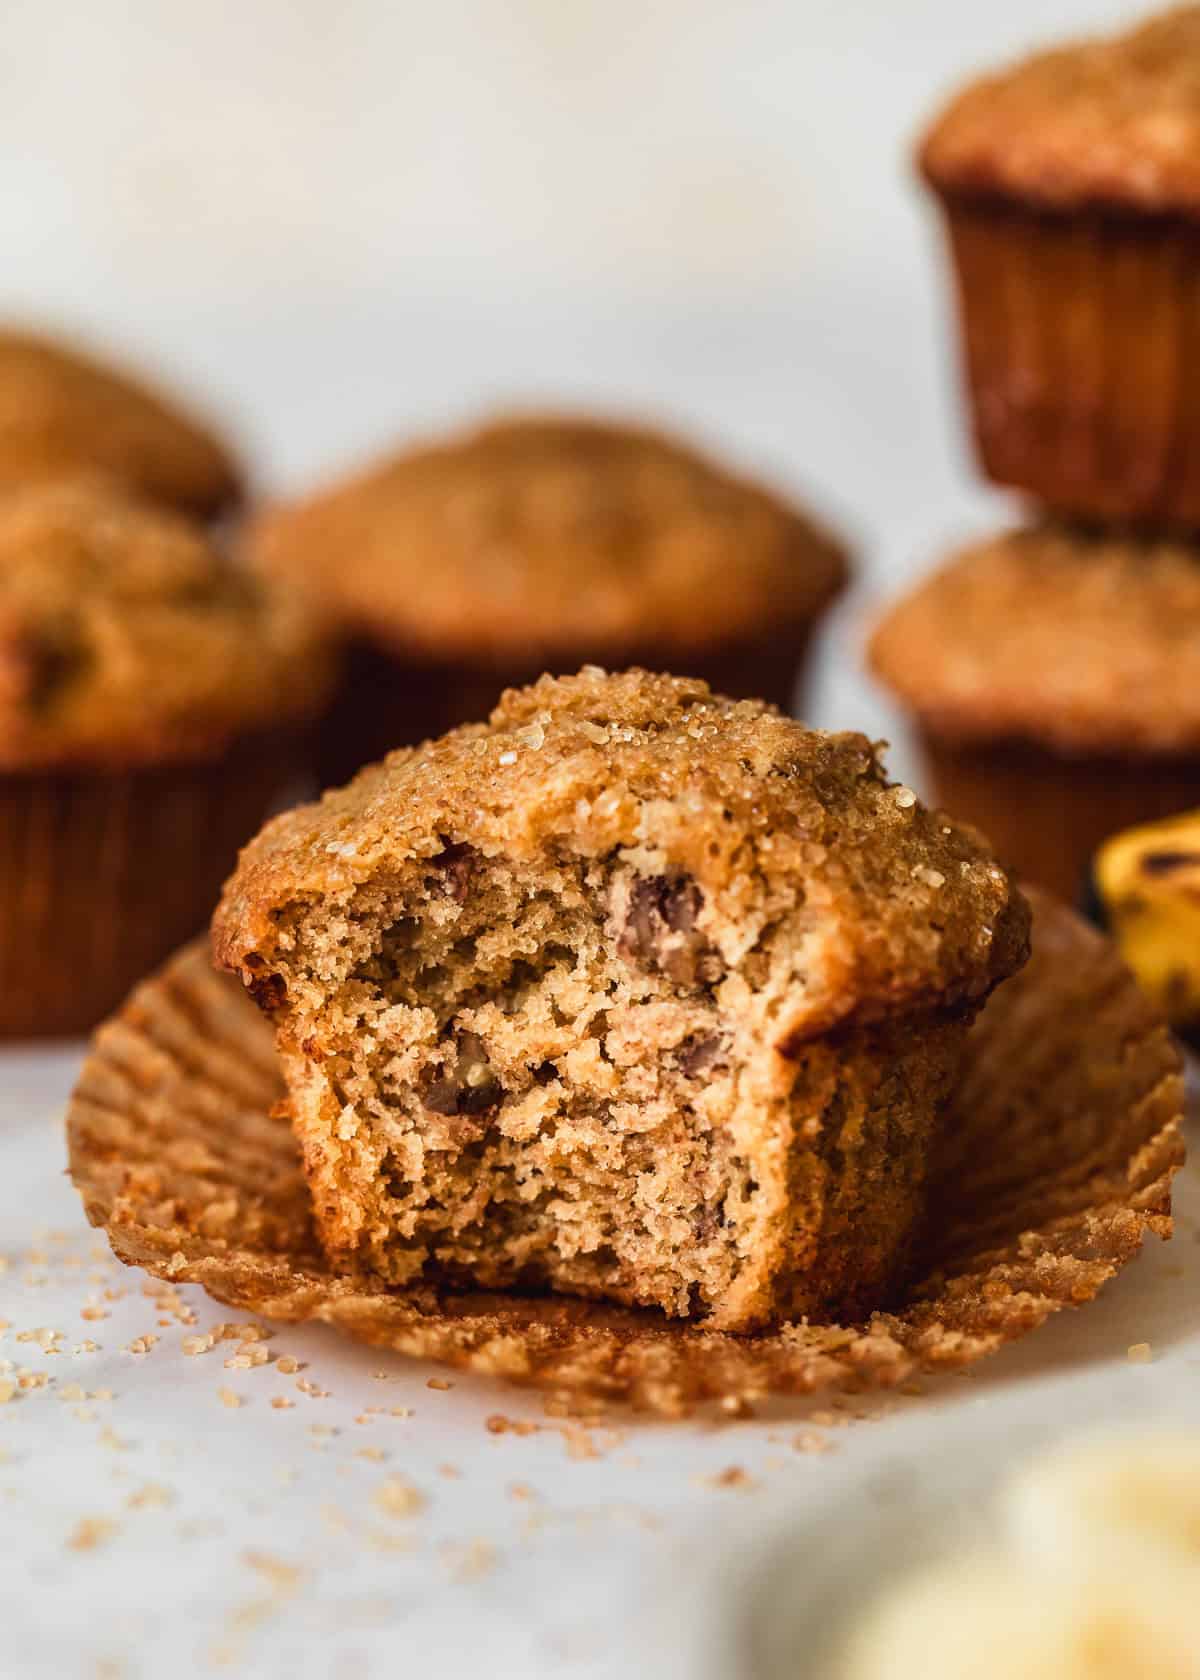
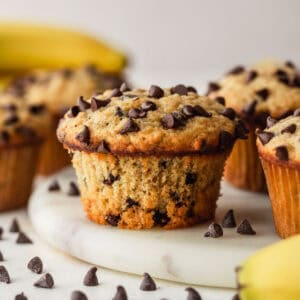
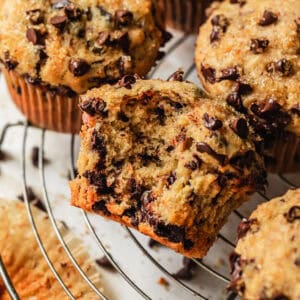
As a trained pastry chef, I'm well aware that there are lots of bad muffins out there. But these ones do not fit in that category. Like my small batch cinnamon rolls or these incredible SB blueberry muffins, I originally developed these muffins in pastry school and they're my forever go-to. Fluffy centers, crackly sugared edges, and those big, gorgeous domed tops. Even better, this recipe comes together in just one bowl and there's no mixer required.
If you love a big ol' muffin that fits perfectly in the palm of your hand and goes lovely with a cup of coffee, you can't miss out on this recipe. Let's put that banana to good use, yes?
Just one banana
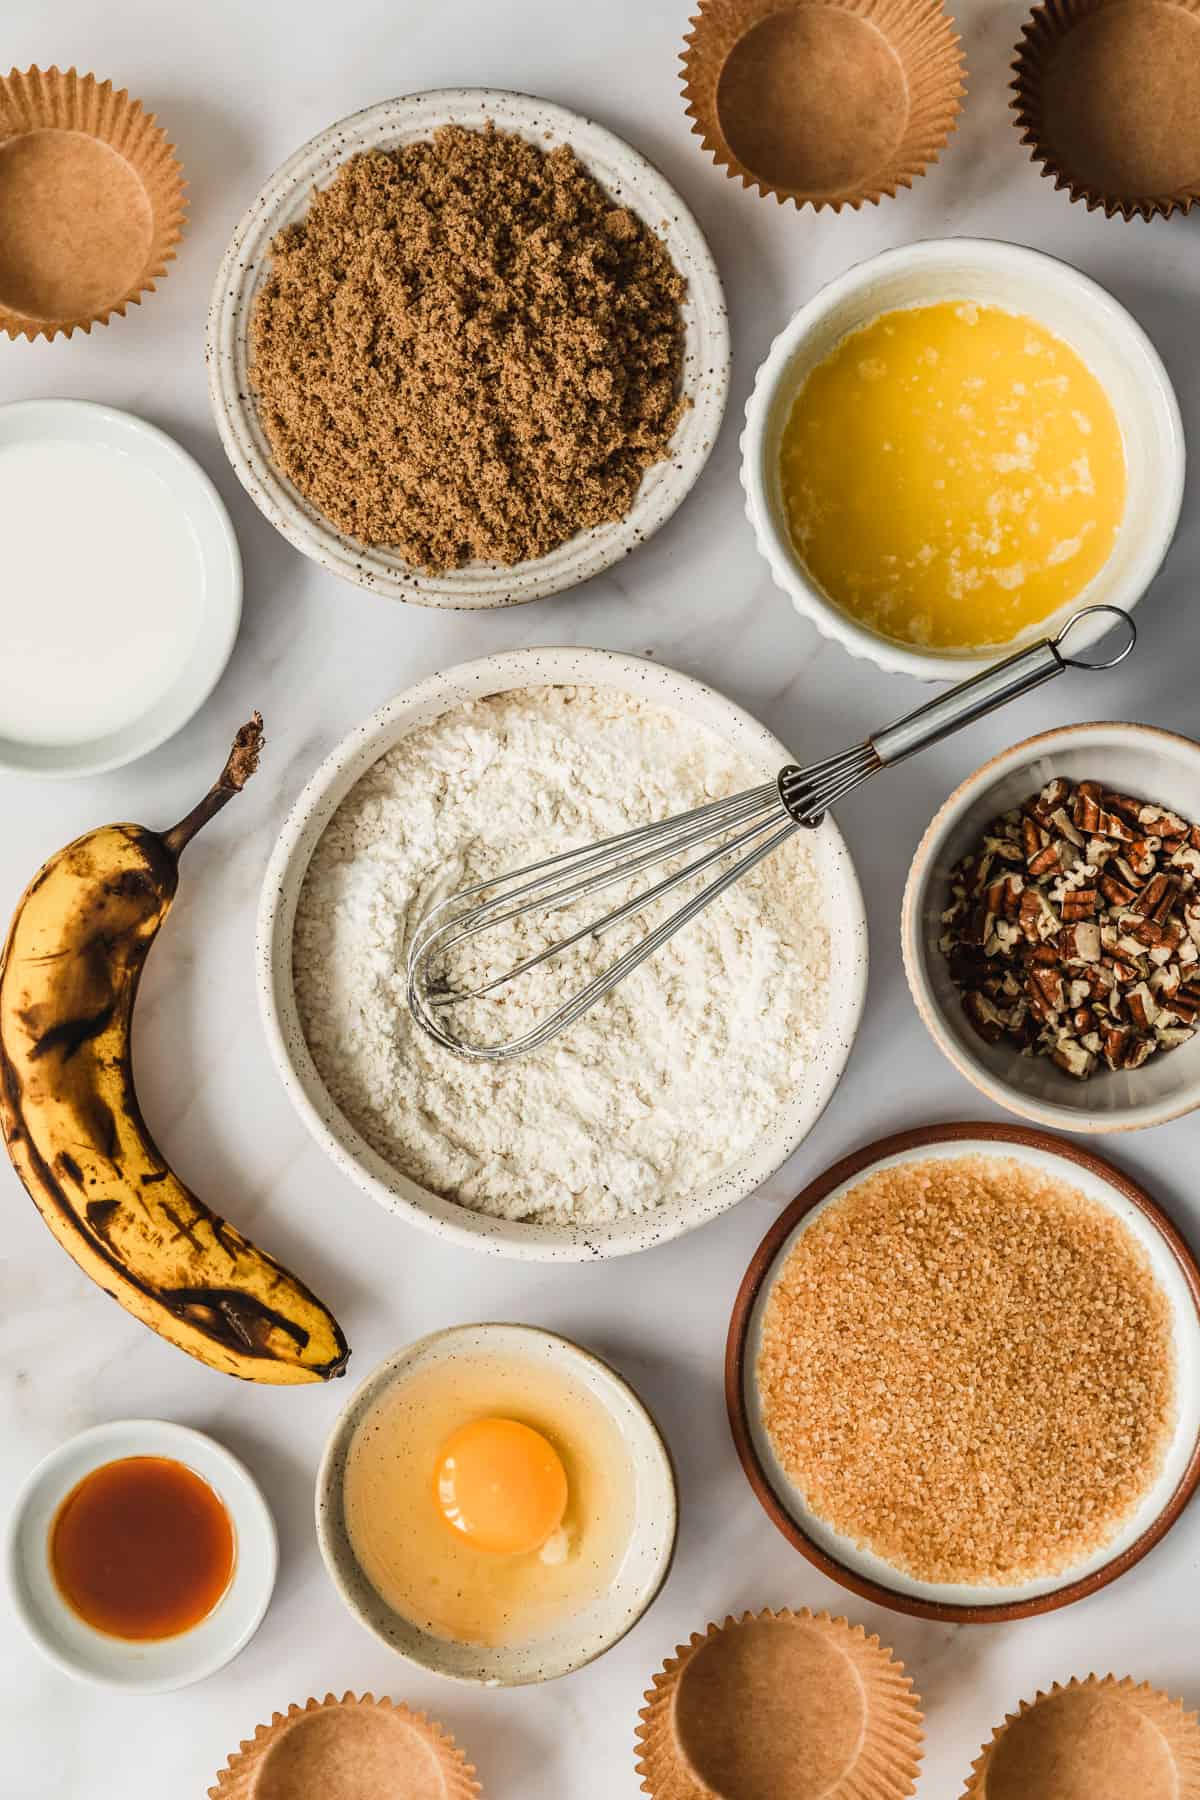
You just need one big ripe banana to make this recipe! Bananas are ready for baking when they're fragrant and have big, brown blotches all over them.
Other than the banana, you'll need all purpose flour, baking powder, Kosher salt, unsalted butter, brown sugar, an egg, pure vanilla extract, and whole milk. Demerara sugar, a.k.a. raw sugar, is optional for sprinkling but not really cause it's my favorite part!
P.S. if you want to add chocolate chips, try these chocolate chip banana muffins instead! This recipe also makes 6 bakery-style muffins.
Step-by-step instructions
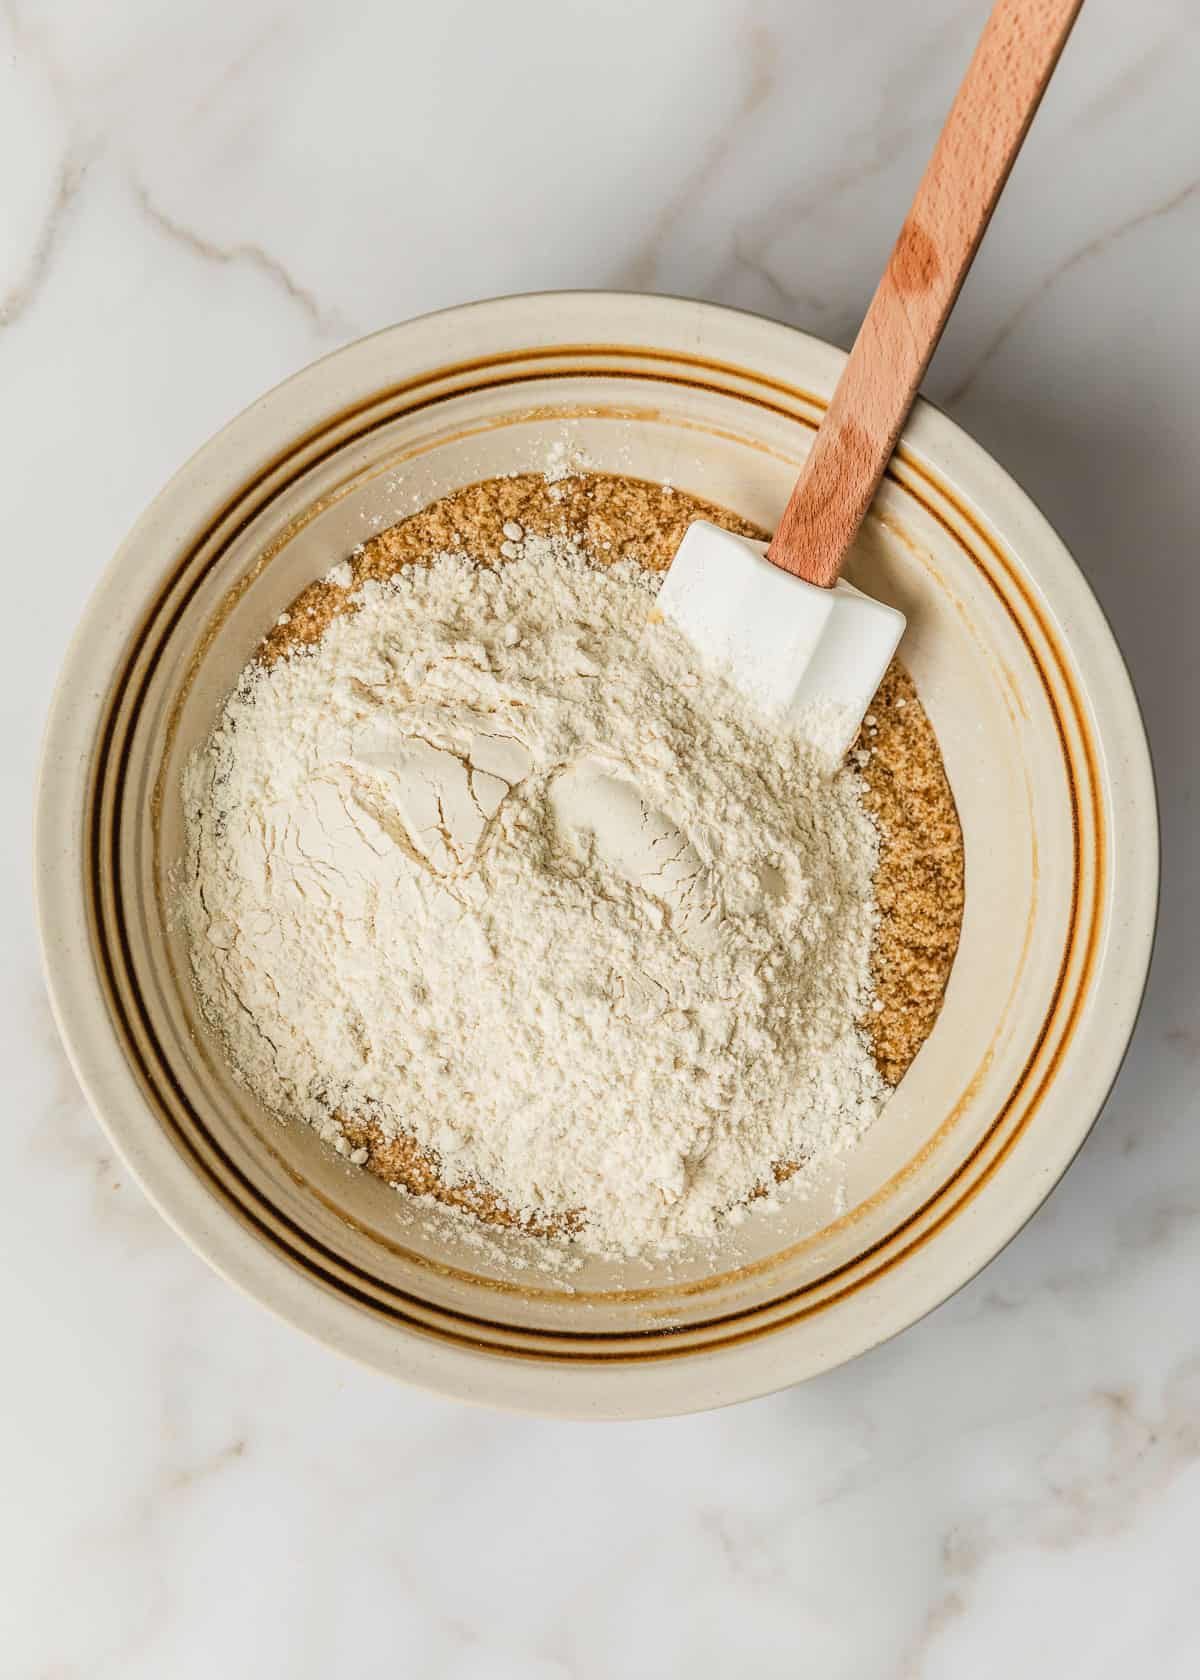
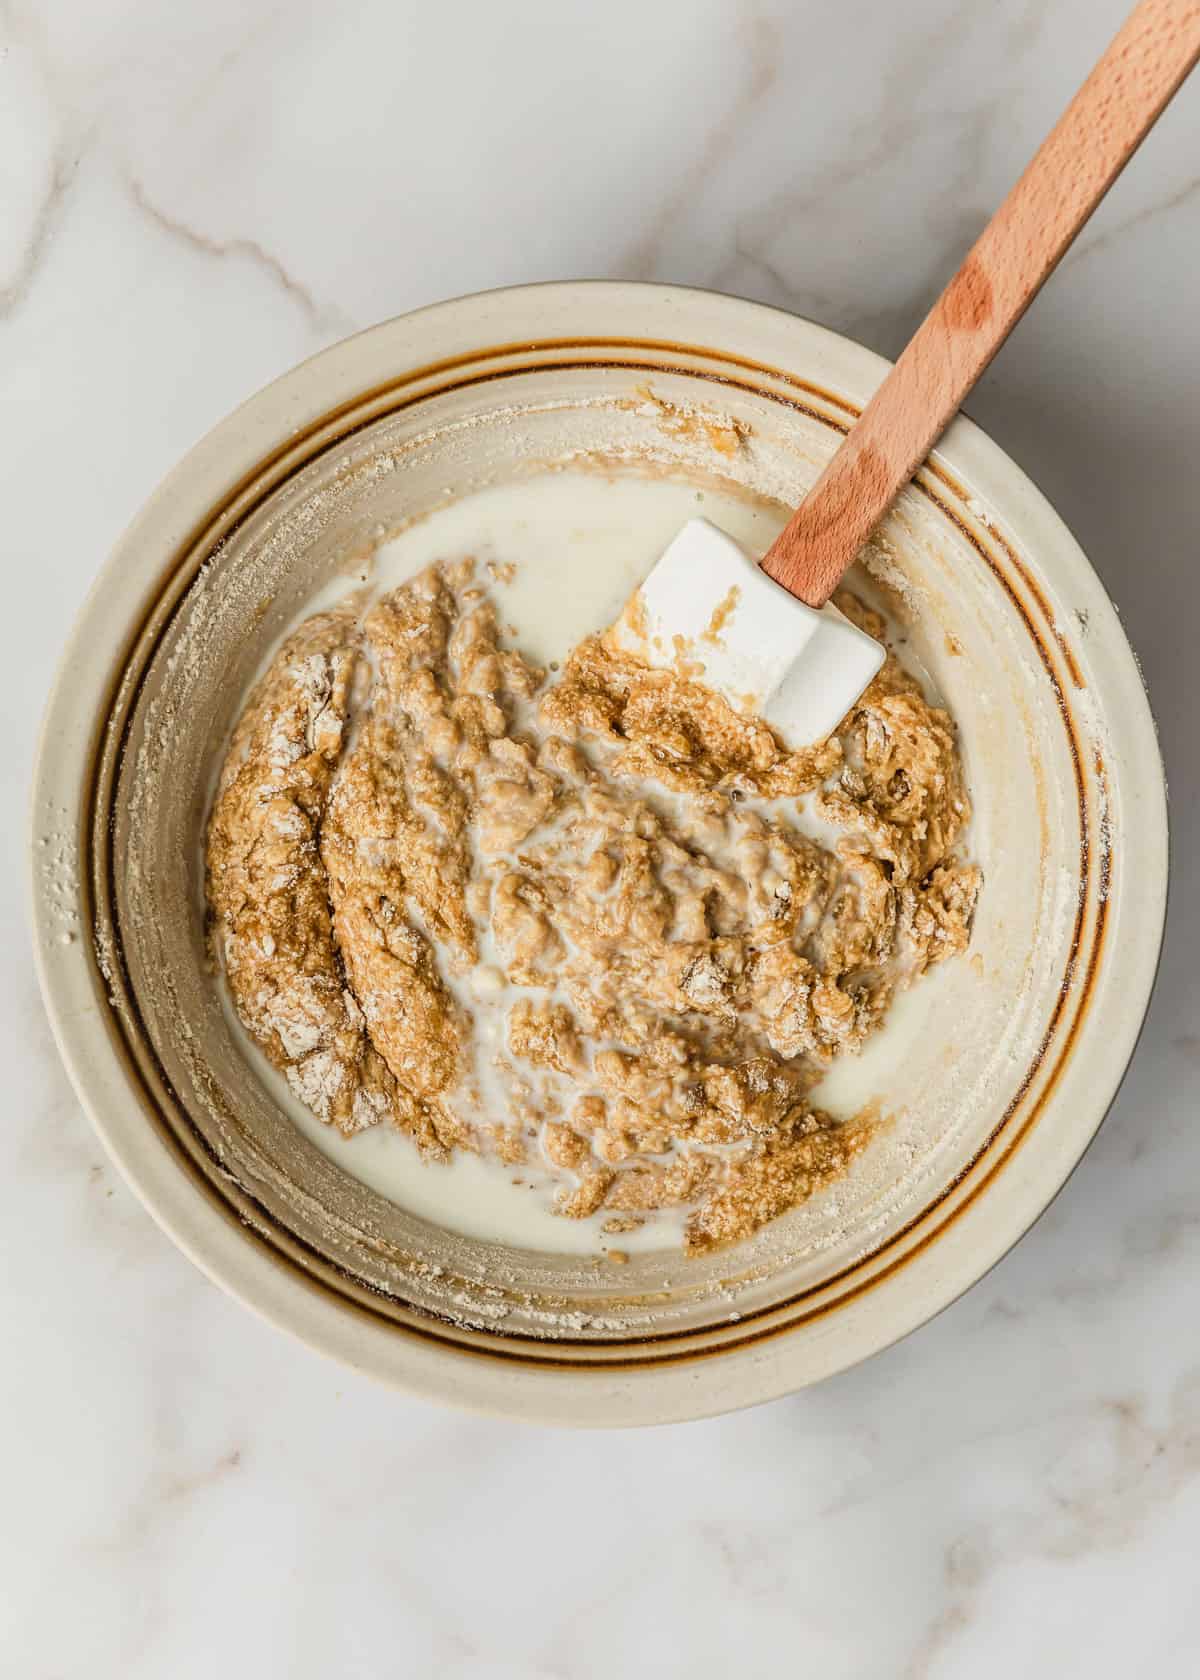
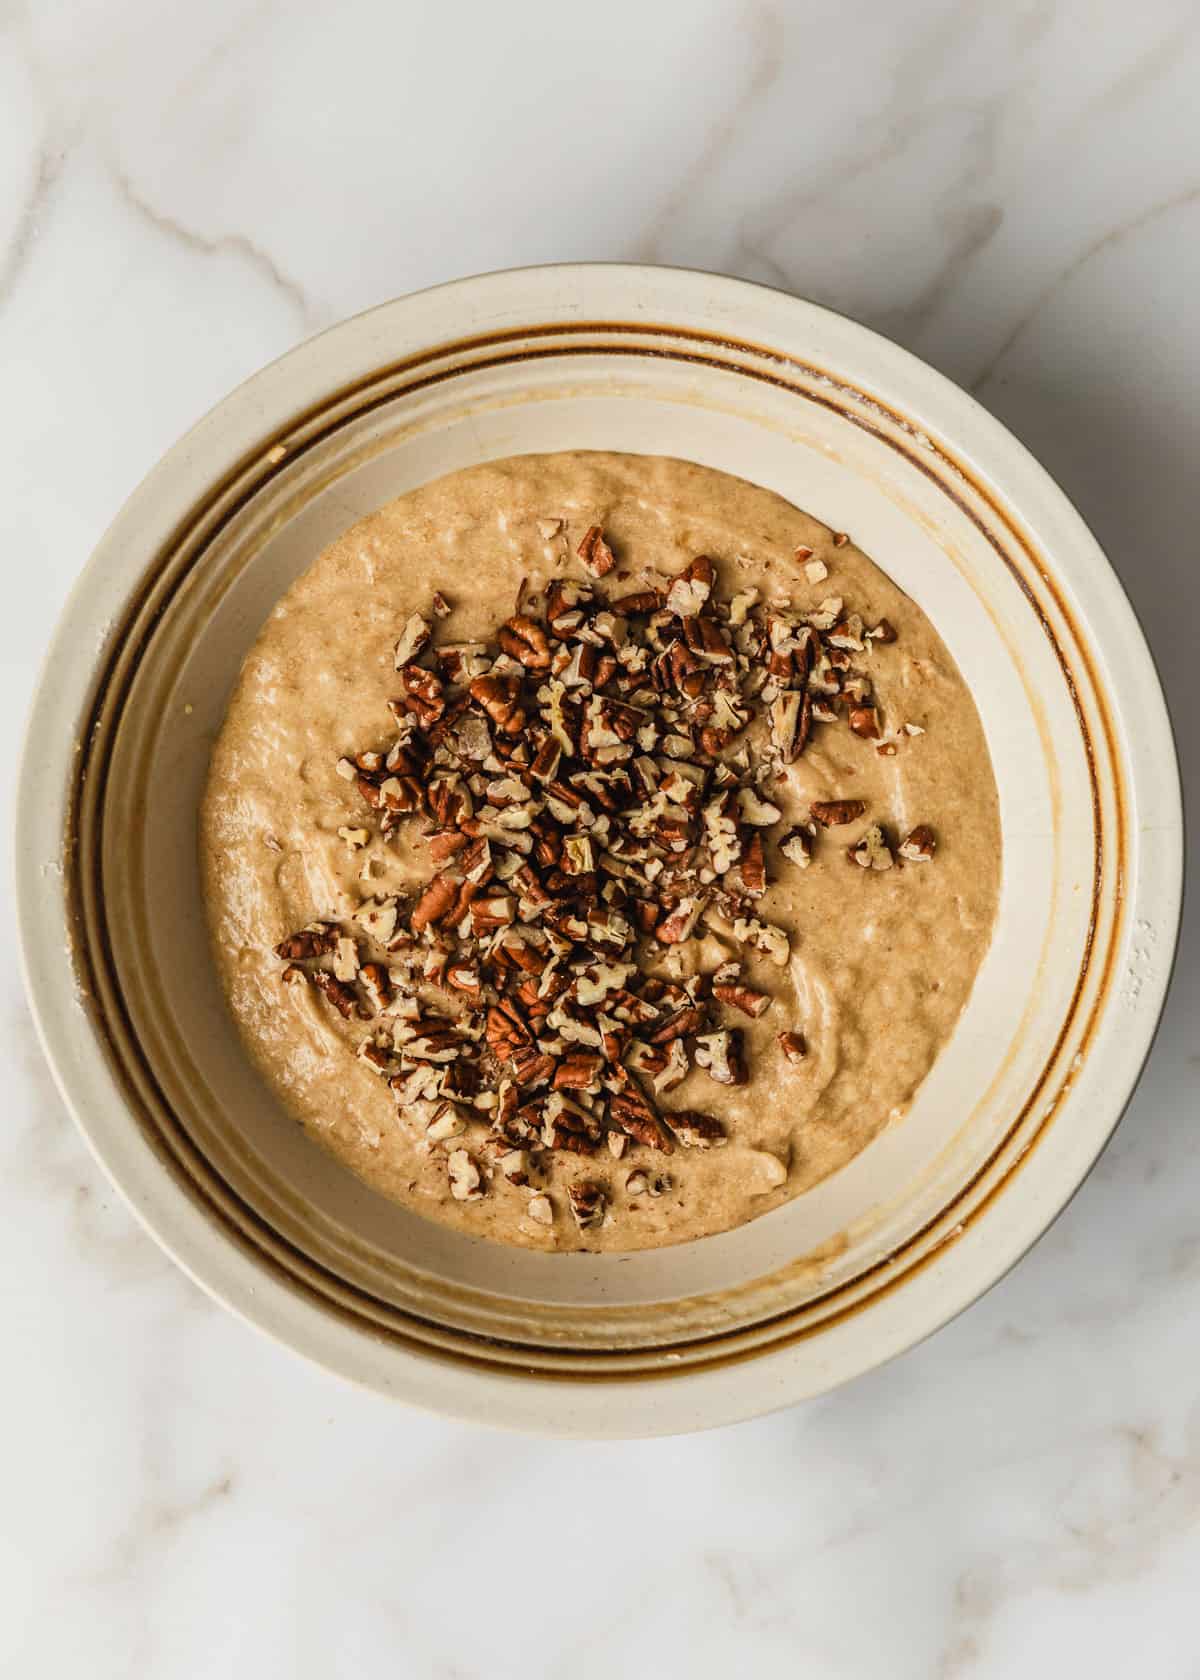
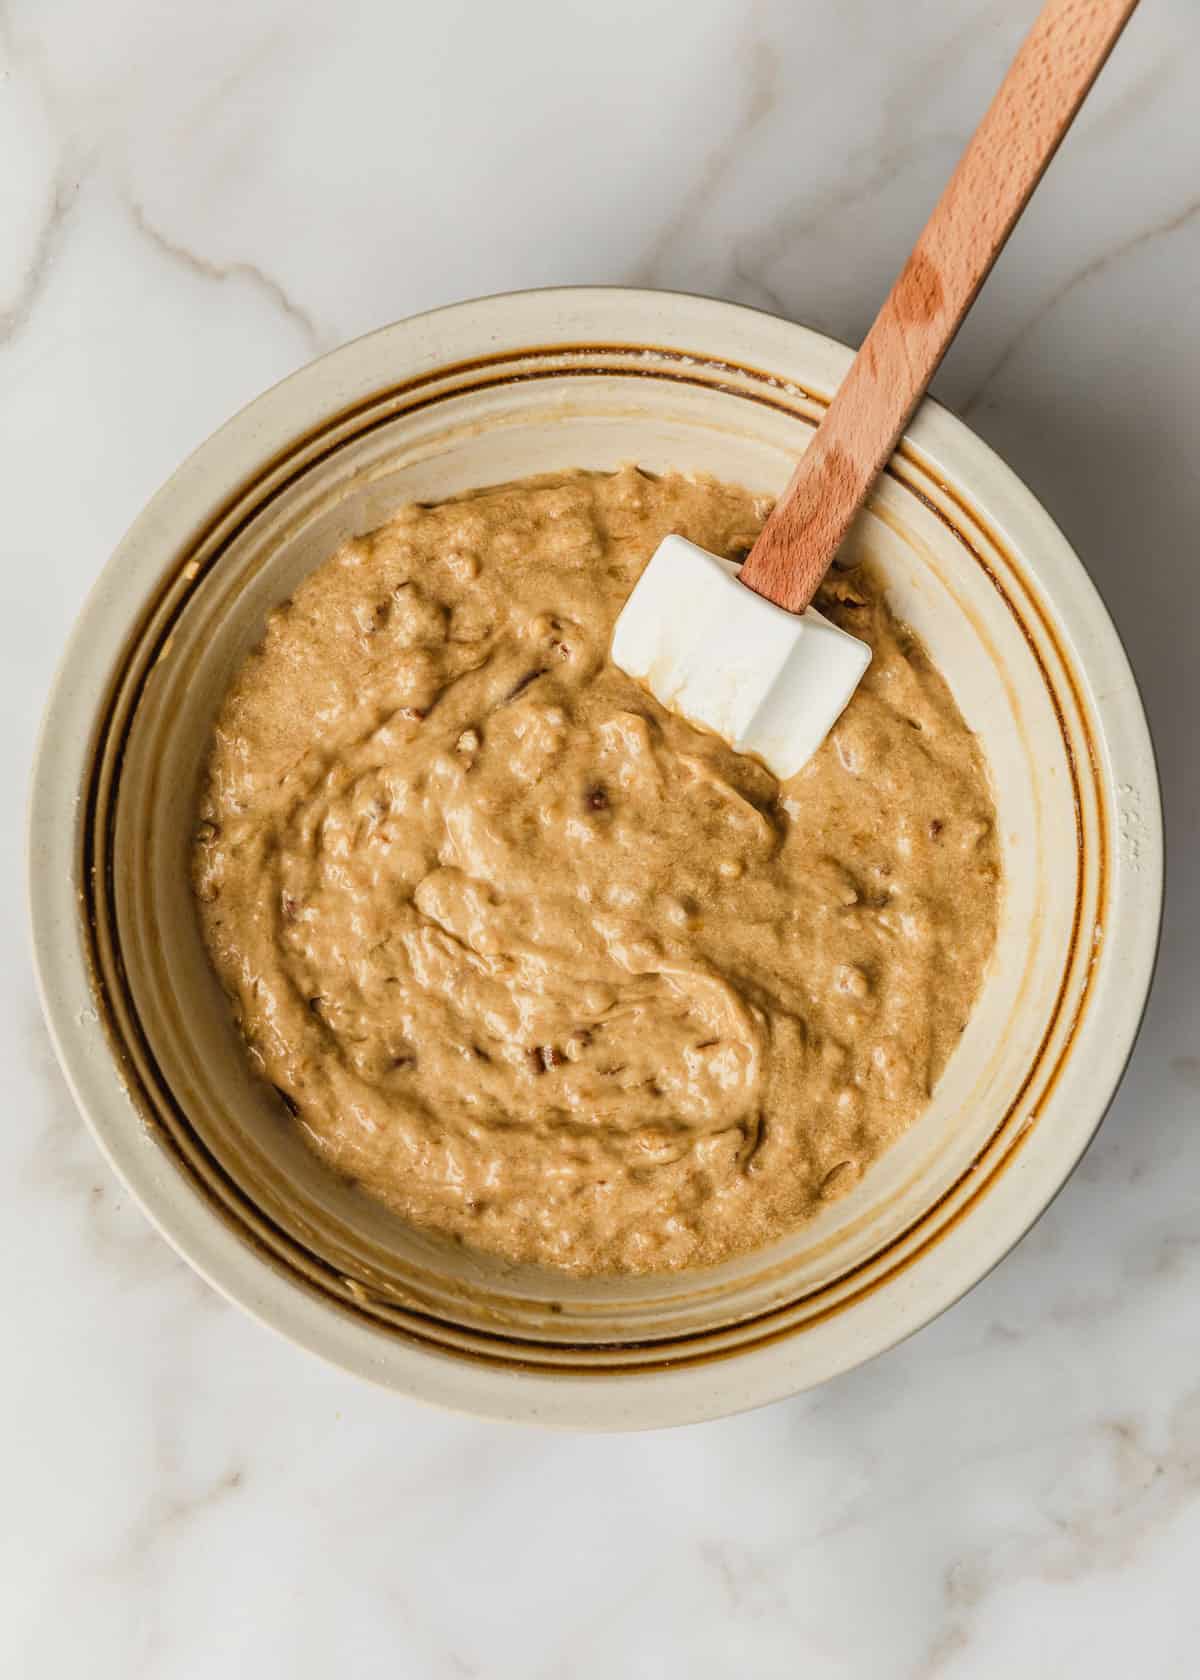
The muffin batter should be lumpy but should not have big clumps of flour in it. Don't stress, the lumps will dissolve in the oven.
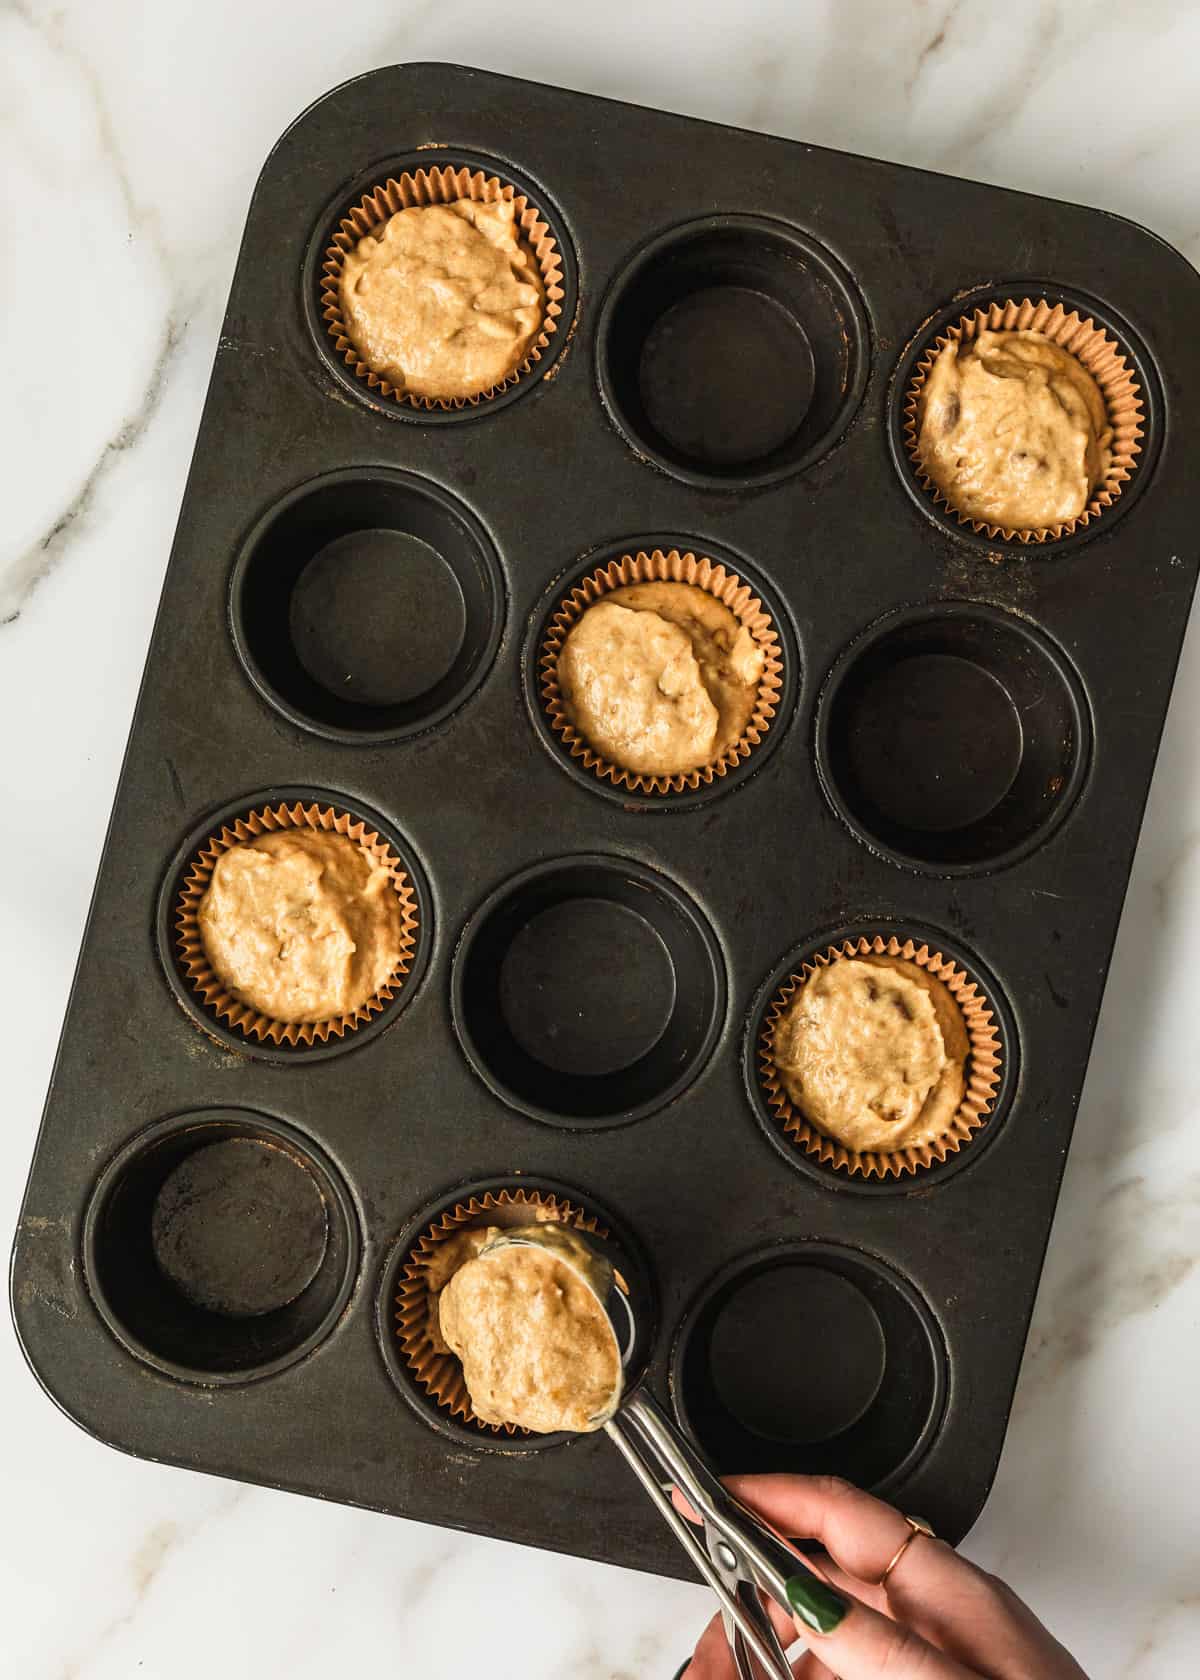
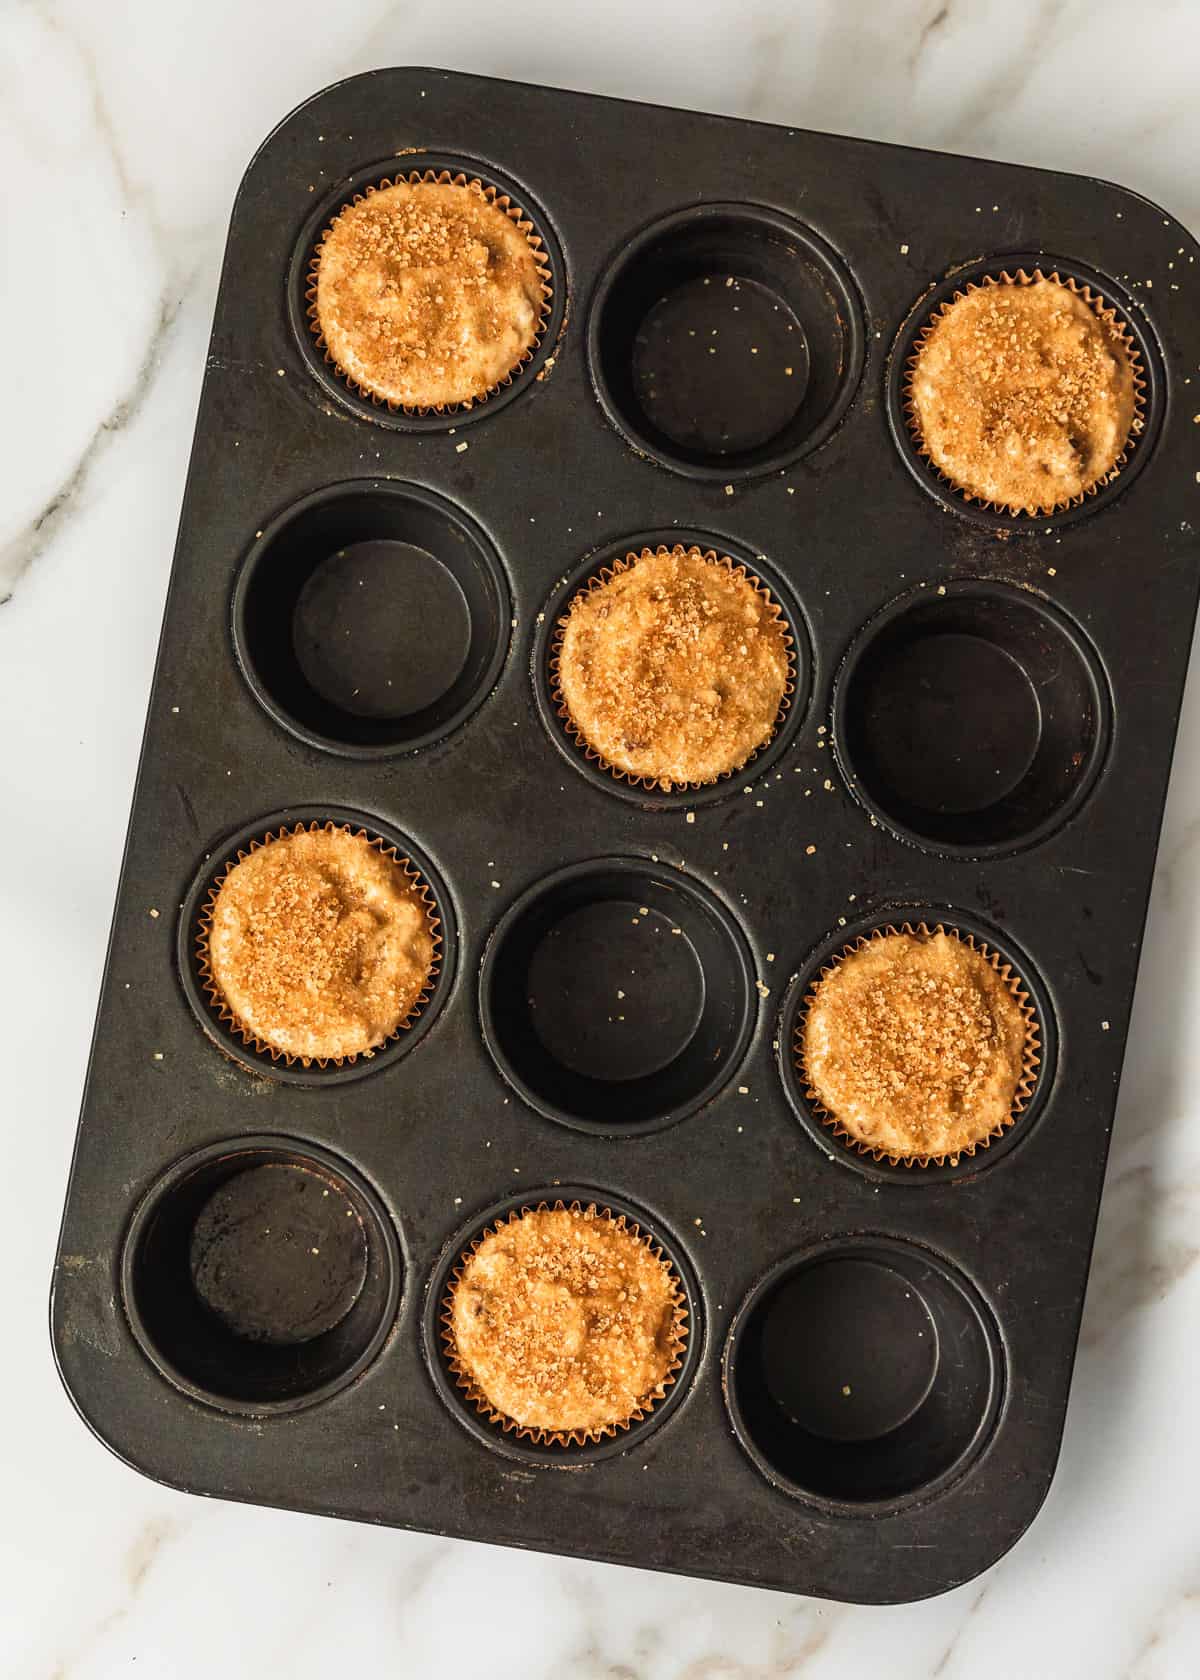
You want to fill the muffins all the way to the tippy top. Unlike cupcakes, the muffins won't over-flow! But, if you want to stretch this into 8 muffins, you can just fill them about ⅔-3/4 of the way.
Baking secrets for domed tops
If you want that classic bakery-style look, there are a few (super easy) ways to get there. I learned all of these tips in pastry school, so you know they're good!
- Start with a high temp - we'll bake the muffins at 400°F (204°C) for about 5 minutes and then reduce the heat. That initial high heat will help the muffins rise. Then, the lower temp will help them bake evenly.
- Fill them all the way to the top - I would never tell you to do this with cupcakes. But muffin batter won't flow all over the place. Instead, the muffins will get super tall and spread out for that domed top!
- Space the muffins out - instead of using a 6-cup muffin pan, I like to use a 12-cup pan, leaving space in-between each muffin. This allows for better airflow and better rising.
- Let the batter rest - all you need is 20-30 minutes which gives the baking powder a bit of a head start. The batter will be super fluffy when you scoop it and will rise even more while it's baking!
Storing & freezing muffins
- Store - place the muffins in an airtight container and keep them at room temp for 2-3 days. The sugar topping tends to dissolve when the muffins are covered, so if you want to prevent this, use a cake dome instead.
- Freeze - pop the muffins in a freezer bag or container lined with parchment paper. Freeze for up to 3 months and defrost at room temp for 1 hour.

When it comes to small batch baking, I always recommend using a scale to measure the ingredients. Just a small amount of flour can make or break an entire recipe. But if you don't have a scale, use the fluff, spoon, & level method to measure flour, cocoa, & other dry ingredients. Here is a whole guide on how I measure ingredients for small batch baking!

If you try this recipe, I would love if you left a star rating and review. I read every comment and love hearing what you think about my recipes. Thanks so much for supporting Midnight Bake Club!
30-Minute, Small Batch One Banana Muffins
Equipment
- Muffin pan
- Muffin liners
Ingredients
- 1 very ripe banana
- 56 grams melted unsalted butter, cooled (¼ cup)
- 105 grams brown sugar light or dark (½ cup, packed)
- 1 large egg, room temperature
- 1 ½ teaspoons pure vanilla extract
- 120 grams all-purpose flour (1 cup)
- ¾ teaspoon baking powder
- ¼ teaspoon Kosher salt
- 30 milliliters whole milk (2 Tablespoons)
- Raw sugar, for sprinkling
Instructions
- Preheat the oven to 400°F (204°C). Line a 12-cup muffin pan with 6 liners, spacing them out so there is an empty cup in-between each liner. (See the post for a visual example.)
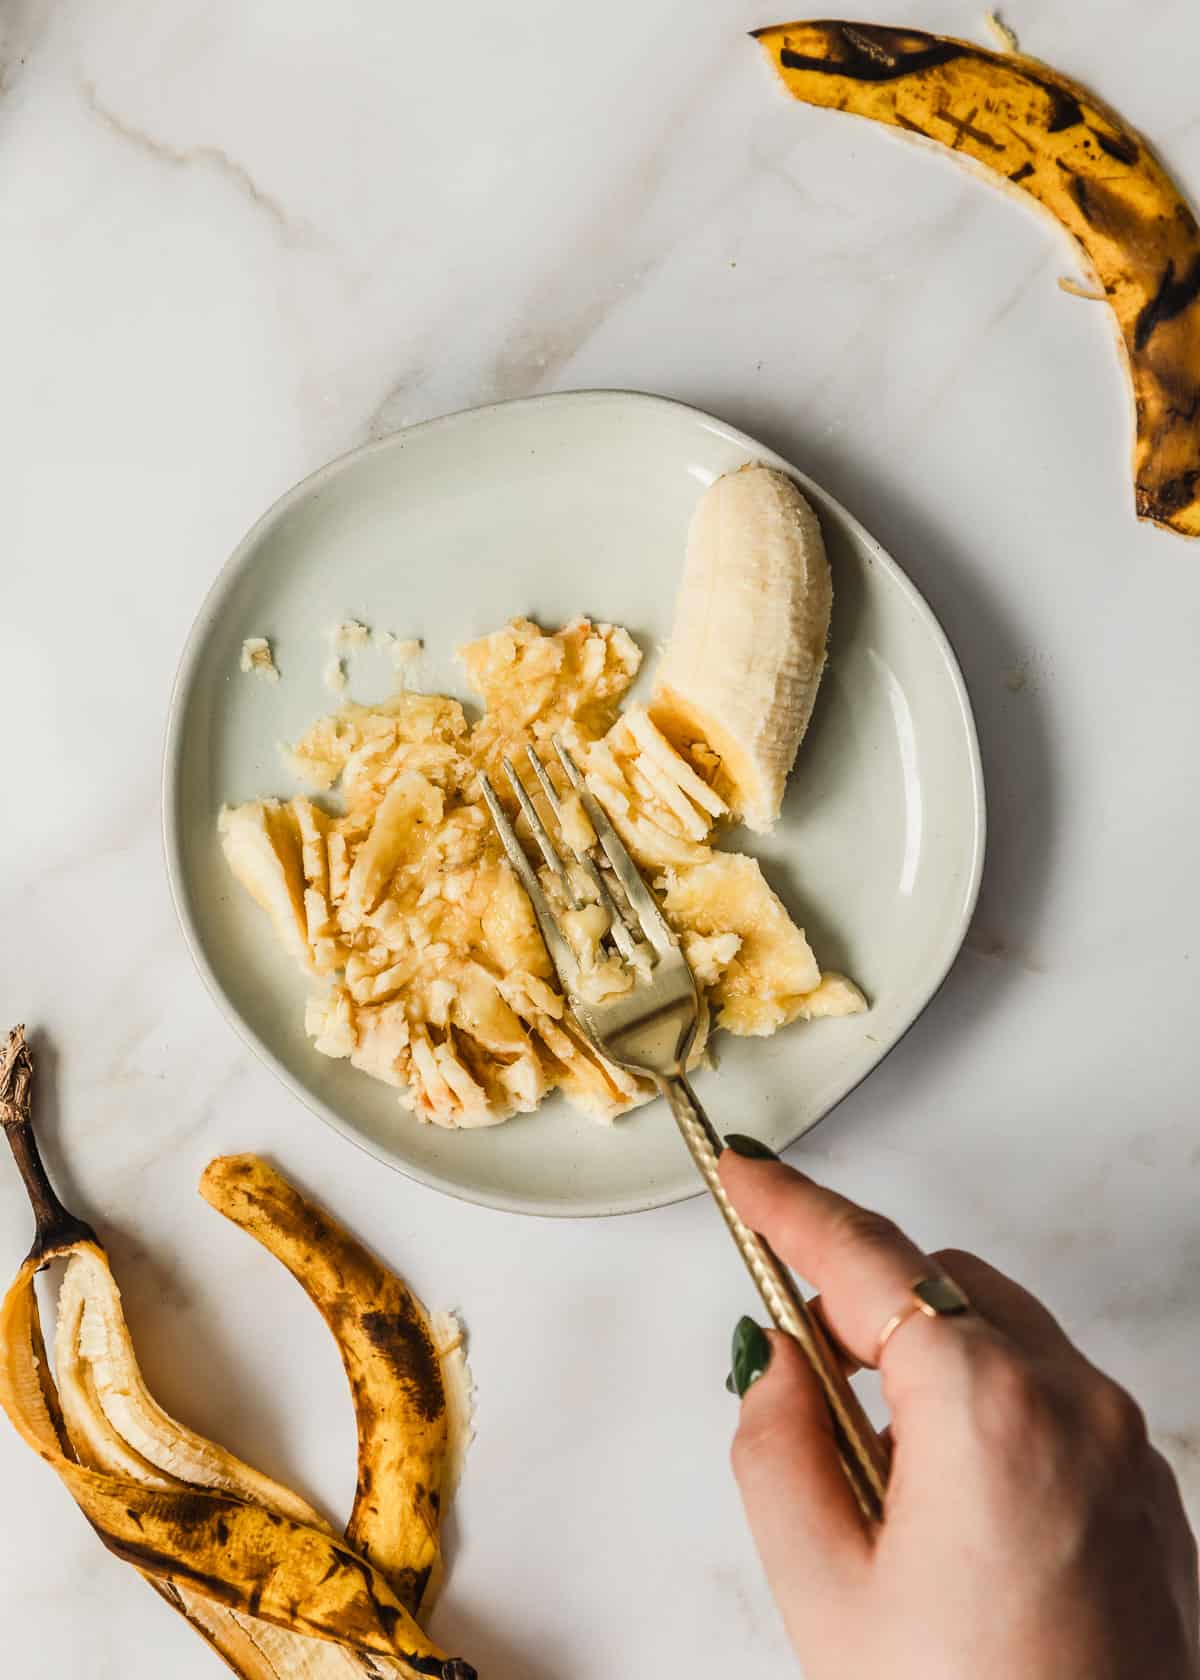
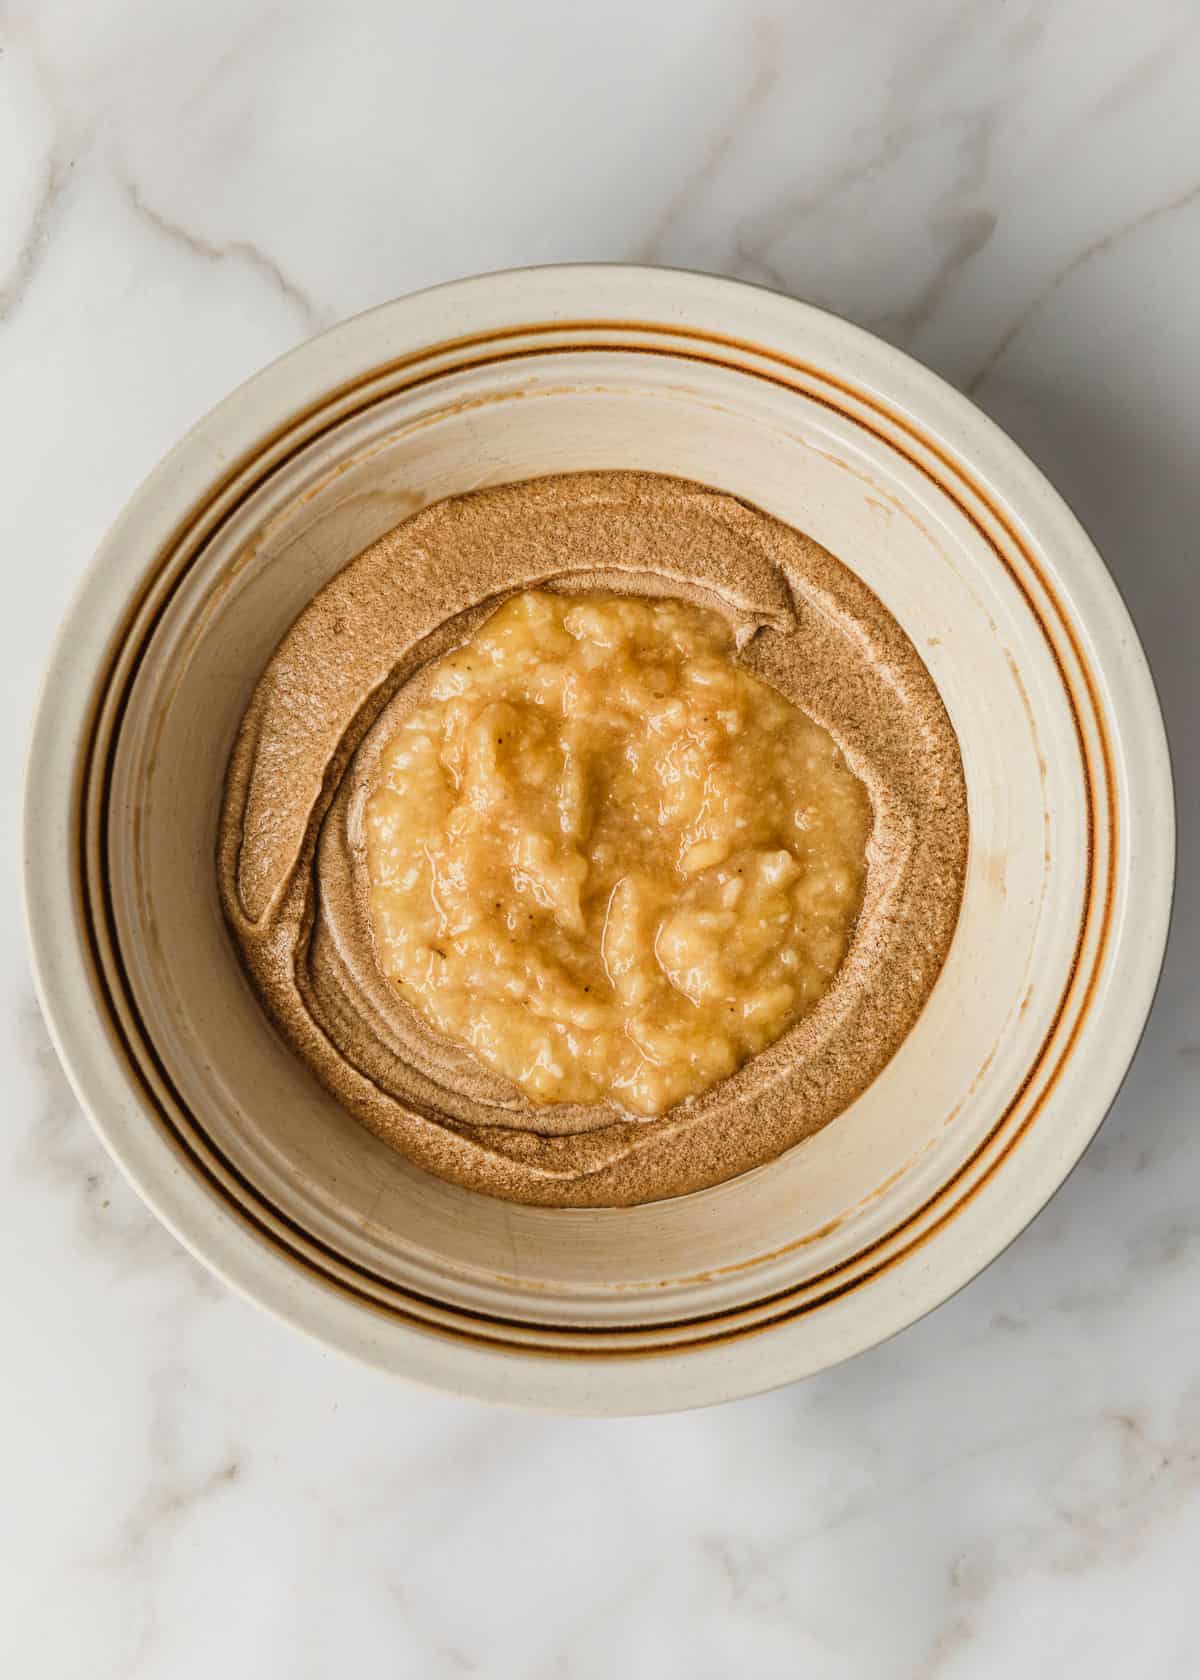
- In a small bowl, use the tines of a fork to mash the banana until it's very smooth. You should end up with around 90-140 grams (⅓-½ cup) of mashed banana. Set aside.
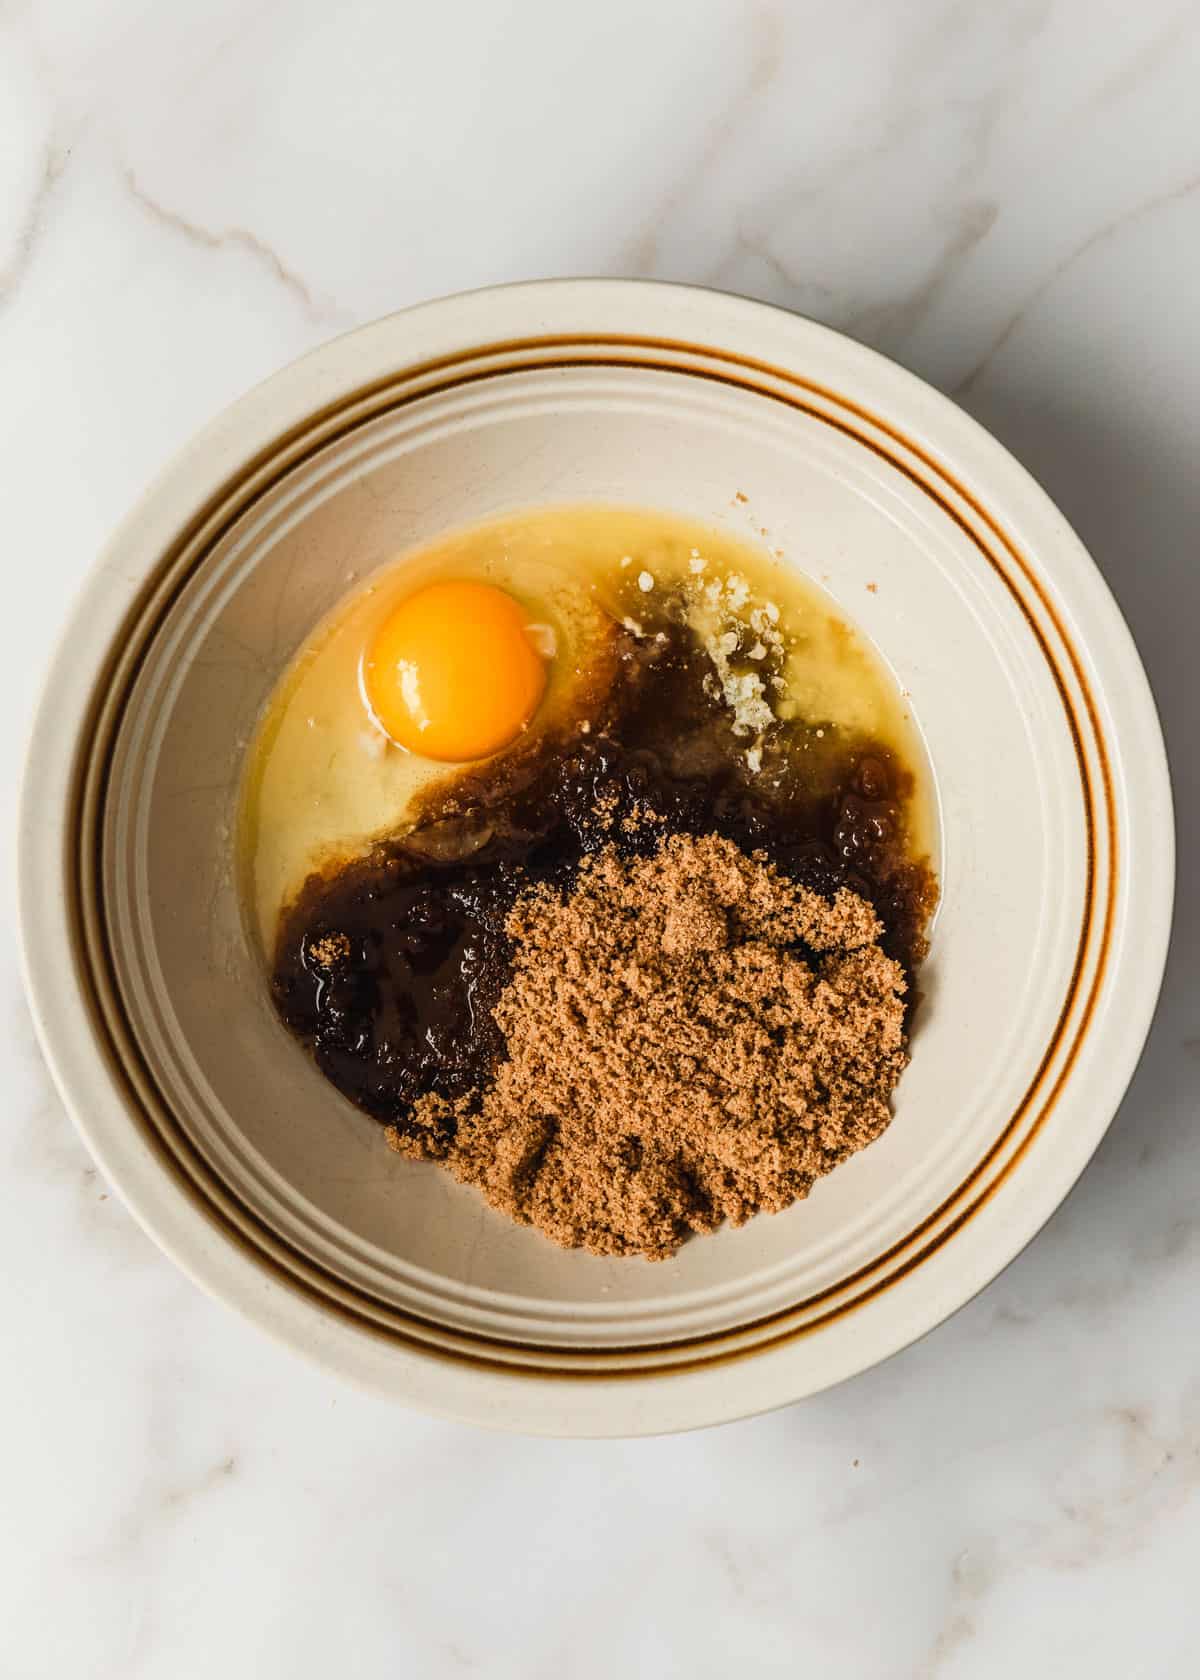
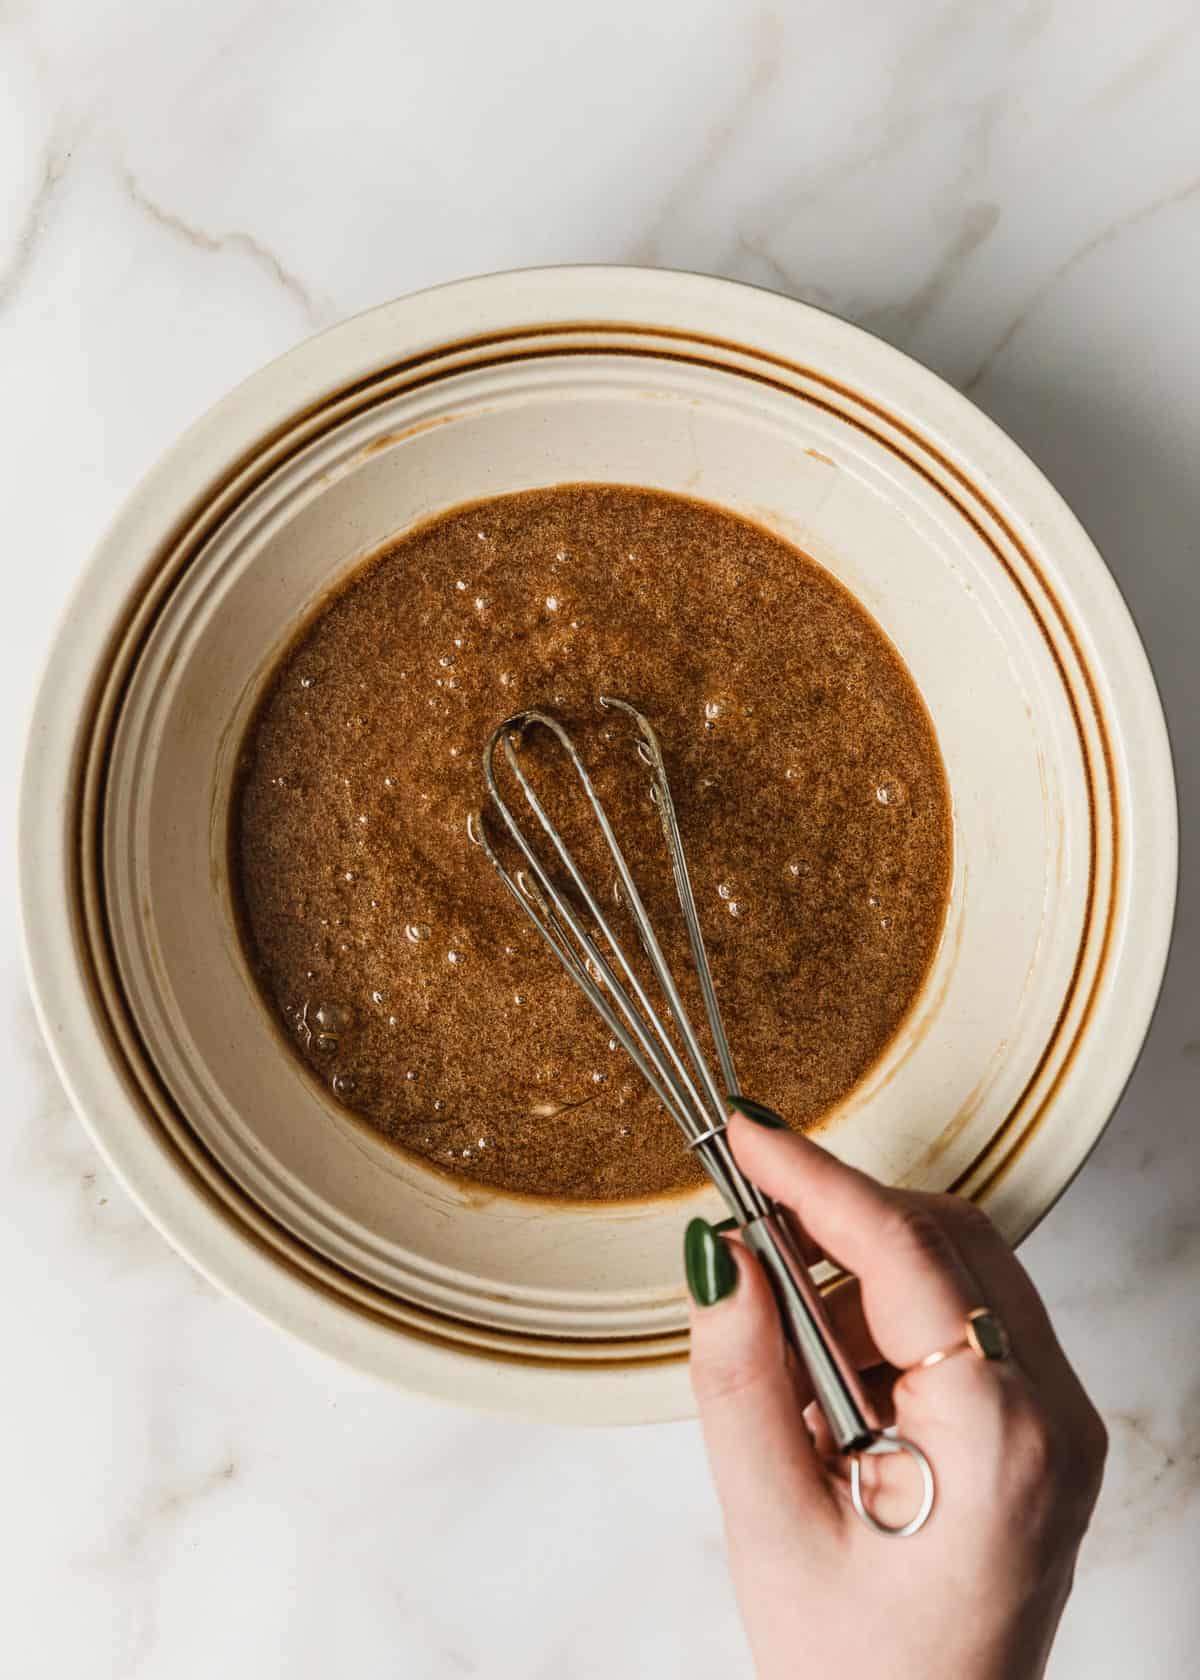
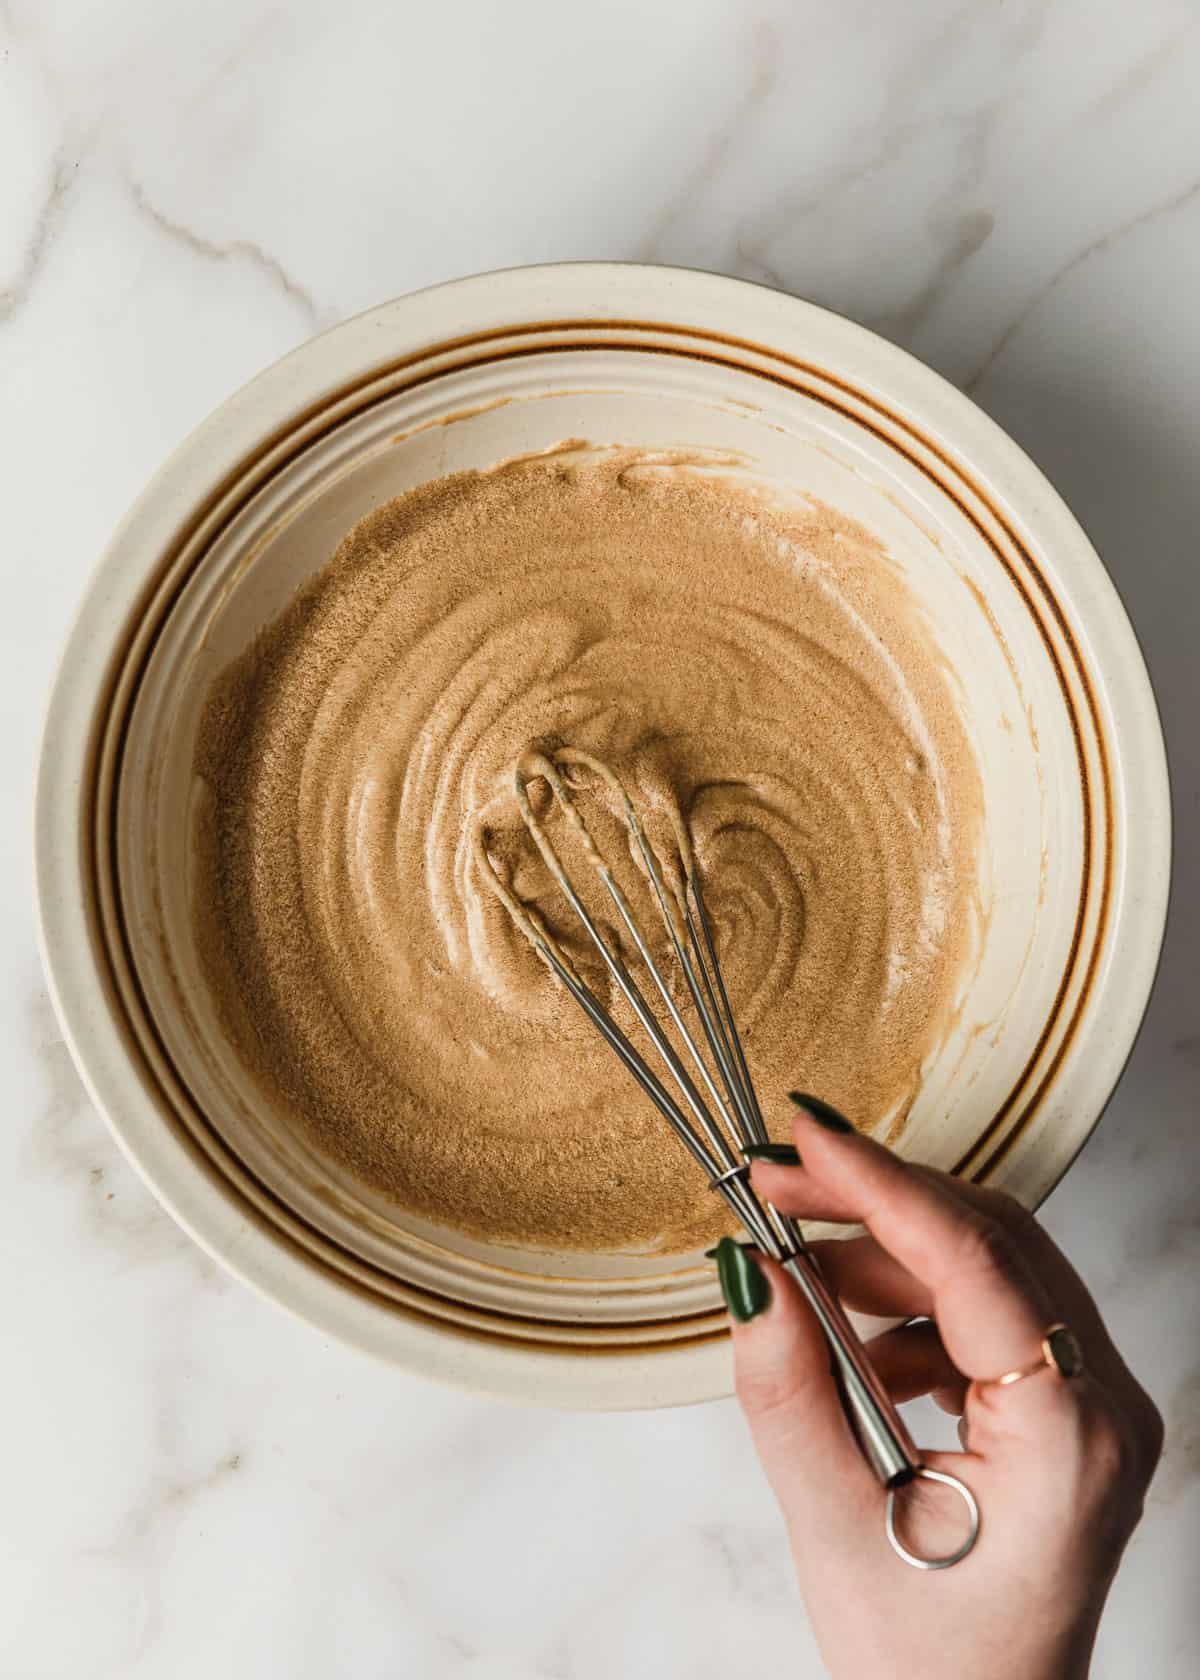
- In a medium mixing bowl, add the cooled melted butter, brown sugar, egg, and vanilla extract. Whisk the mixture until it's thick and lighter in color, 2-3 minutes. Then, whisk in the mashed banana until smooth. The mixture may look a little curdled, but it'll smooth out.
- Add the all-purpose flour, baking powder, and salt. Using a rubber spatula, fold the dry ingredients into the wet ingredients until it's about 75% mixed. Then, add the milk, stirring just until the batter is combined and there are no more streaks of flour. The batter will be lumpy, that's ok! Optional - cover the bowl and let the batter rest for 20-30 minutes. This will help make the muffins extra tall!
- Use a cupcake scoop to divide the batter between the 6 muffin liners, filling them all the way to the top. Finish each muffin with a generous sprinkle of raw sugar.
- Bake the muffins at 400°F (204°C) for 5 minutes. Then, reduce the heat to 350°F (177°C) and bake the muffins for 11-12 more minutes, until an inserted toothpick has just a few moist crumbs. Let the muffins cool in the pan for about 5 minutes. Then, transfer them to a wire rack to cool completely. Enjoy!

Did you make this recipe? I'd love to hear what you think!