
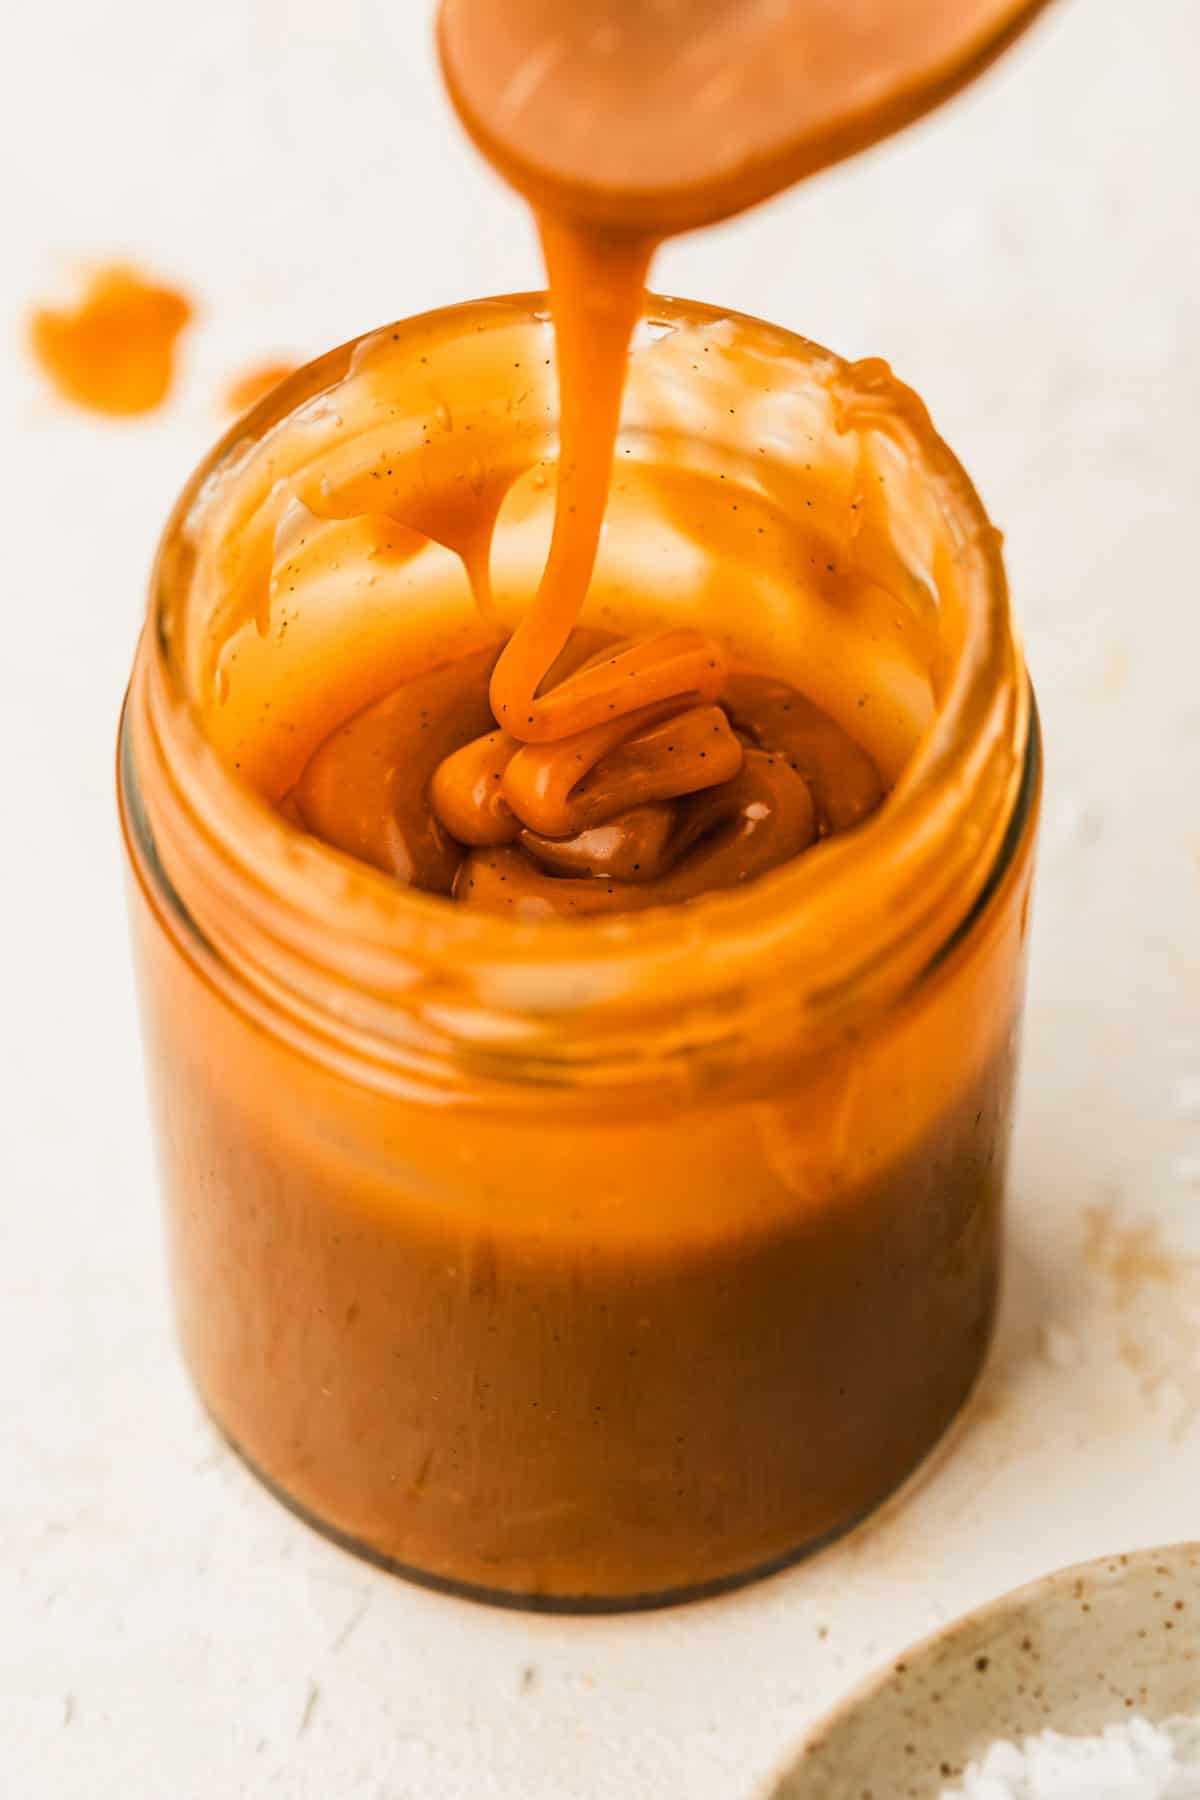
Sometimes I make this small batch salted caramel sauce just to drizzle over vanilla ice cream or spoon into caramel-filled cupcakes. If you've ever wanted to make homemade caramel but you're feeling a little intimidated, don't stress! I'll give you all my best tips from pastry school so it comes out incredible every time. It's easier than you think, I promise!
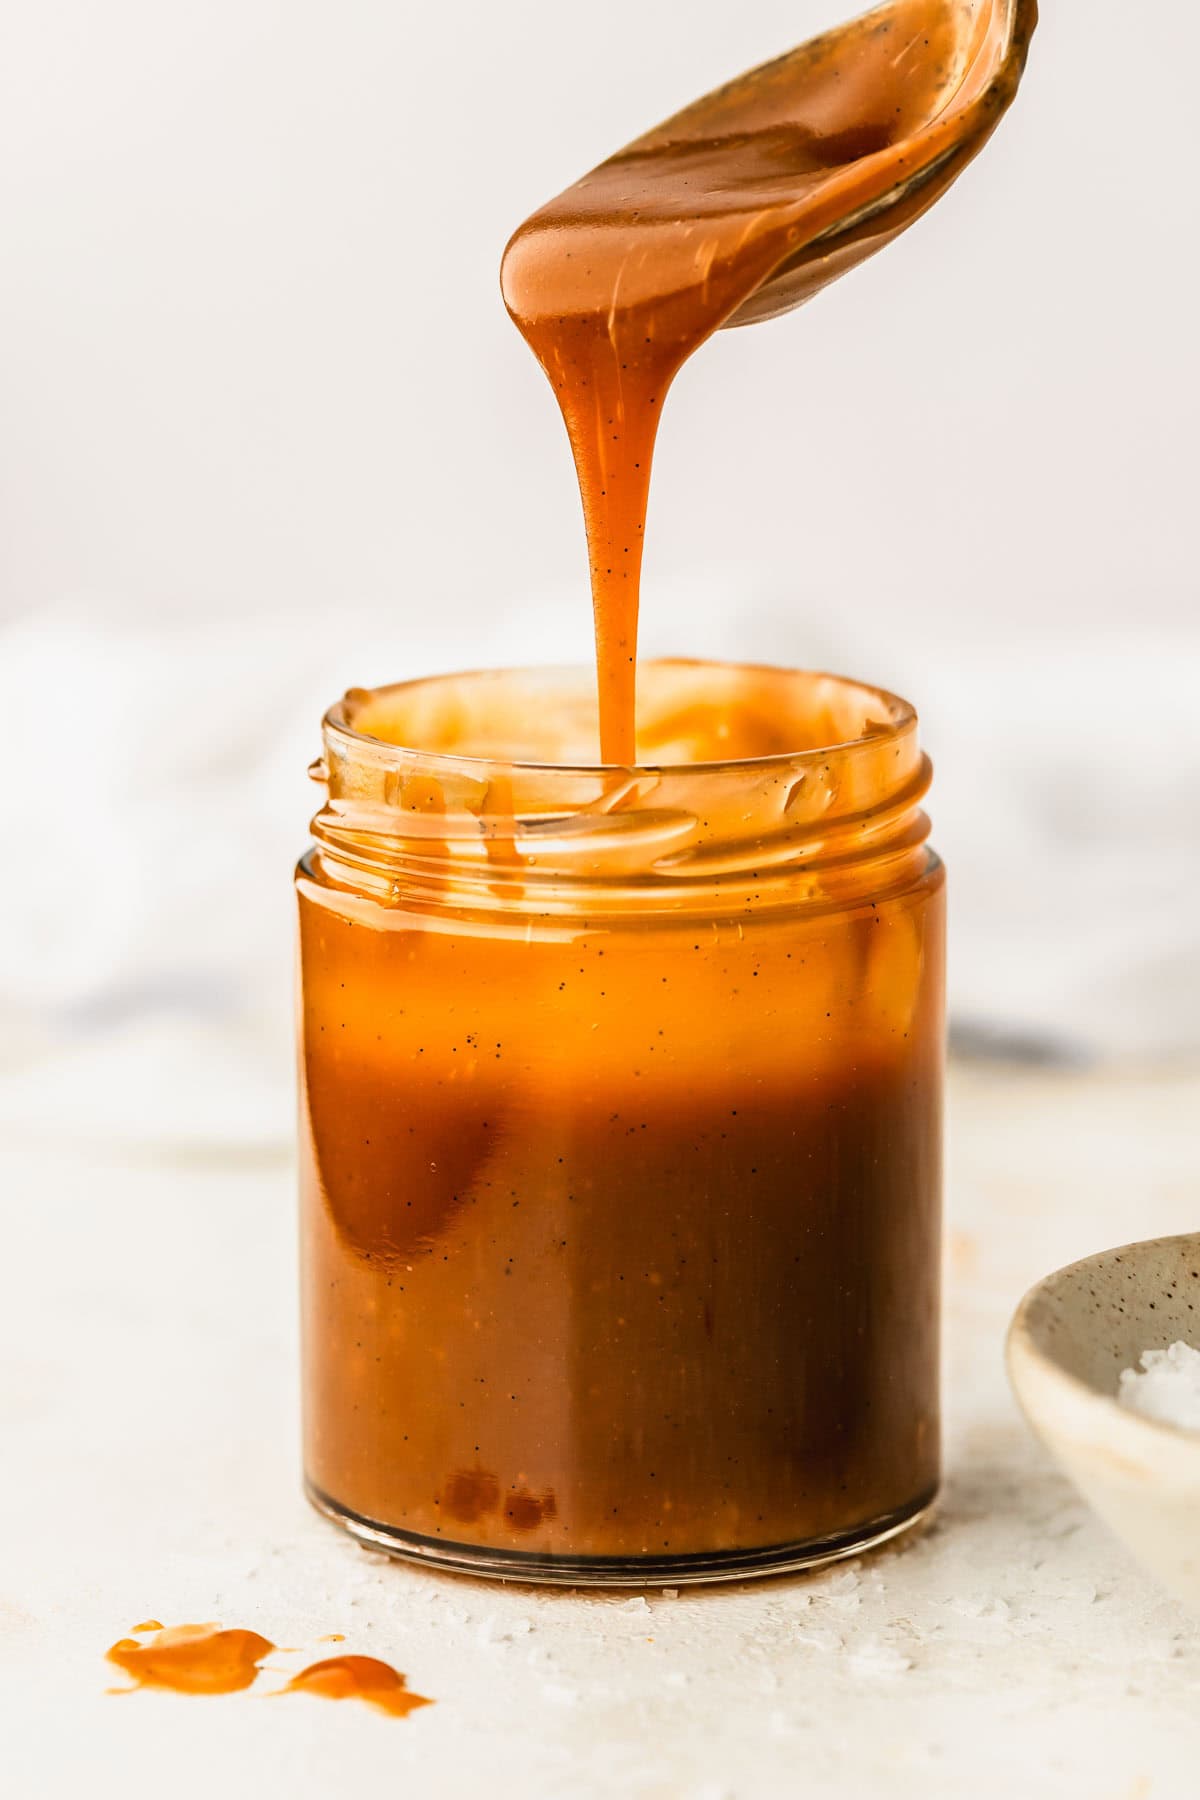
To this day, one of my all-time favorite foods is a caramel sundae from Dairy Queen. Don't come at me! It's delicious, and I'm a simple bish!
Sadly, the DQ by my house closes at like 9 PM, which is way before my late-night ice cream cravings hit. So I've had to improvise by keeping a stash of caramel and vanilla ice cream on hand at all times.
Tbh, it's not the same cause I haven't found a way to convince my husband to set up a soft serve machine in my kitchen. (Boooooo.) But it is still good as hell. Like a gourmet Dairy Queen, ya know?
Of course, you can use caramel sauce on anything from small batch brownies and fluffy cinnamon rolls to more obvious choices like this caramel buttercream. Or, if you're like me, just sneak a spoonful every time you open the fridge. It is what it is!
The water trick
Ok, have you ever tried making caramel, but instead of the sugar melting, it turns into a big, grainy mess? That's crystallization, and it'll literally ruin your caramel. Crystallization happens when dissolved sugar recrystallizes and sets off a chain reaction.
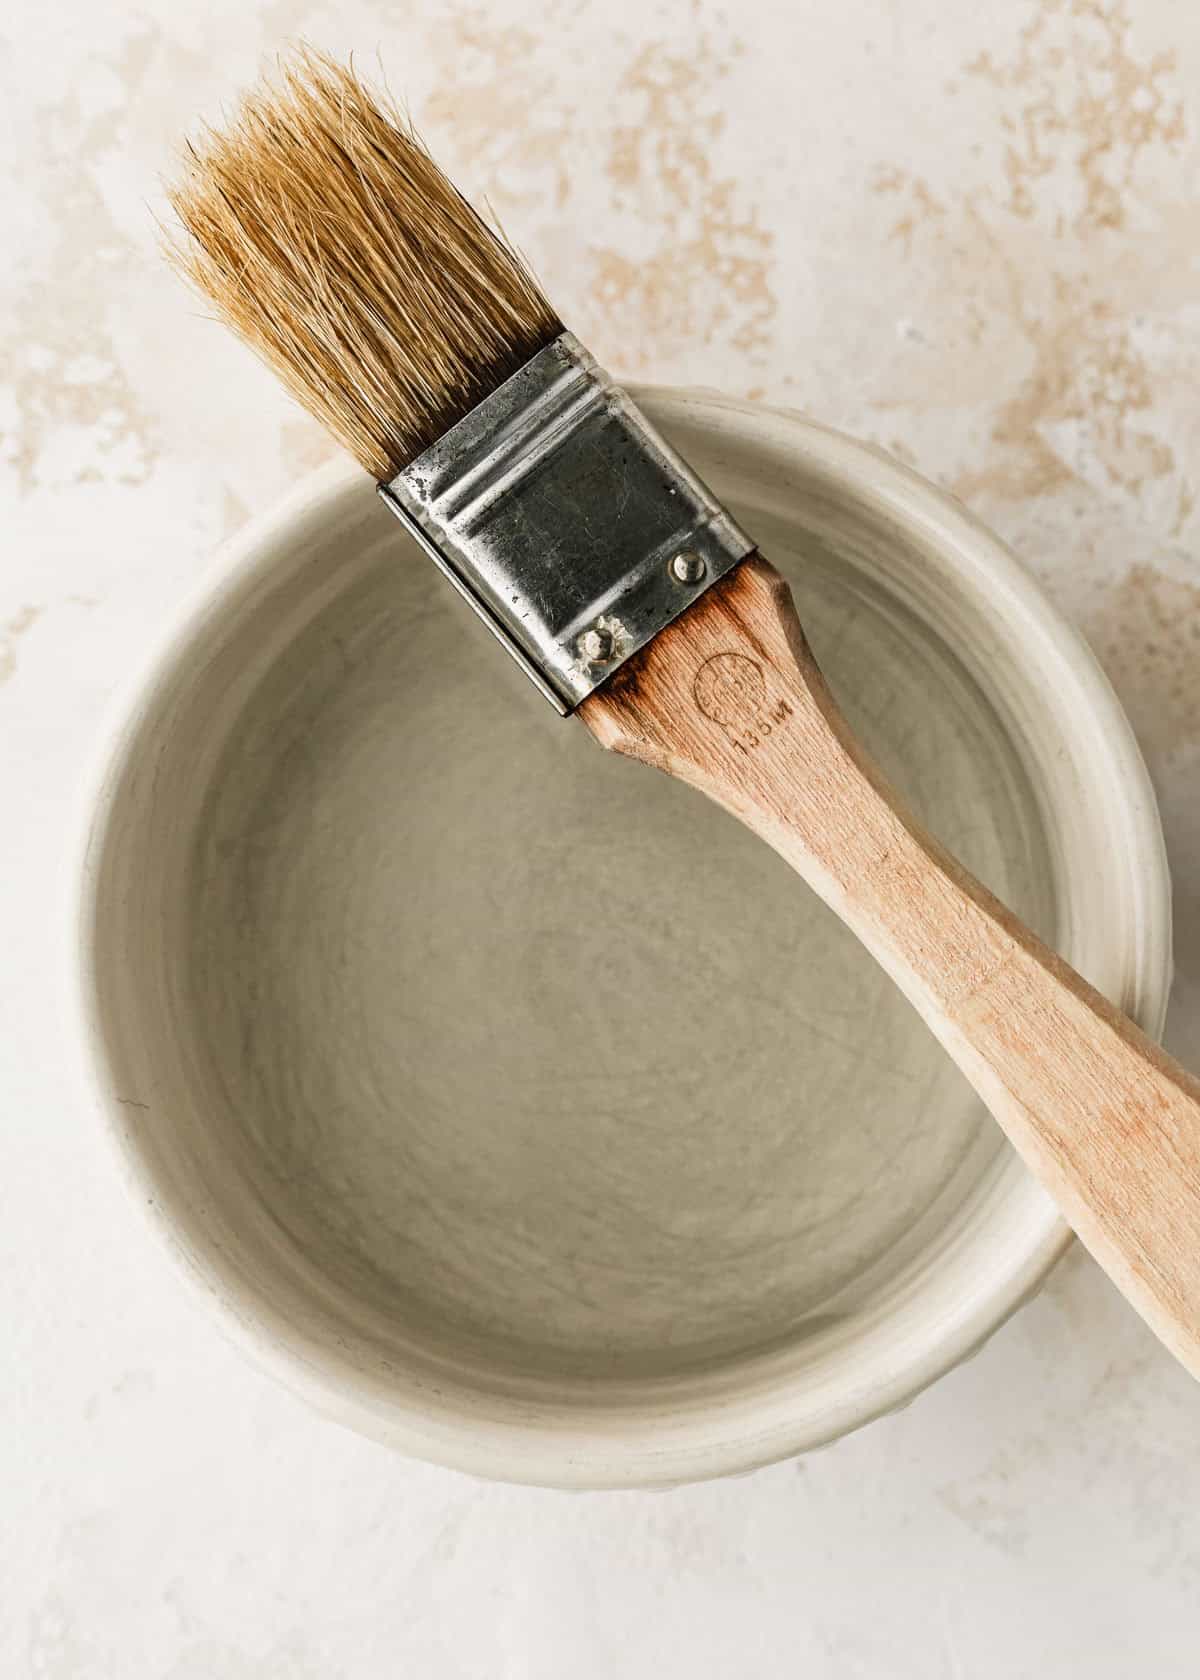
To keep this from happening, make sure to have a bowl of water and a pastry brush on hand. Any time you see crystals forming on the side of the pan, brush them with water. This method is foolproof, works every time!
Step-by-step directions
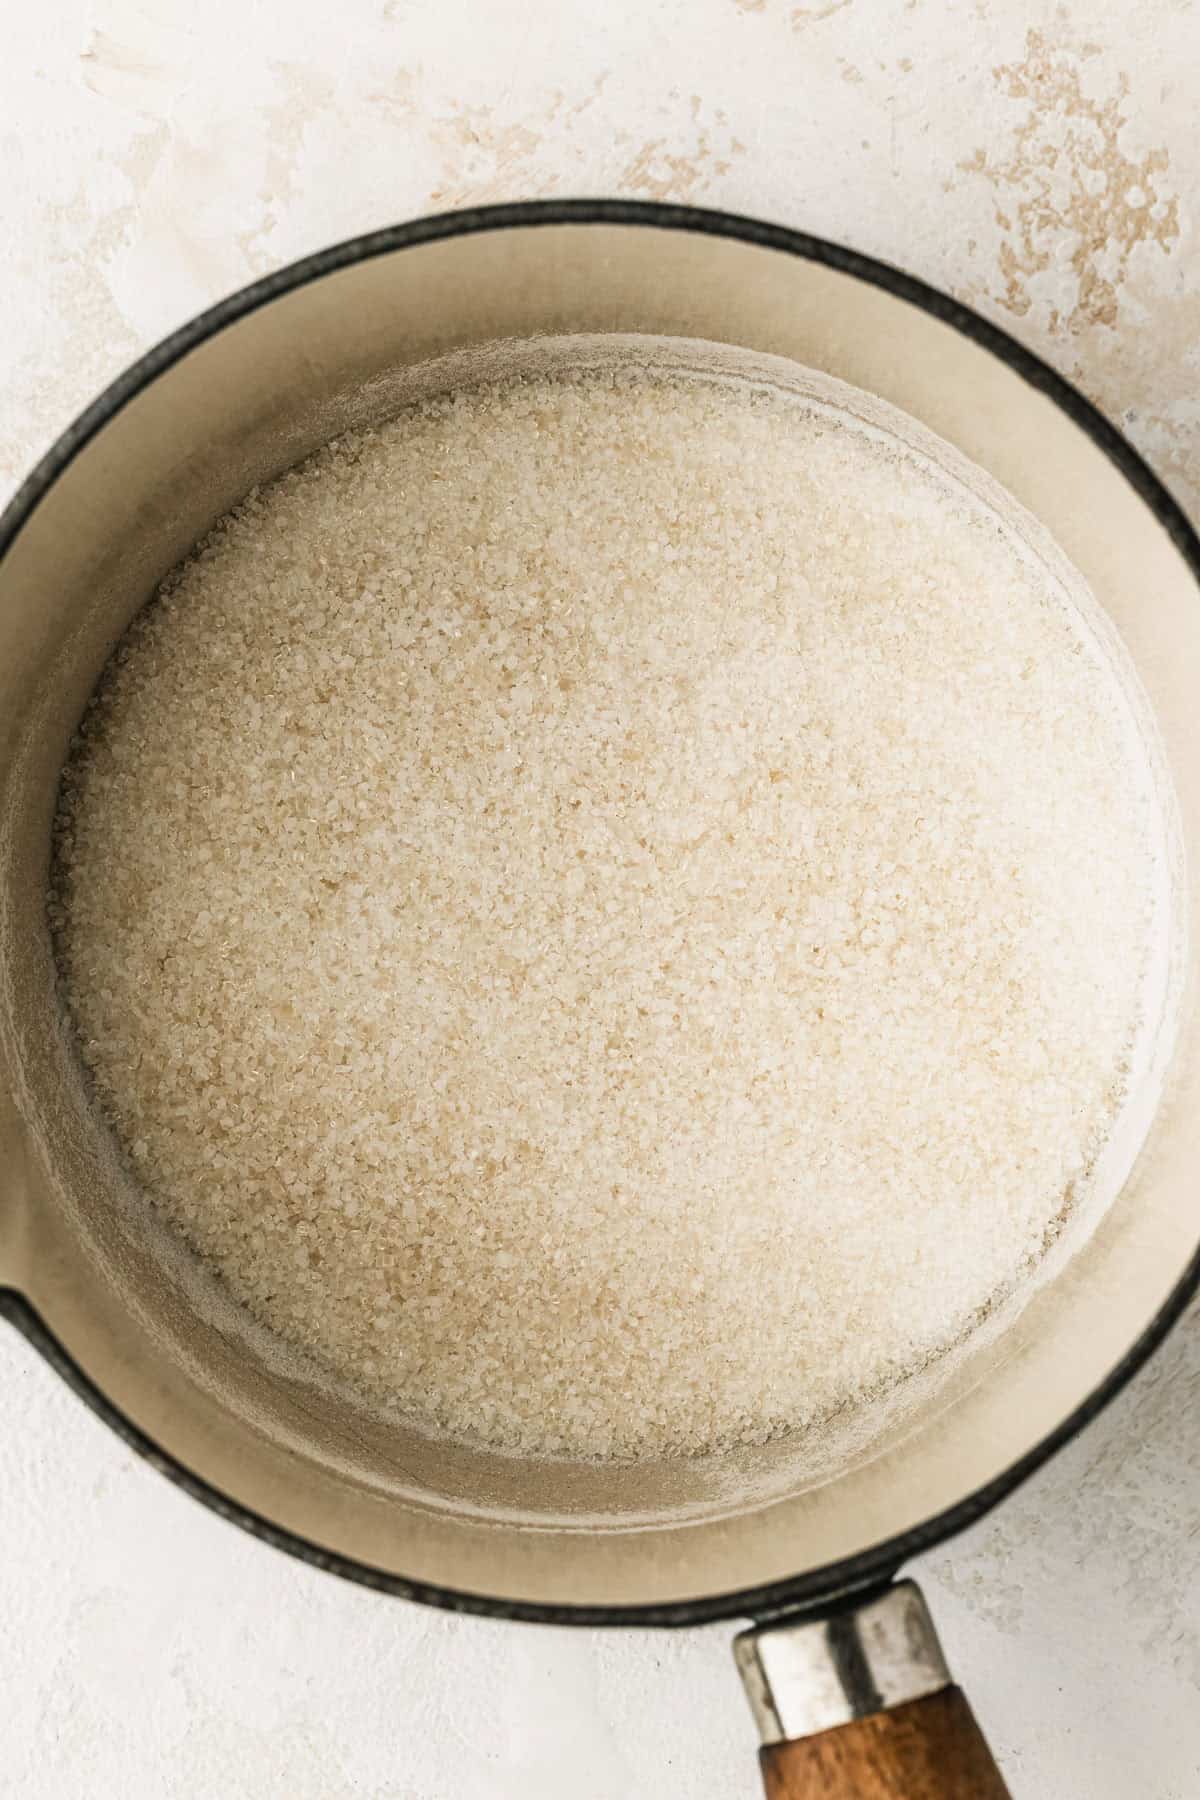
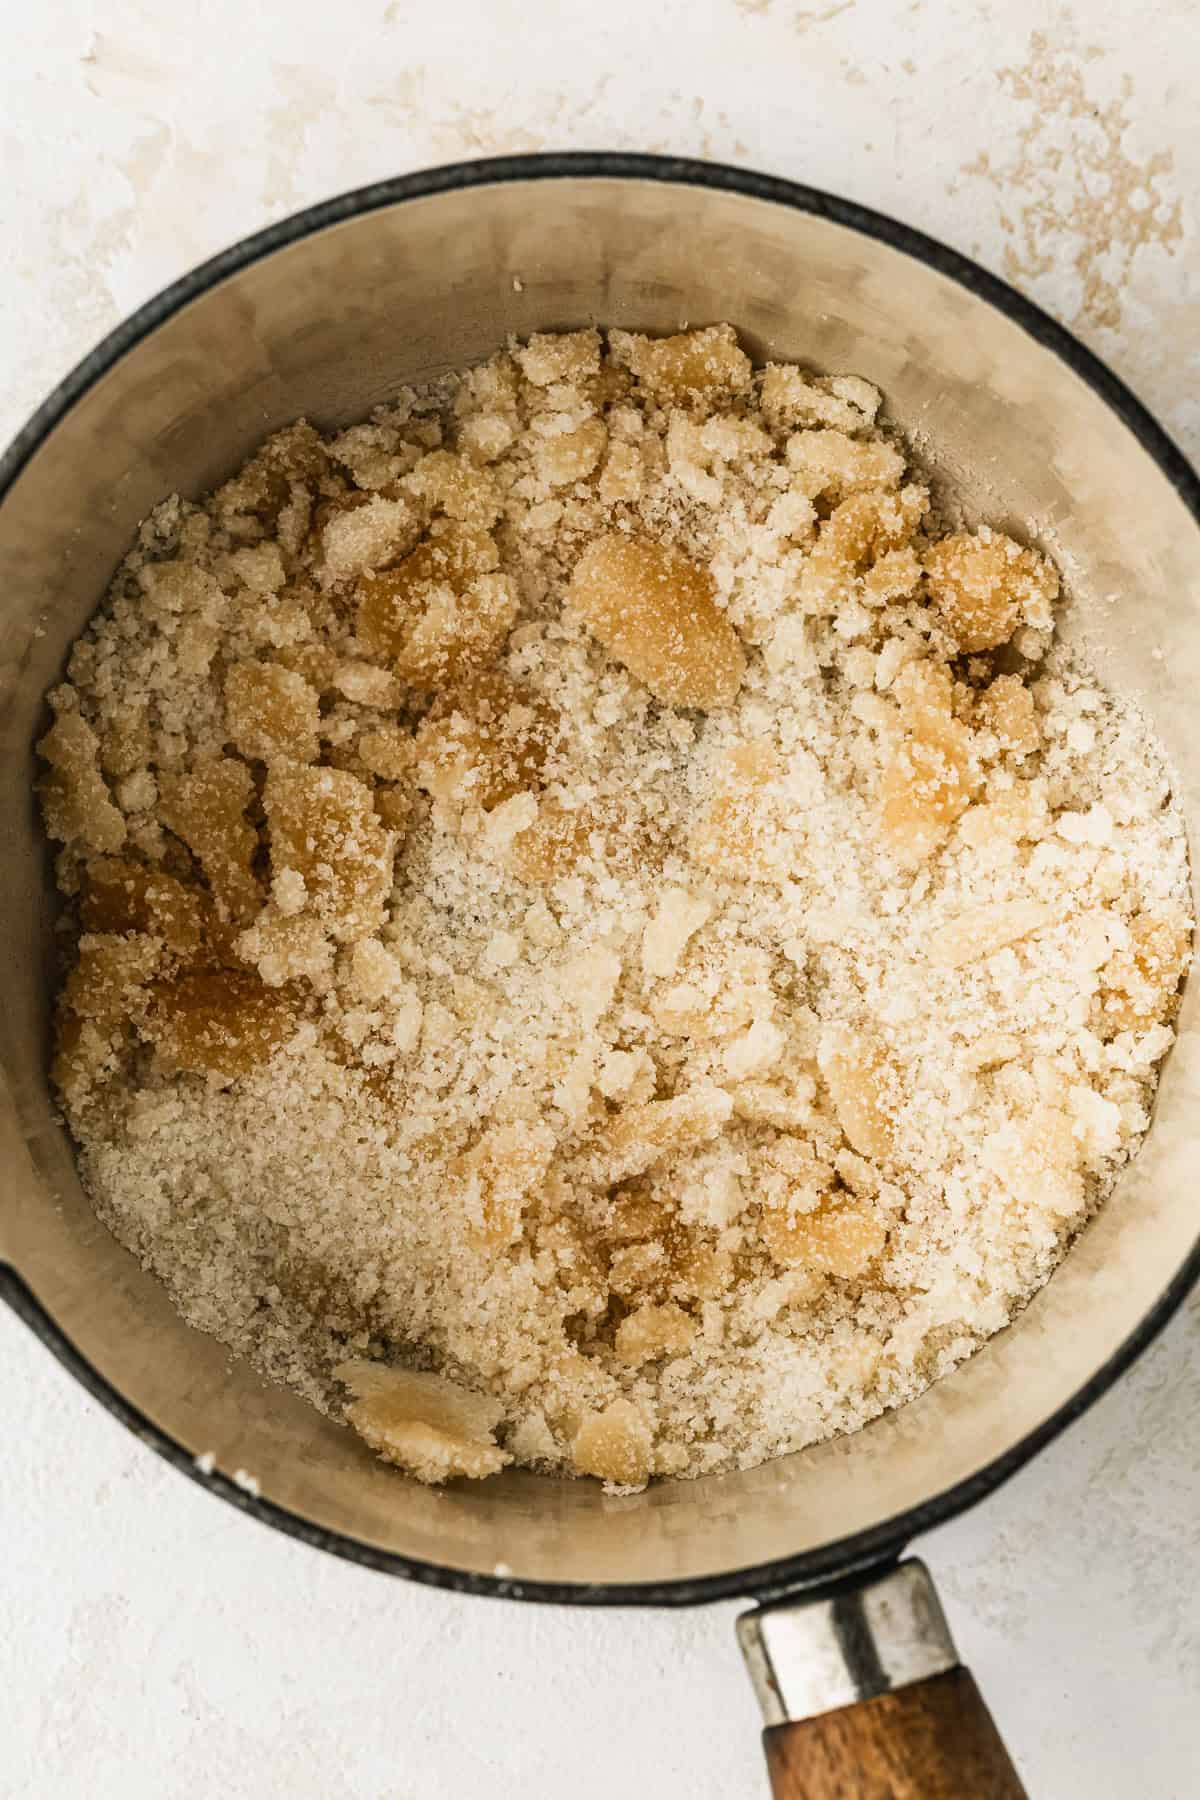
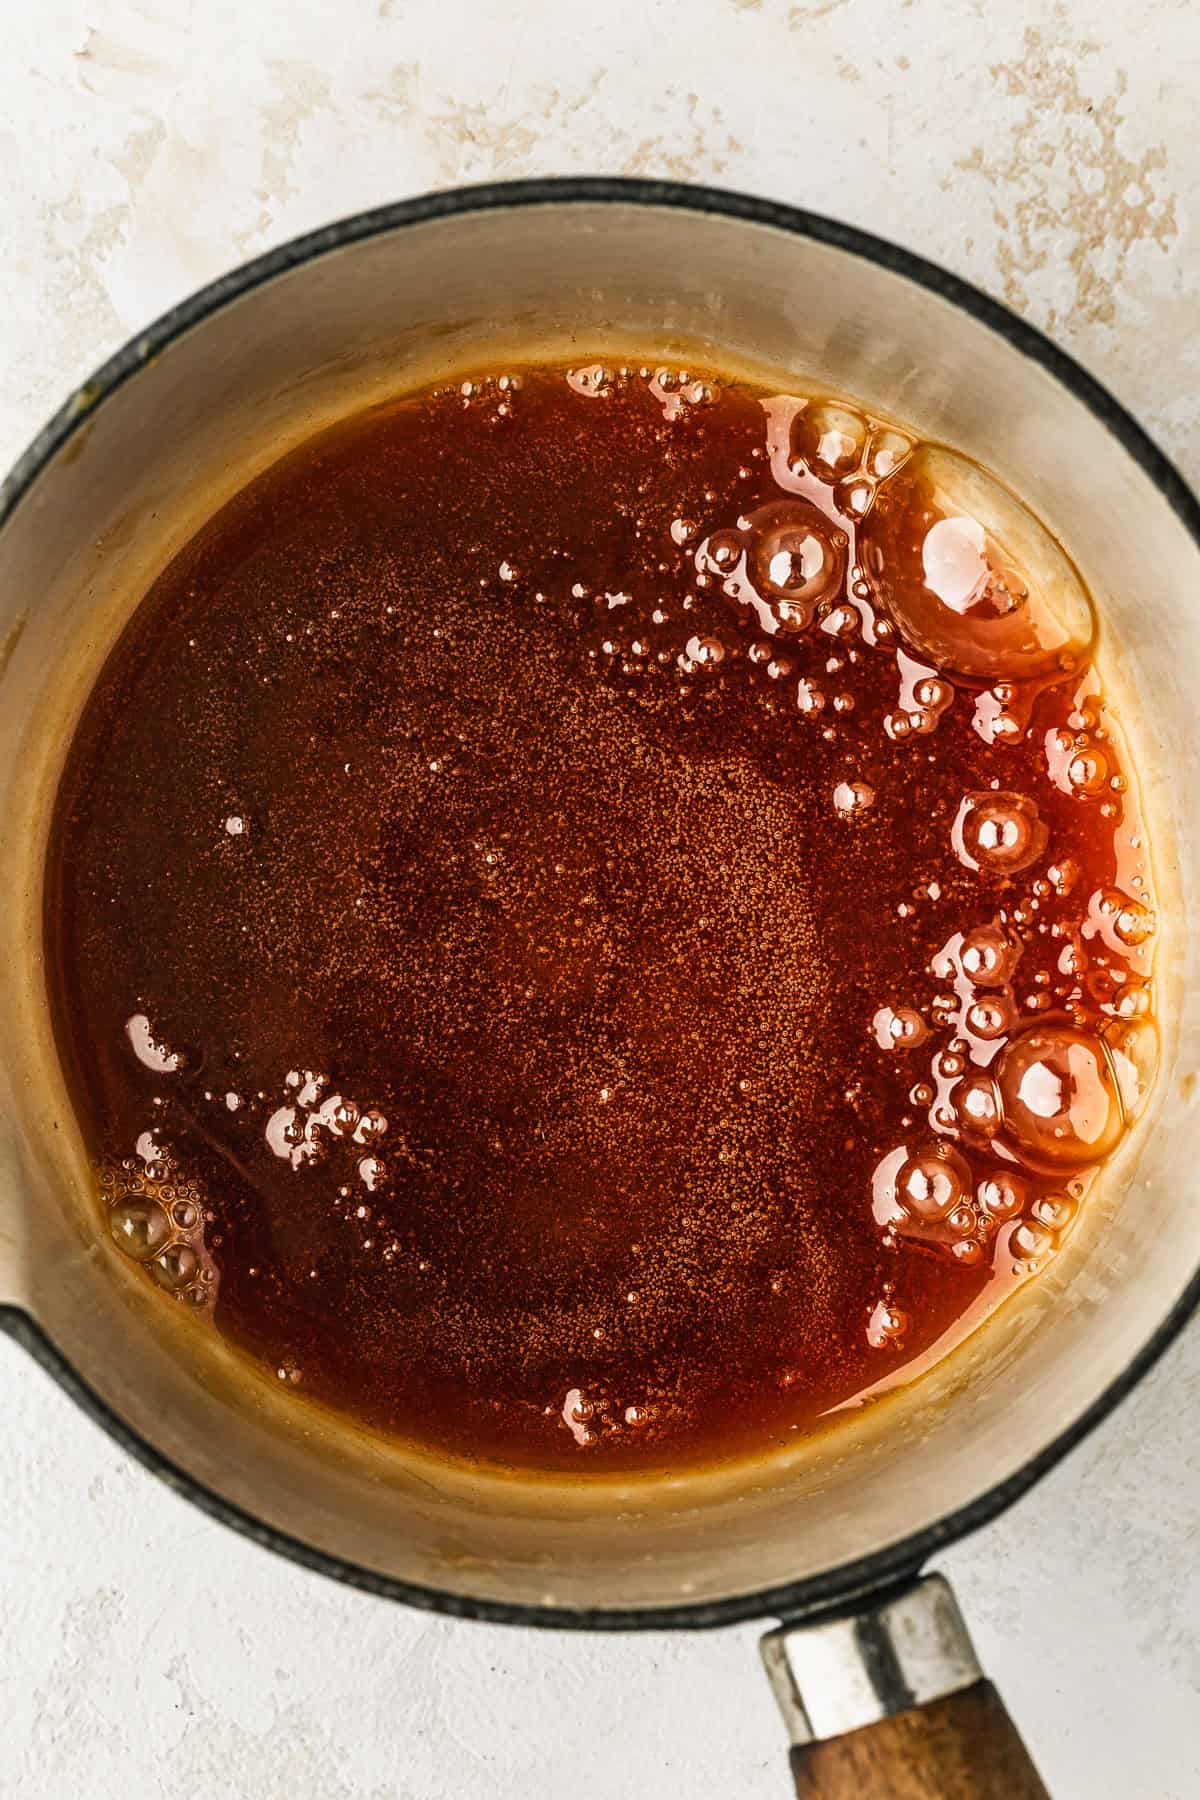
Make sure to brush the sides of the pan with water as the sugar melts! This is especially important to do after stirring or swirling the pan.
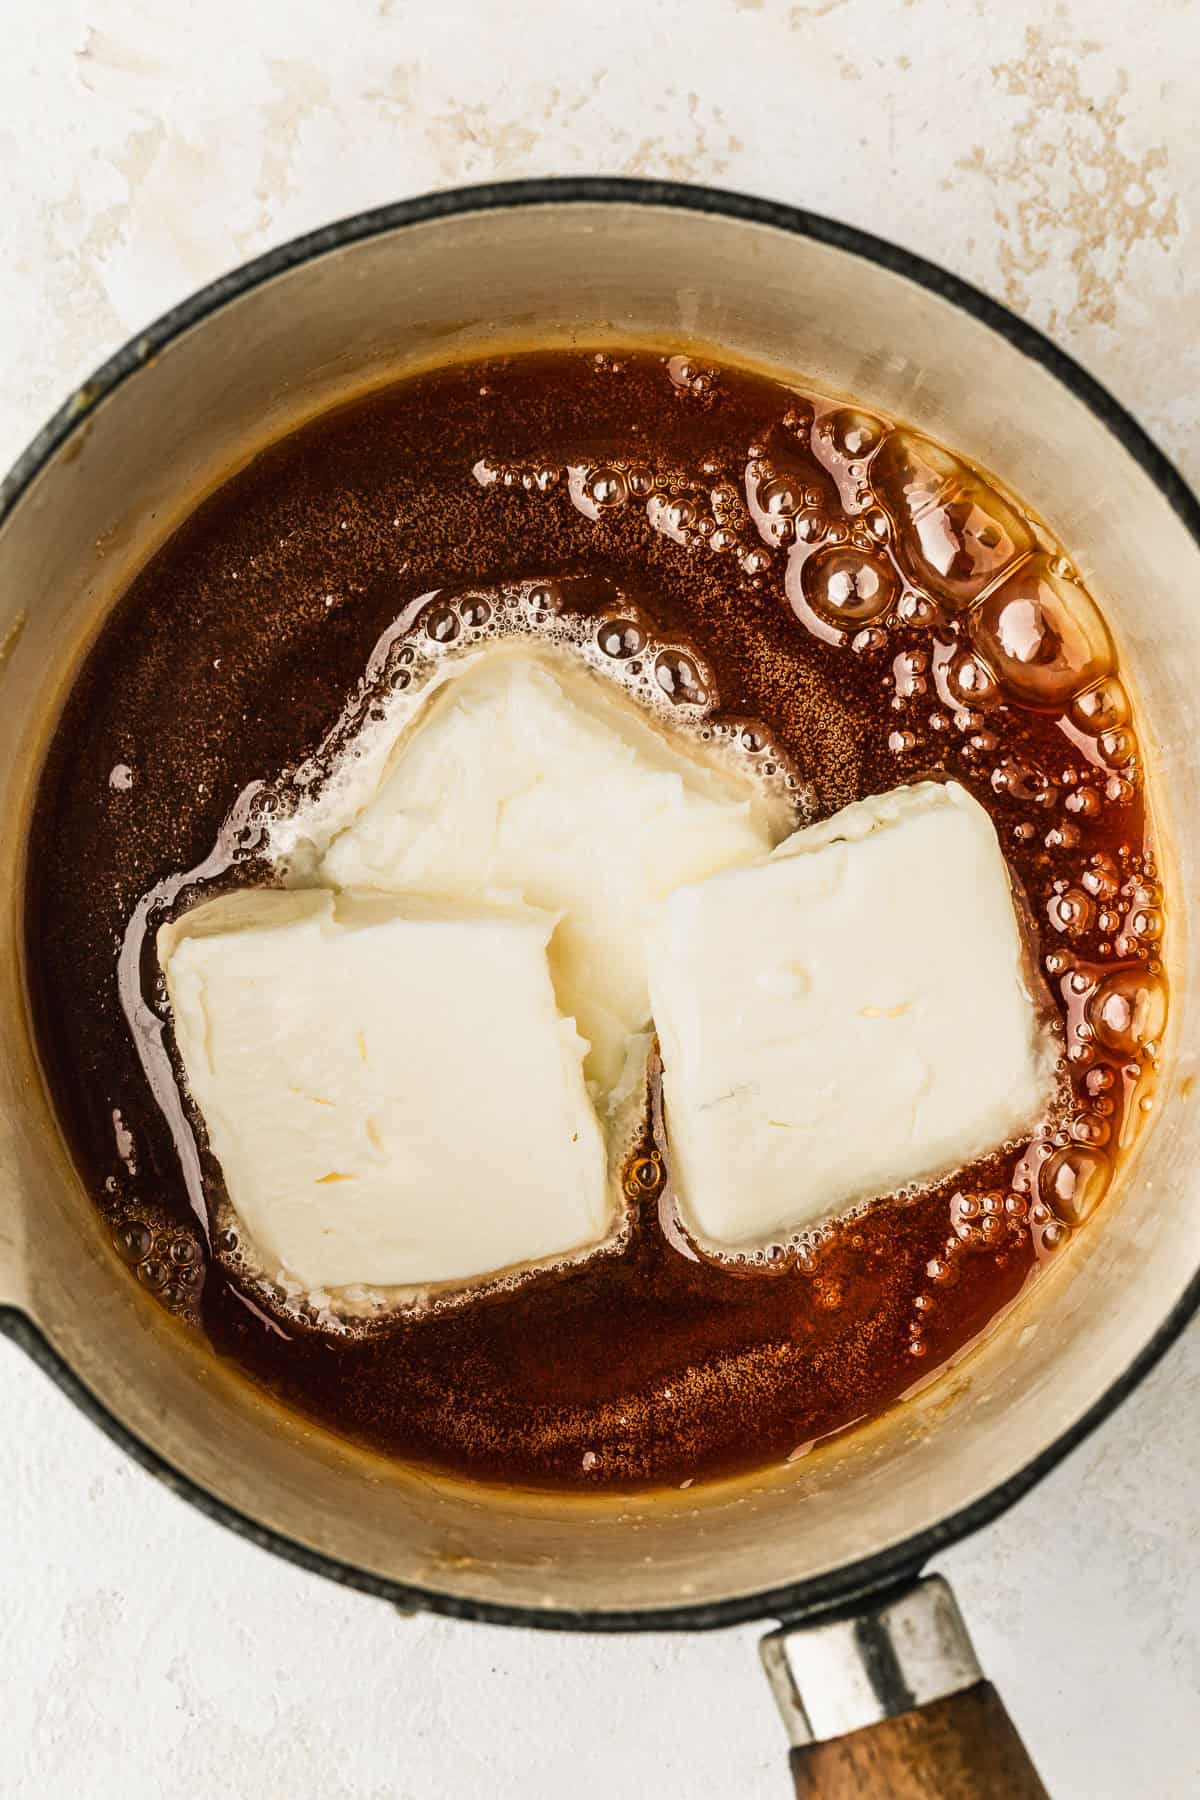
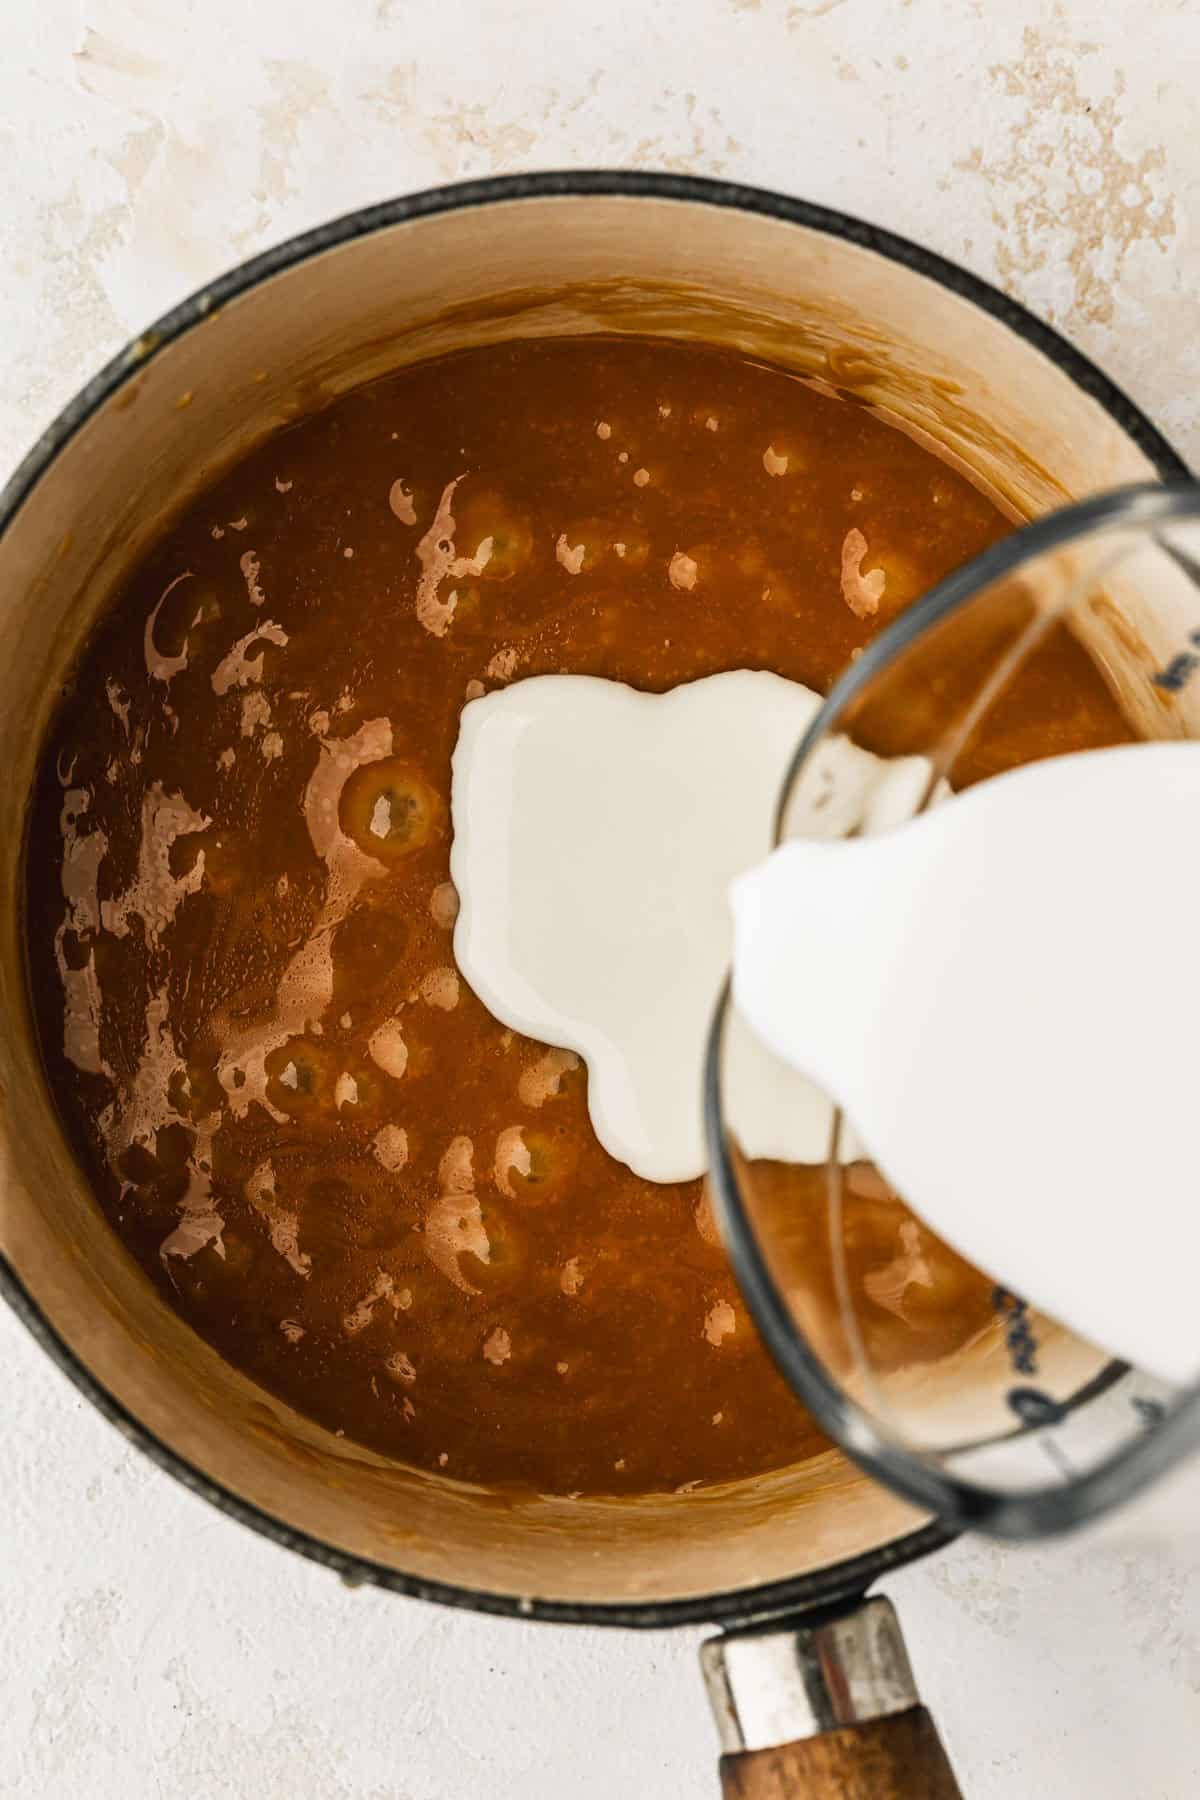
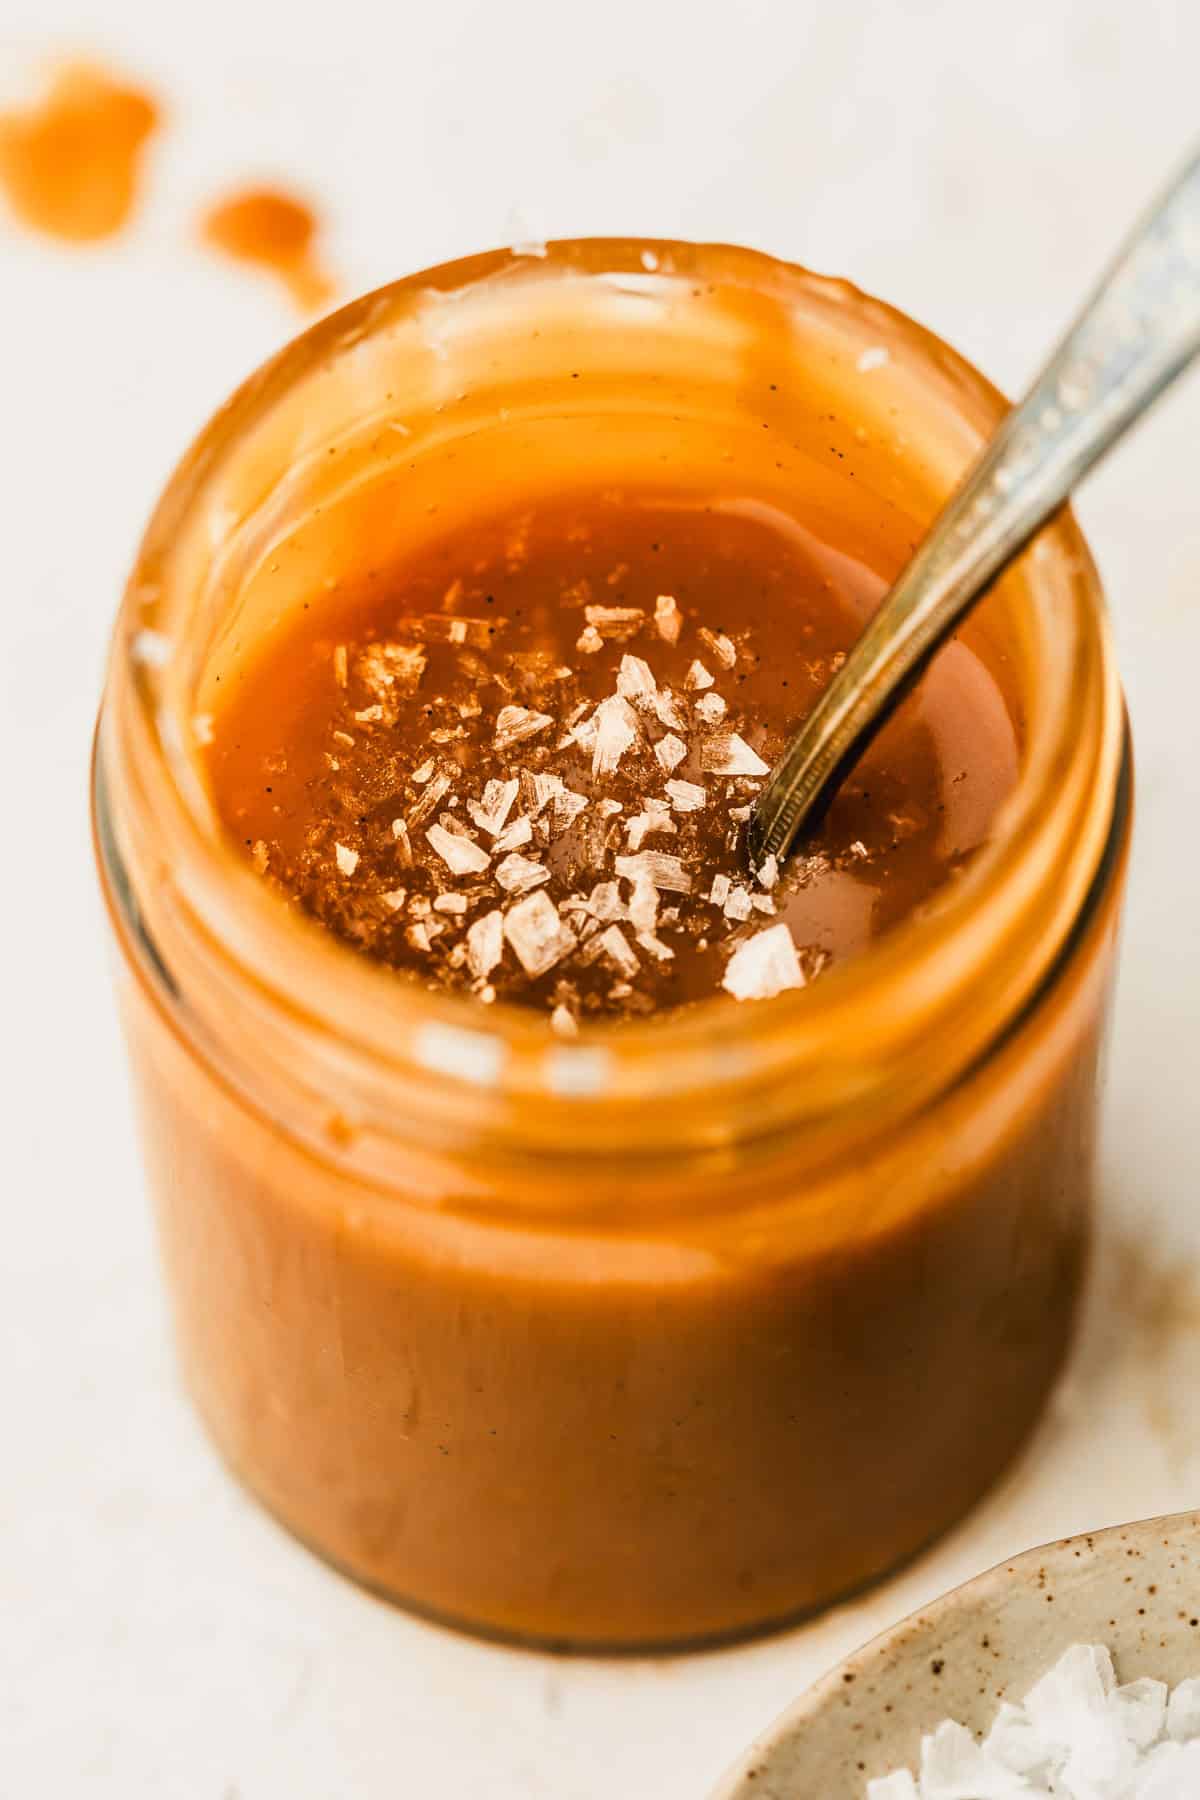
If the caramel seizes (a.k.a. the sugar hardens and won't mix in with the butter or cream), you can still fix it! Just place the pot back on the stove over low heat and stir constantly until the sugar remelts and smooths out. This fixes it most of the time, but if not, sadly you'll have to start over!

When it comes to small-batch baking, I always recommend using a scale to measure the ingredients. If you don't have a scale, here are all my tips on how I measure ingredients for small batch baking.

If you try this recipe, I would love if you left a star rating and review. I read every comment and love hearing what you think about my recipes. Thanks so much for supporting Midnight Bake Club!
Small Batch Salted Caramel Sauce
Equipment
- Heavy-bottomed saucepan
- Candy thermometer optional
- Small bowl of water
- Pastry brush
Ingredients
- 100 grams granulated sugar (½ cup)
- 45 grams unsalted butter softened (3 Tablespoons)
- 60 milliliters heavy whipping cream room temperature (¼ cup)
- ½ teaspoon vanilla bean paste or extract
- ¼ teaspoon Kosher salt more to taste - I use Morton
Instructions
- Pour the granulated sugar into a heavy-bottom saucepan. Clip a candy thermometer to the side of the pot, making sure it's not touching the bottom, if you're using one. Set the pot on the stove over medium-low heat.
- Cook, swirling the pan often, until the sugar starts to melt. Use a pastry brush to brush the sides of the pan often to prevent crystals from forming. At first, the sugar will clump up and look grainy, but after a few minutes, it will melt completely, turn a deep amber color, and reach between 220-225°F (104-107°C). Keep a close eye on it so it doesn't burn!
- Once the sugar is melted, remove the pot from the heat. Immediately add the softened butter, and whisk rapidly until the mixture is smooth. The caramel will bubble up and splatter, so be careful!
- Add the heavy whipping cream a small splash at a time, making sure it's completely smooth before adding more. Then mix in the vanilla bean paste or extract and the Kosher salt. Stir quickly until the caramel is completely smooth. Taste and add more Kosher salt if needed.
- Pour the caramel into a jar and let it cool completely. It will continue to thicken as it cools. Once it's at room temperature, use the caramel right away, or seal the jar and store it for up to 1 week.


Did you make this recipe? I'd love to hear what you think!